Jira Service Management templates
By implementing Jira issue templates within Jira Service Management (JSM), organizations can significantly accelerate the request submission process for clients. This integration ensures that every Jira ticket template used on the Customer Portal is consistent, pre-filled with the necessary data, and tailored to specific support needs.
Feature not available for anonymous users
Currently, this functionality is not available for anonymous users - it is one of the limitations on the Atlassian side. For more information - visit this page.
Creating a Service template
The process for designing templates for JSM mirrors the standard workflow for software projects, with specific adjustments for the Customer Portal environment. To begin, navigate to the Template library:
- Go into Apps > Issue Templates Agent and select the Templates page.
- Navigate to the Templates for customer portal tab at the top of the Template library to access JSM-specific configurations.
- Click the Create template button.
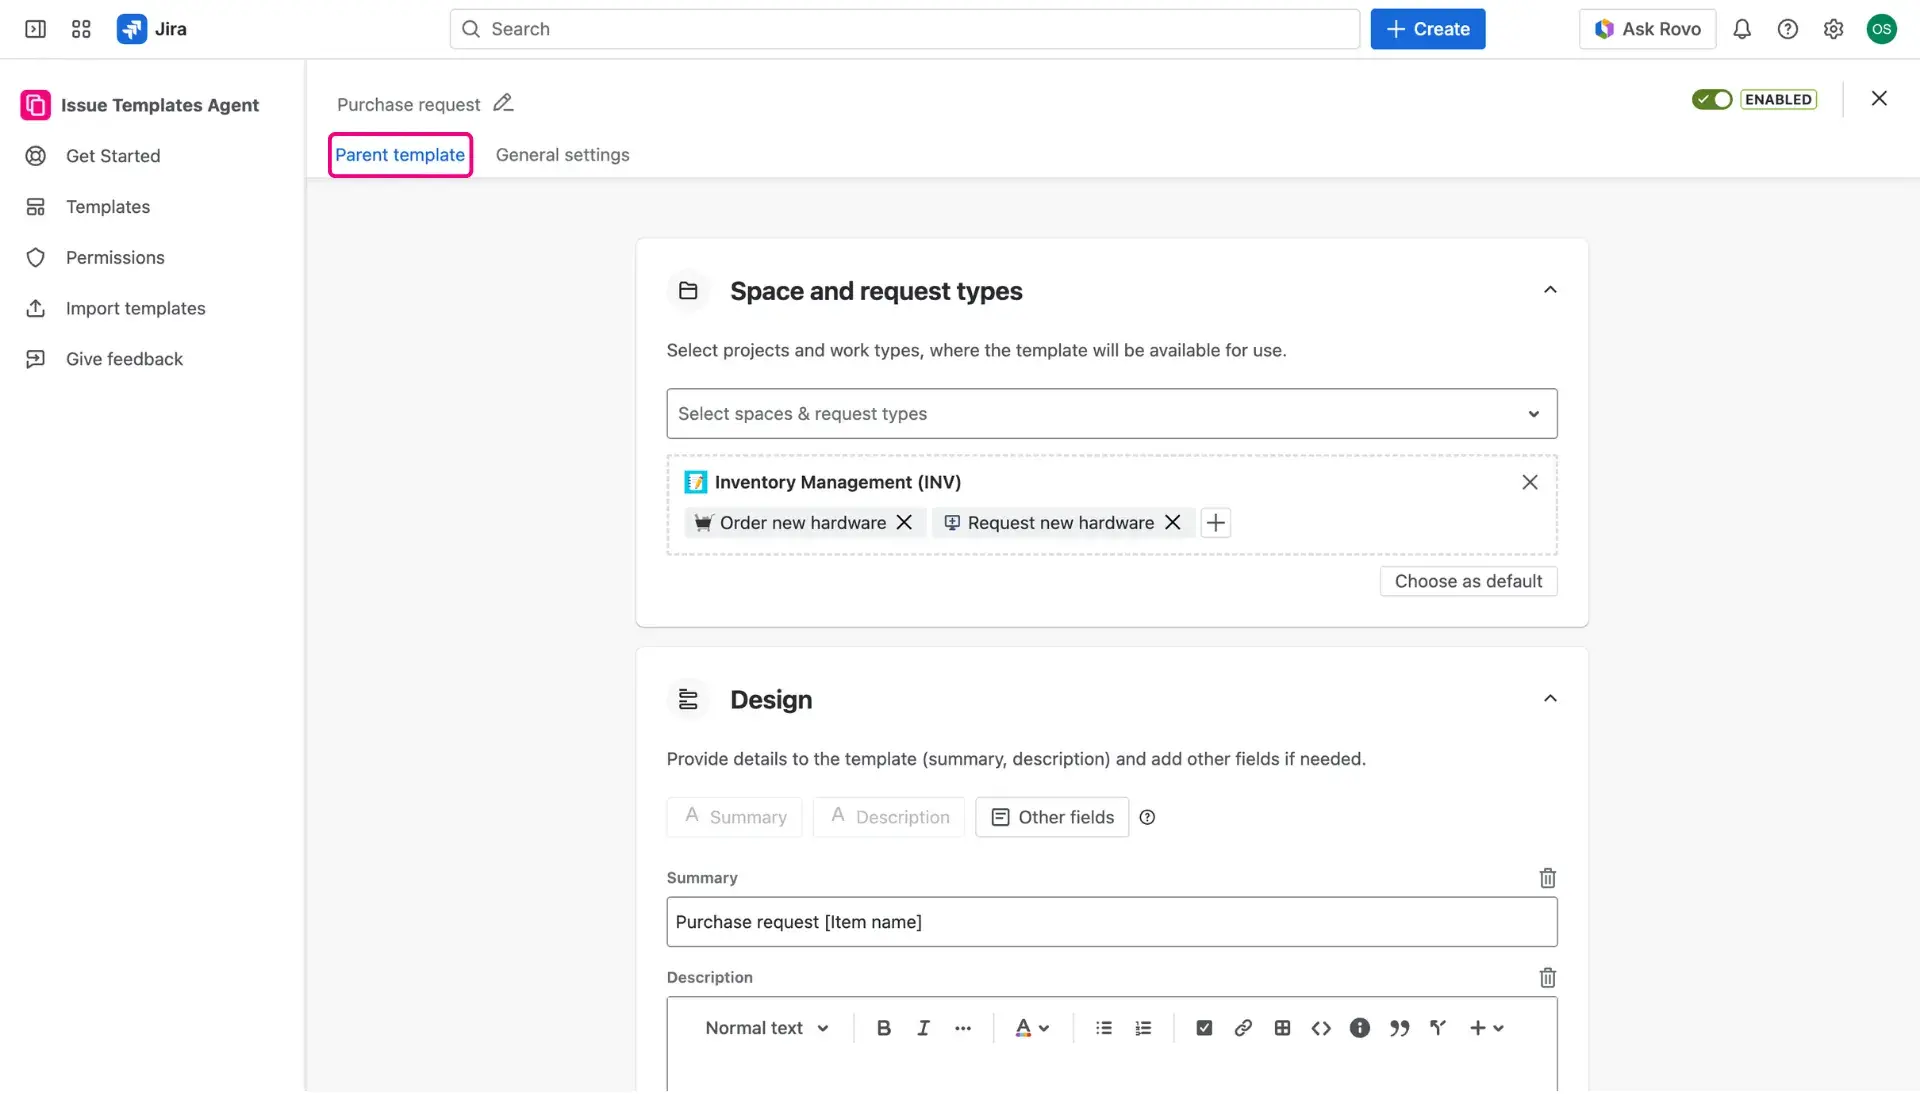
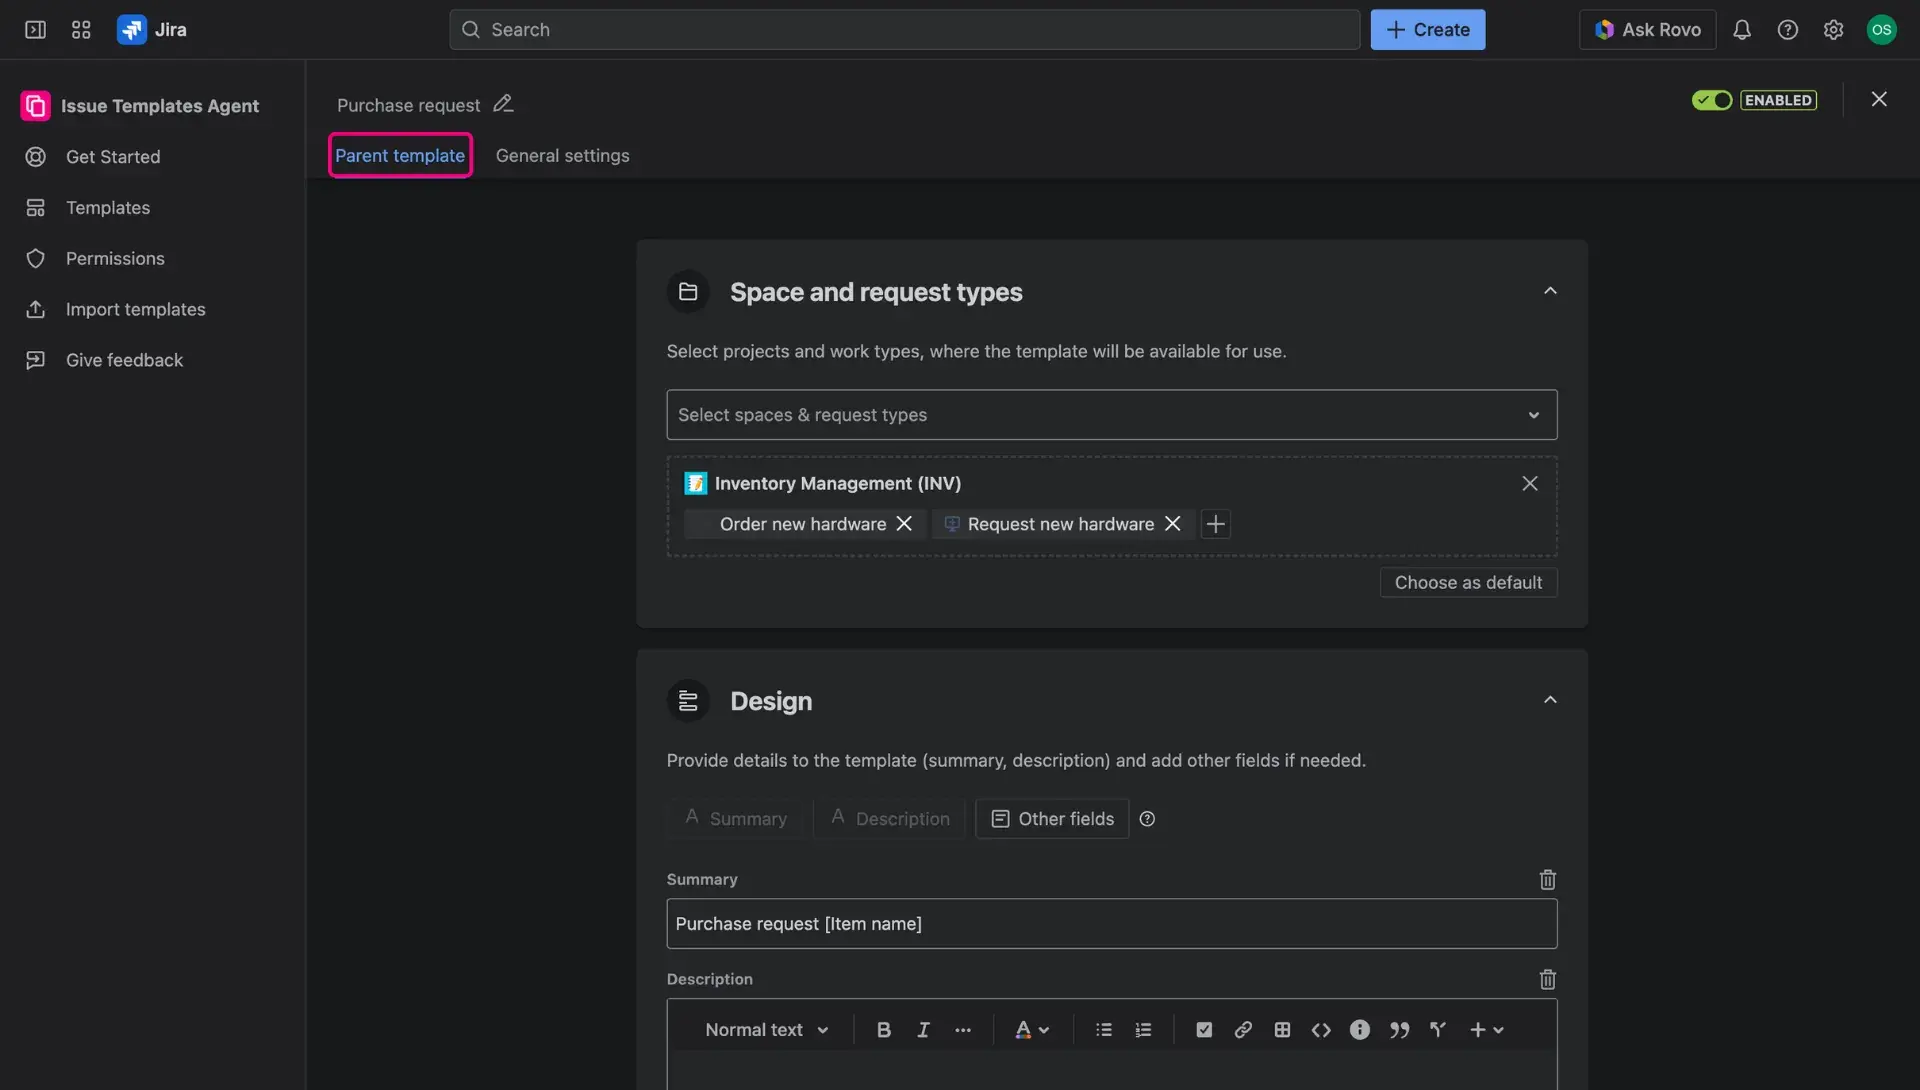
- Select the level of the desired template. Here, the example is based on a Single work item template level.
- Access the Template design tab to define the core parameters of the template. This includes selecting the target Service Project, choosing the specific Request type, and identifying which fields should be pre-filled with data or variables. The app supports simple, as well as more complex structures of templates.
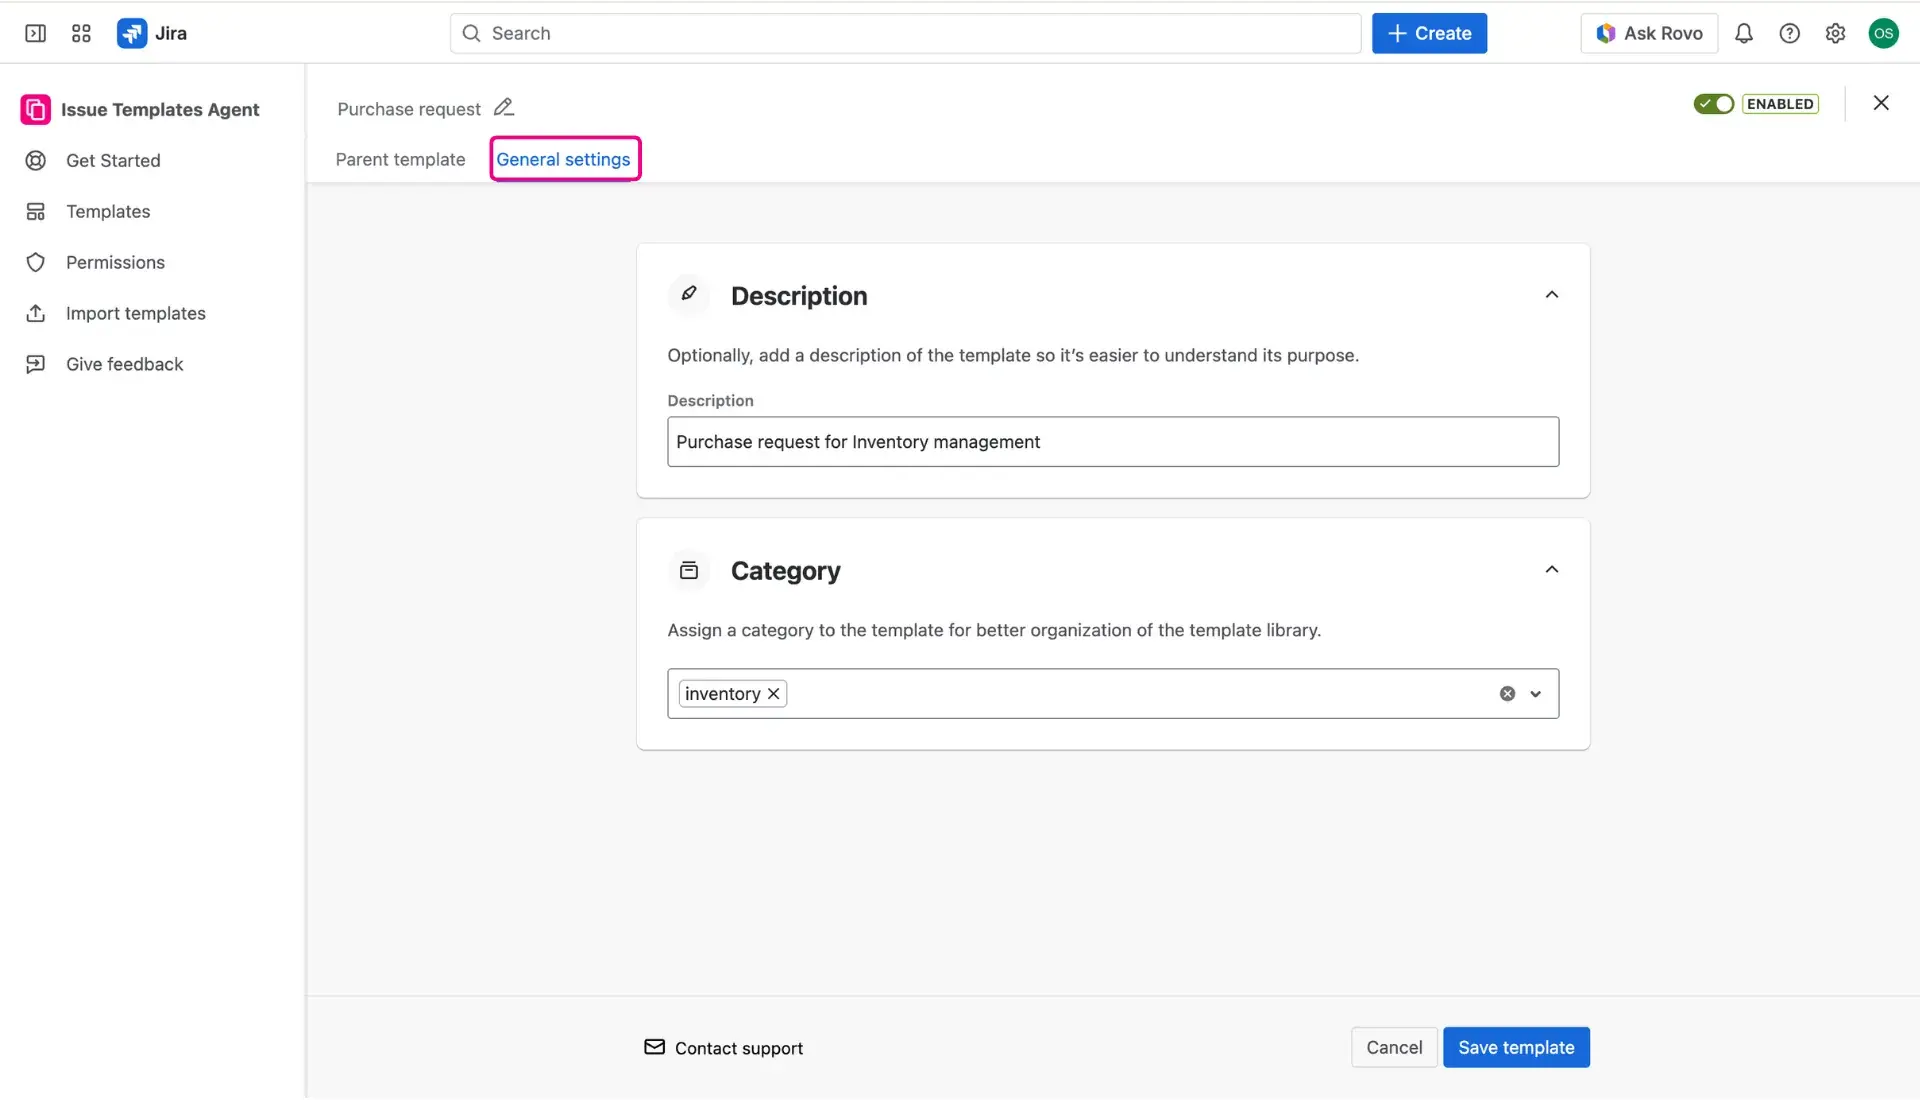
- Go into the General settings tab to add template details such as description and template category - for better organization.
Templates for customers on JSM Portal
At this moment, templates in Jira Service Management can be only applied from Customer Portal, on the Request form - this is caused by limitations on the Atlassian side. However, the availability of issue templates for Service Agents, on their side of JSM, is also on Issue Templates Agent development roadmap.
Making templates available on the Customer Portal
For a Jira ticket template to be accessible to clients, the Template field must be manually added to the specific Request type form.
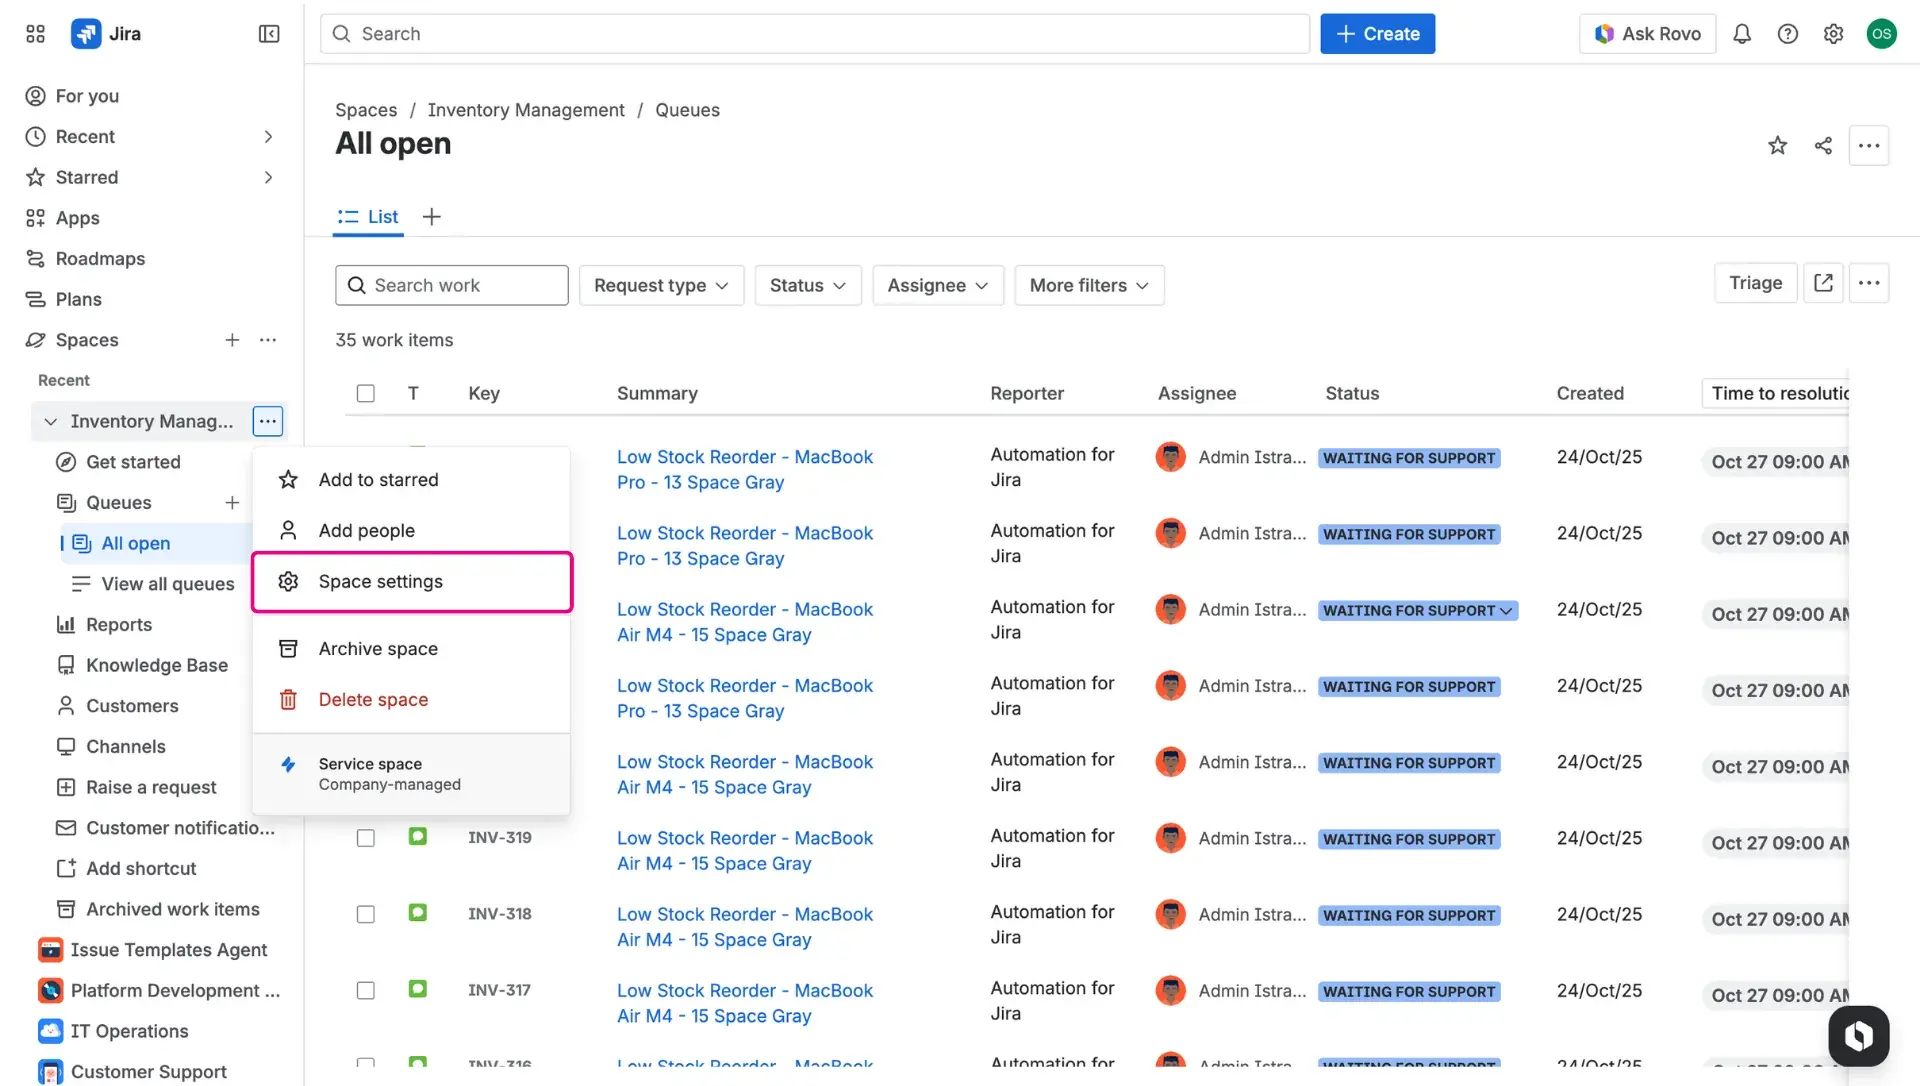
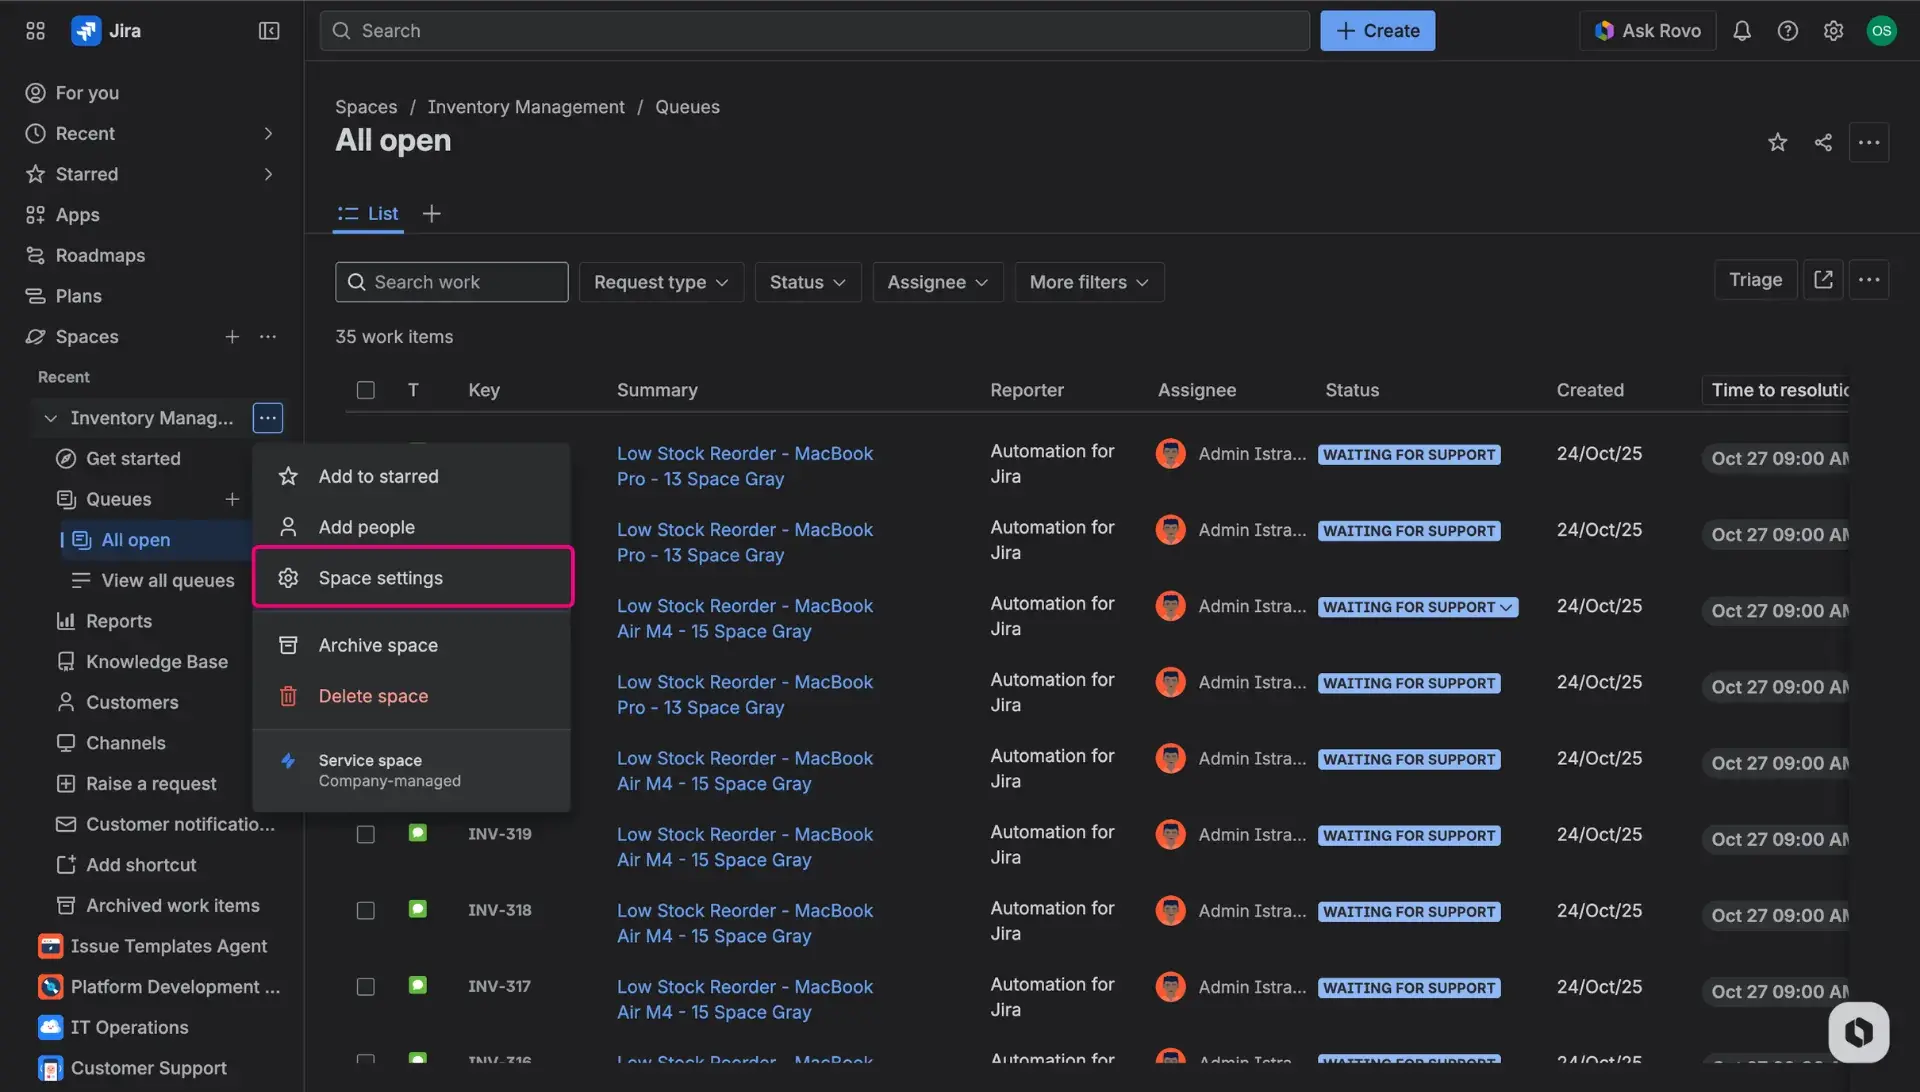
- Navigate to the service project of choice, go into Project settings > Request types.
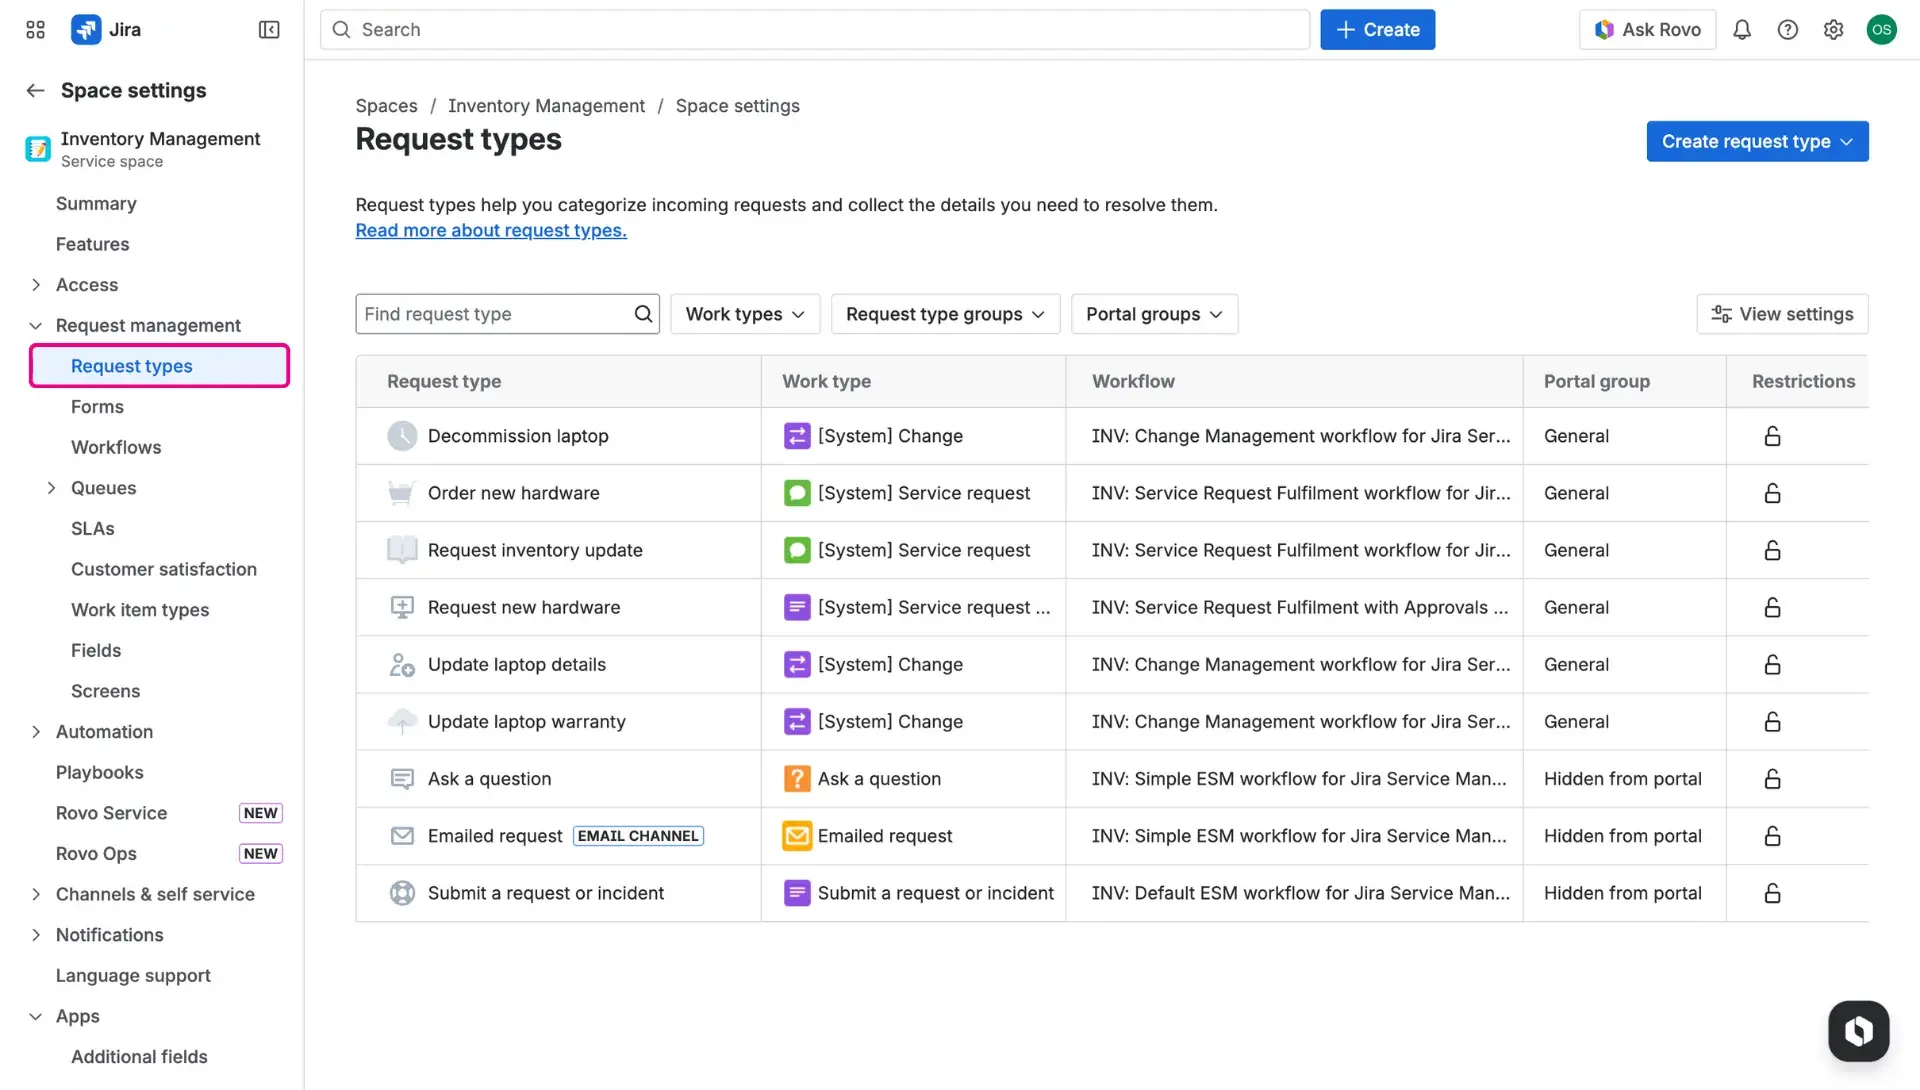
Select the specific Request type intended for template use.
Click on the Request form tab.
Locate the Template field (provided by the Issue Templates Agent) in the right-side panel and drag it into the visible fields section of the form.
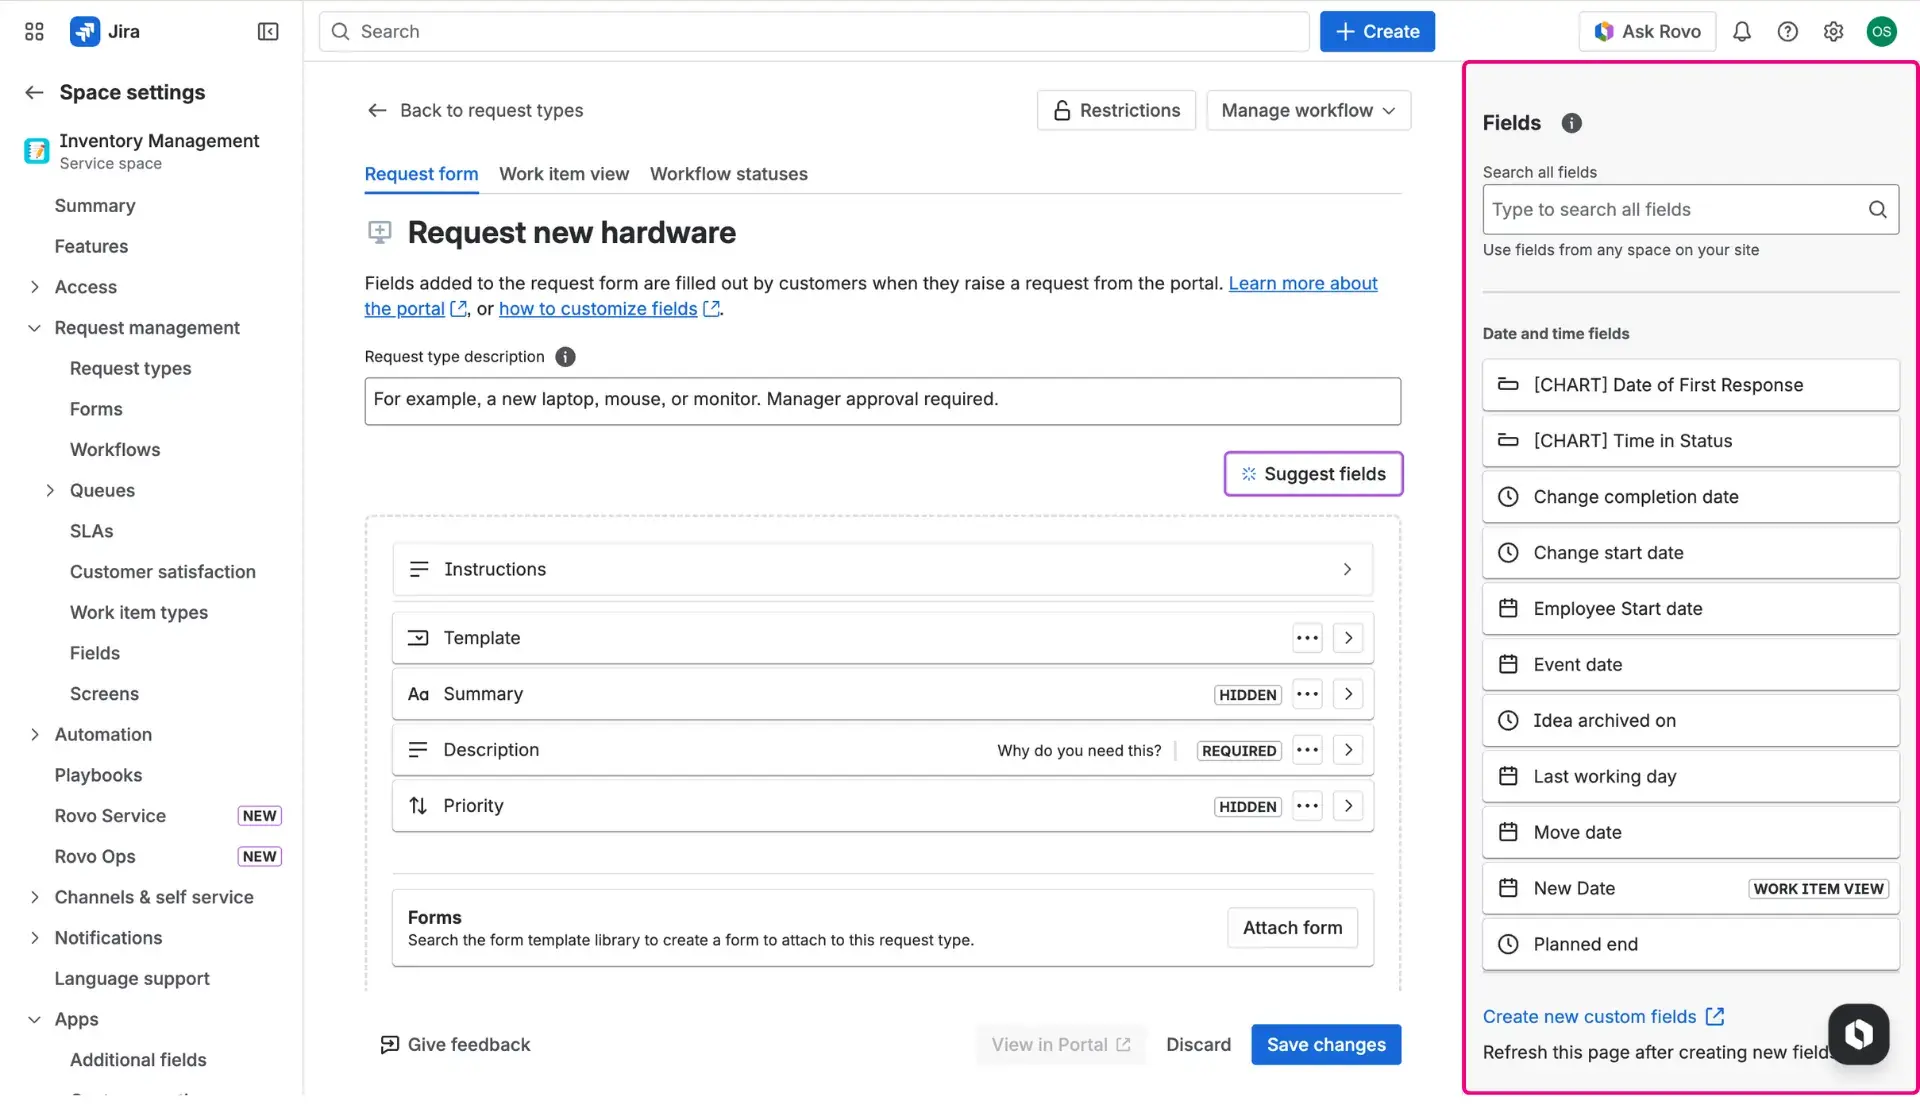
- Save the changes to ensure the field appears on the portal.
Remember
If the Template field is not added to the Request View configuration, customers will not be able to see or select templates on the portal.
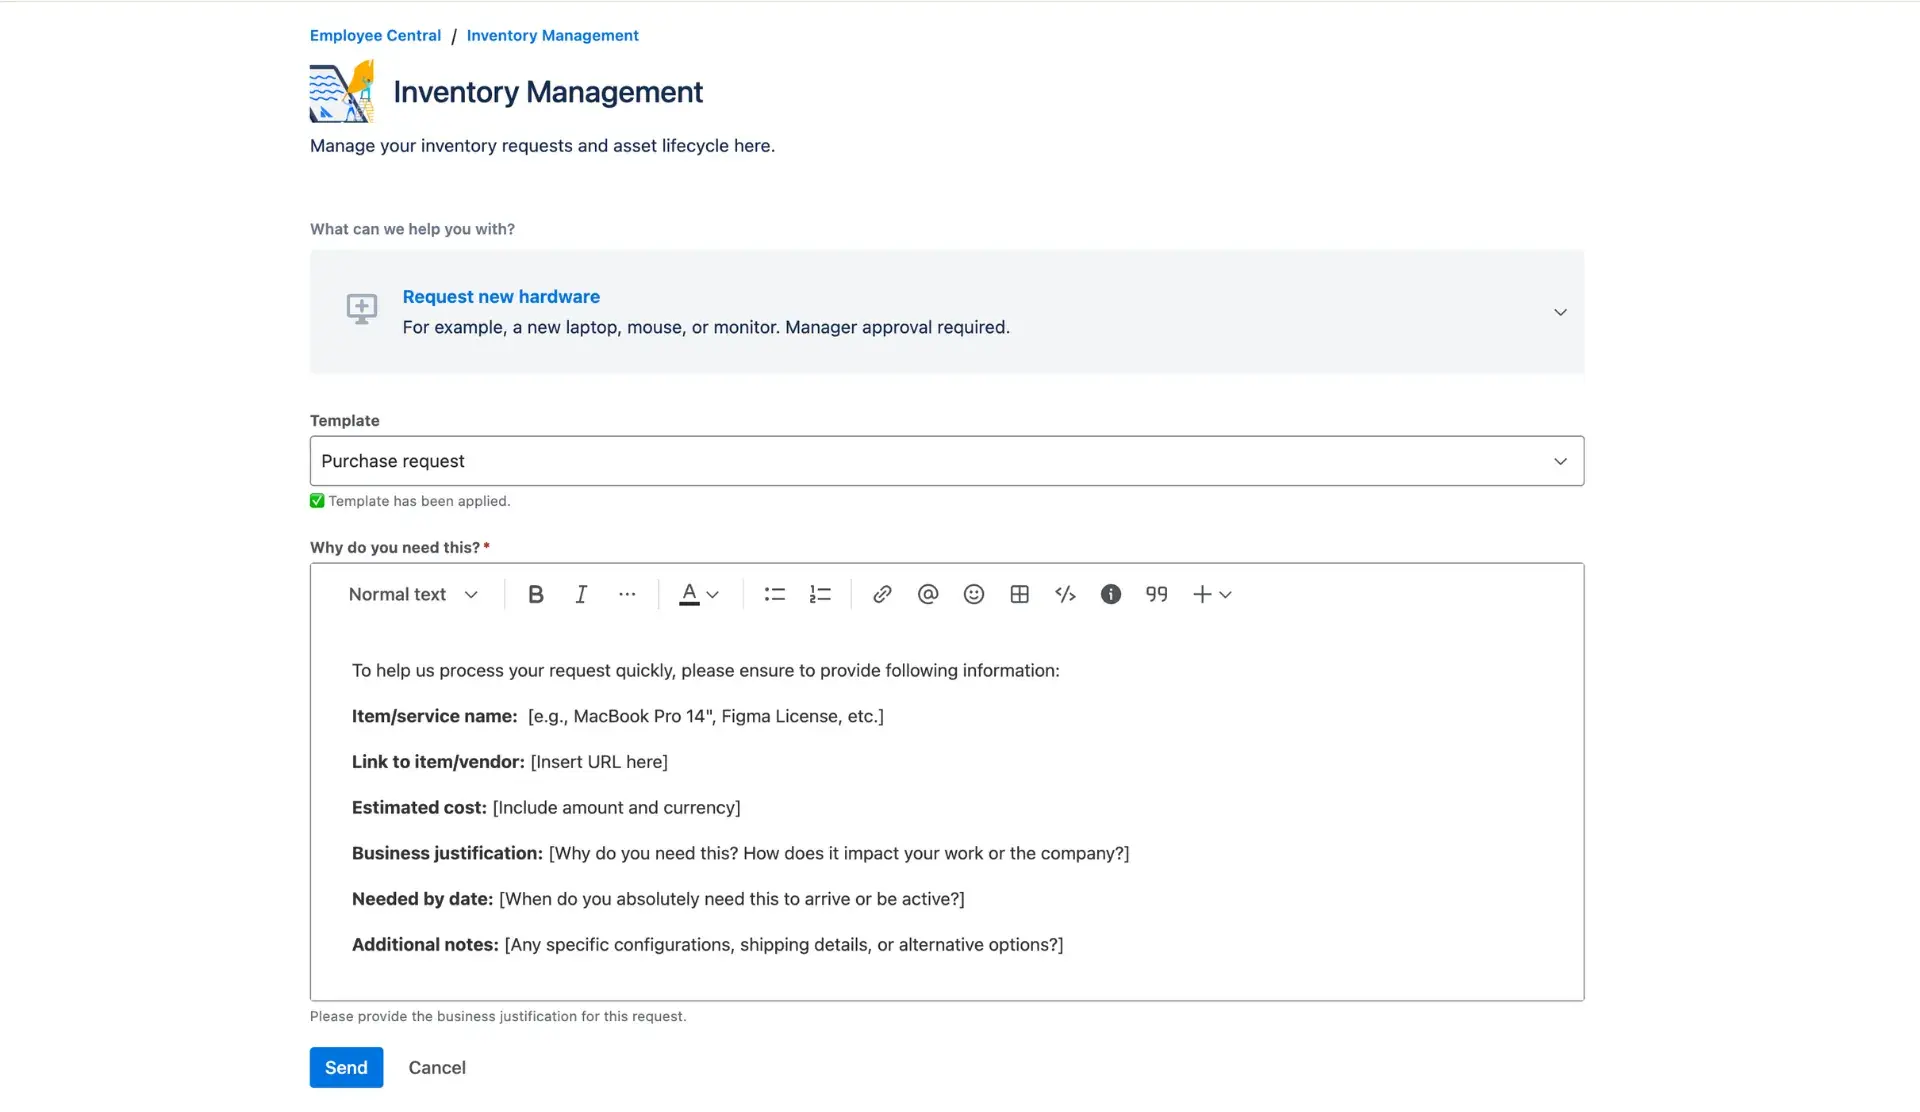
Using templates on the Portal
Once the setup is finalized, the request submission process follows a streamlined path:
- The client opens the relevant request form on the Customer Portal.
- A specific template is selected from the Template dropdown field.
- The values defined in the Template design tab automatically populate the corresponding fields in the form. Only fields present in the request form will be populated by the template.
- The client reviews the pre-filled information and clicks Create.
This ensures that the automated Jira issue creation results in a high-quality ticket that follows the team’s standardized format, allowing service agents to focus on resolution rather than information gathering.