Jira automation templates
The native integration between Issue Templates Agent and Jira automation provides a codeless way to standardize workflows. By utilizing the specialized Use Issue Templates Agent action, teams can trigger automated Jira issue creation or apply templates to existing tasks without managing complex REST API scripts.
Configuring issue templates automation
Setting up the automation rule requires navigating through the standard Jira automation engine. To ensure a successful configuration, follow these steps:
- Navigate to Project Settings > Automation within the chosen project and select Create rule.
- Define a trigger, such as Issue created, Issue transitioned, or a Manual trigger from the list of available options.
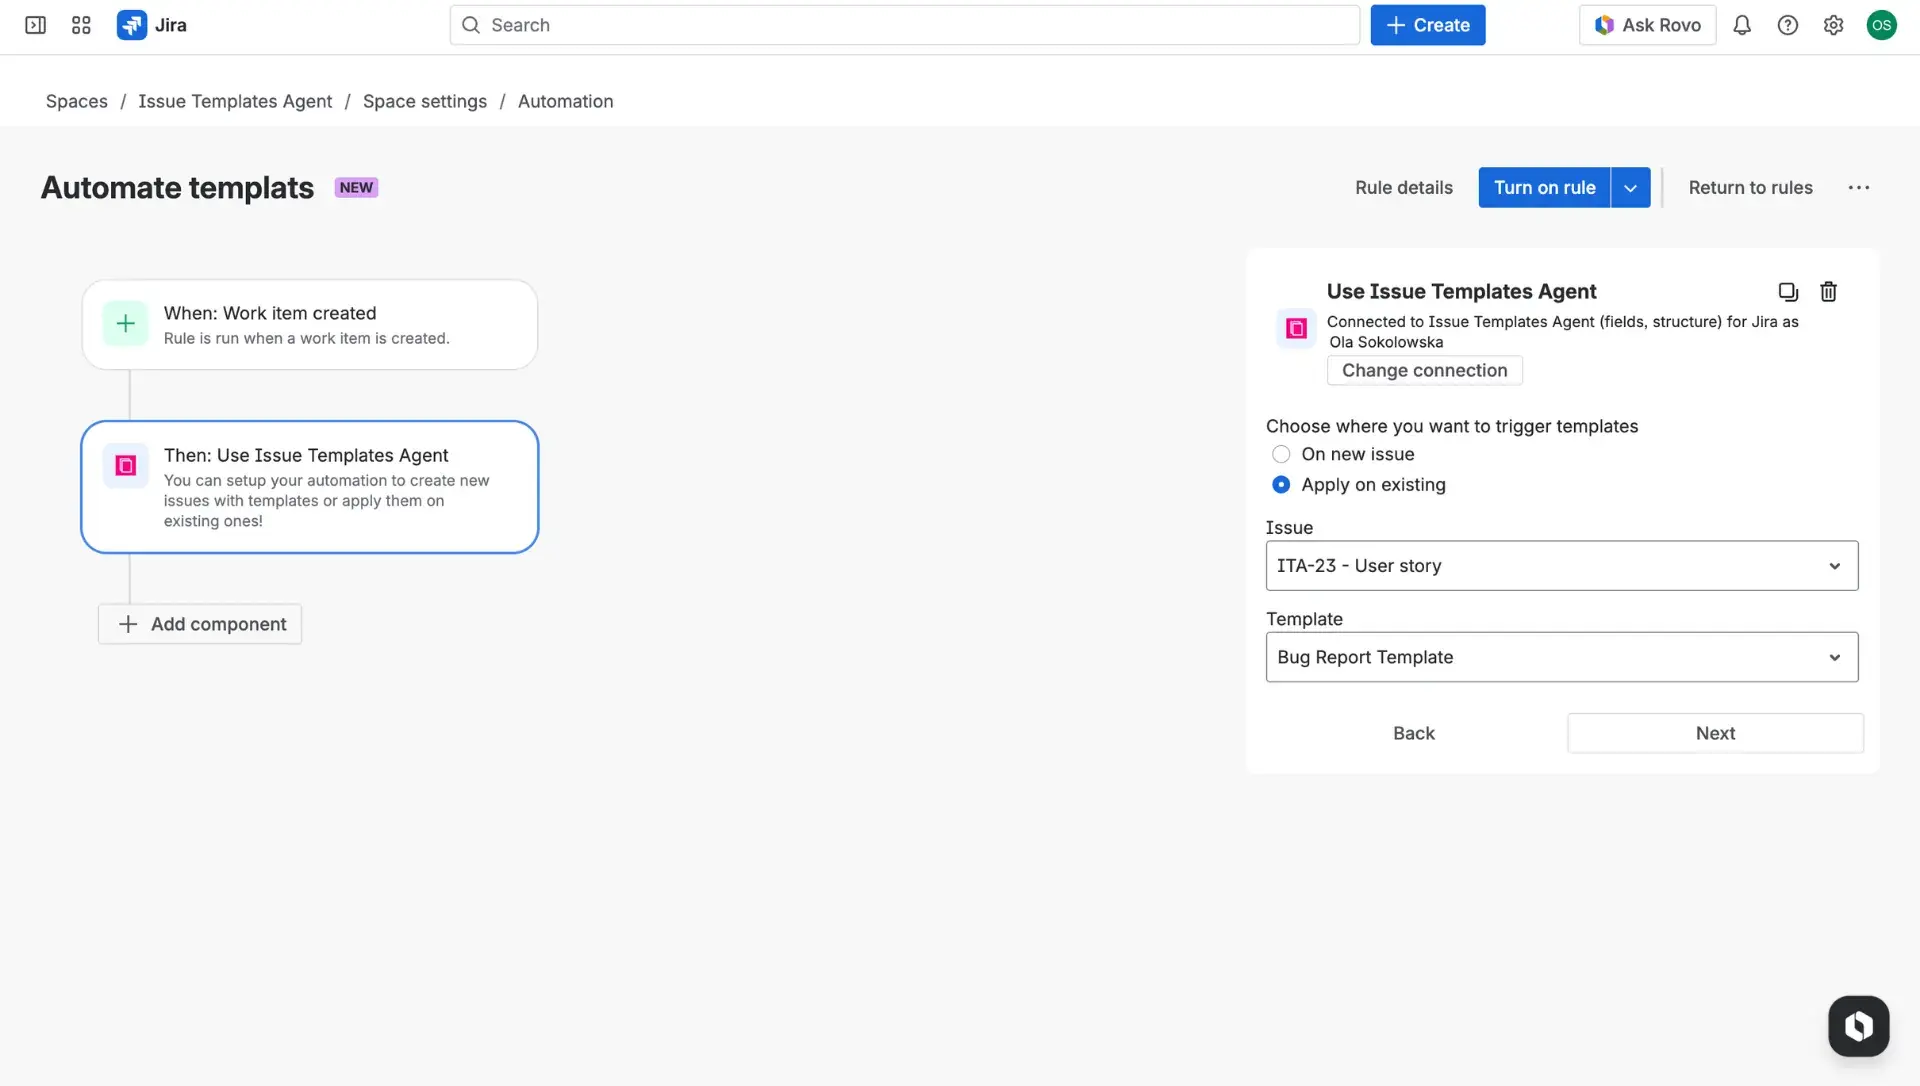
- Search for and add the Use Issue Templates Agent action to the rule.
- Establish a connection between Jira Automation and the app if this is the first time using the action; detailed guidance on this step is available in the Atlassian Connection Documentation.
- Specify whether the rule should create a new issue or apply the template to an existing issue.
- Select the target project, the specific issue type, and the Jira ticket template to be used.
- Review the logic and click Turn on rule to activate the automated workflow.
Issue templates automation in practice
When the automation rule is active, the process is entirely hands-off for the end user. For example, if a rule is configured with a Manual Trigger, a user simply selects the option from the Actions menu on any issue. The system then instantly pulls the pre-defined data from the Jira issue template and populates the fields - including assignees, descriptions, and custom data - without requiring any further input. This ensures that even complex tasks, like a Jira story requiring multiple subtasks, are perfectly standardized every time the rule is triggered.