Simple
Simple templates create a two-level hierarchy by connecting a parent issue directly to its children. This is the best way to link a Jira story to its required subtasks or an Epic to its standard tasks. This structure makes it easy to create subtask sets automatically, ensuring every bug template in Jira or project task includes its necessary child items.
How to configure a Simple template
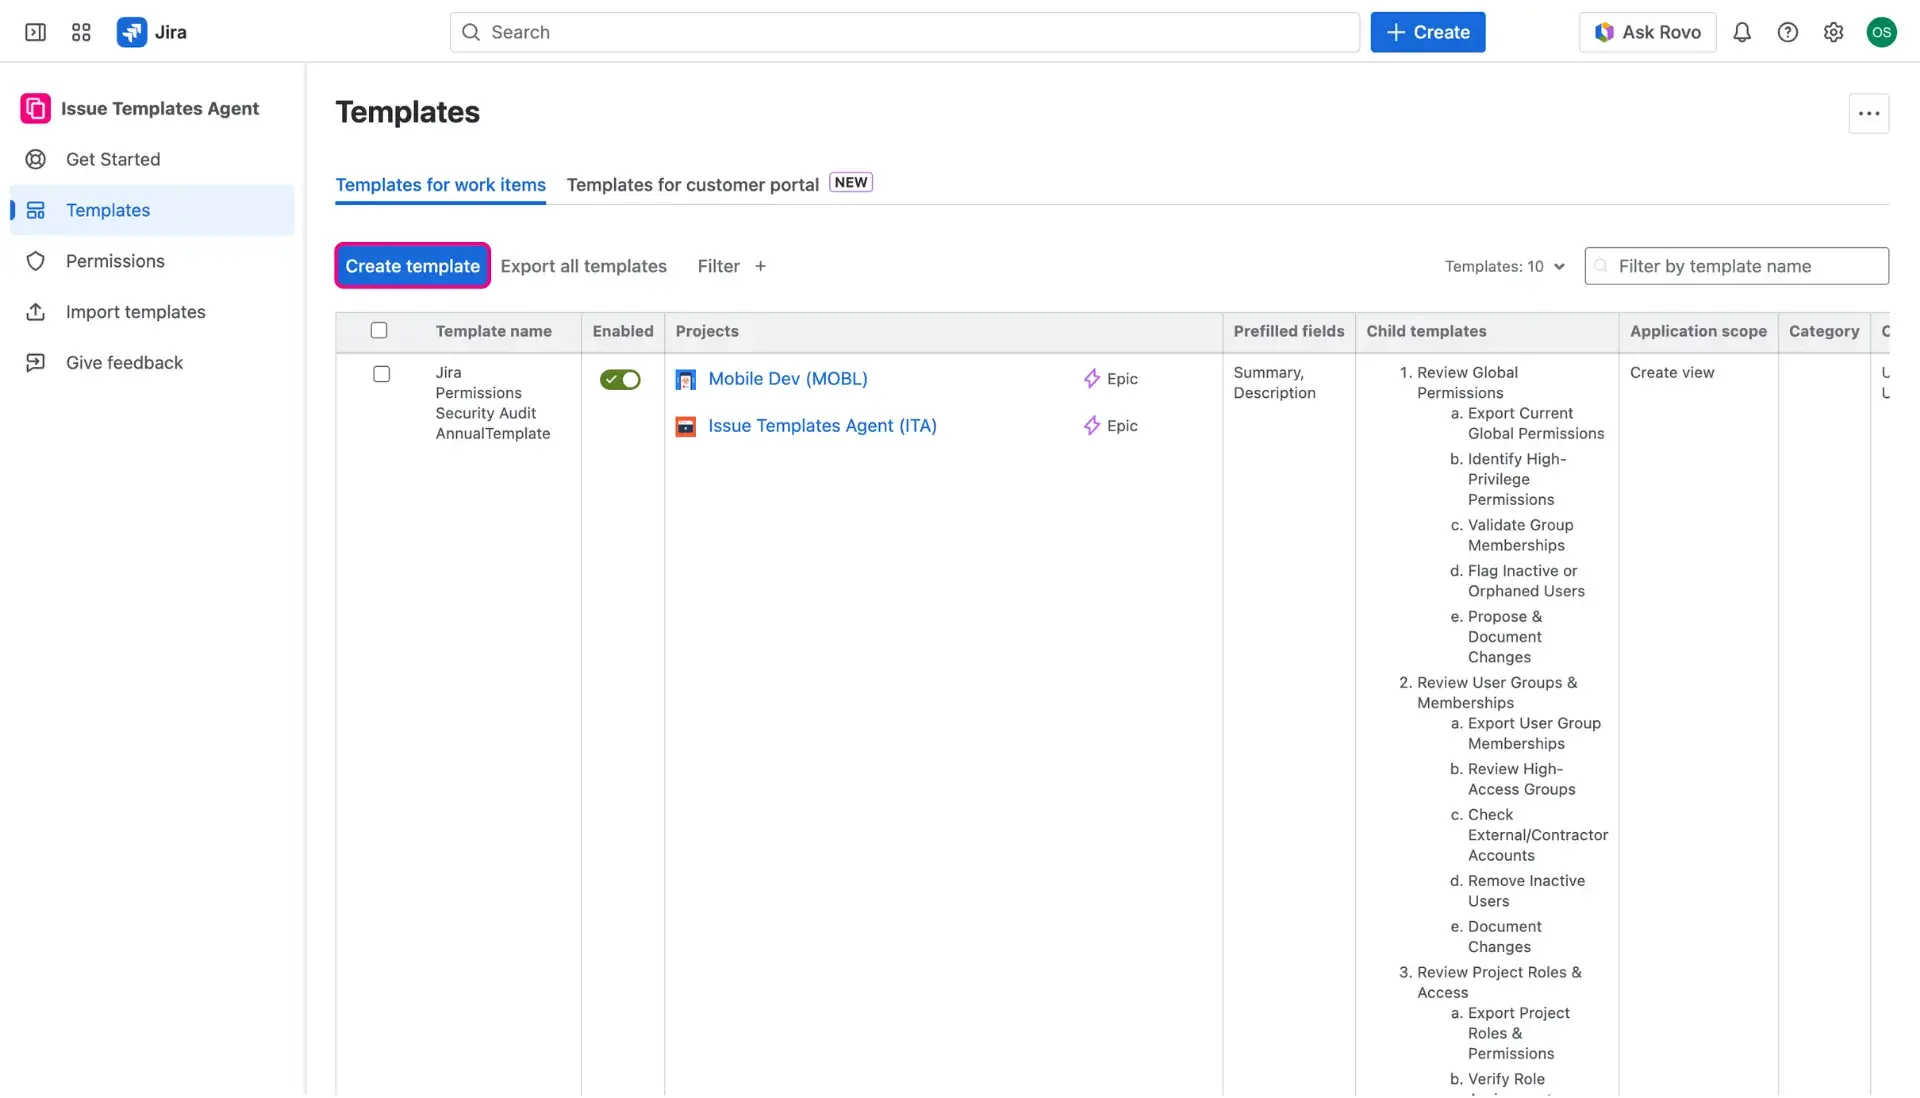
- Access Issue Templates Agent by going into Apps and selecting the add-on.
- In the Templates for work items tab, click Create template button, which is found right above the table.
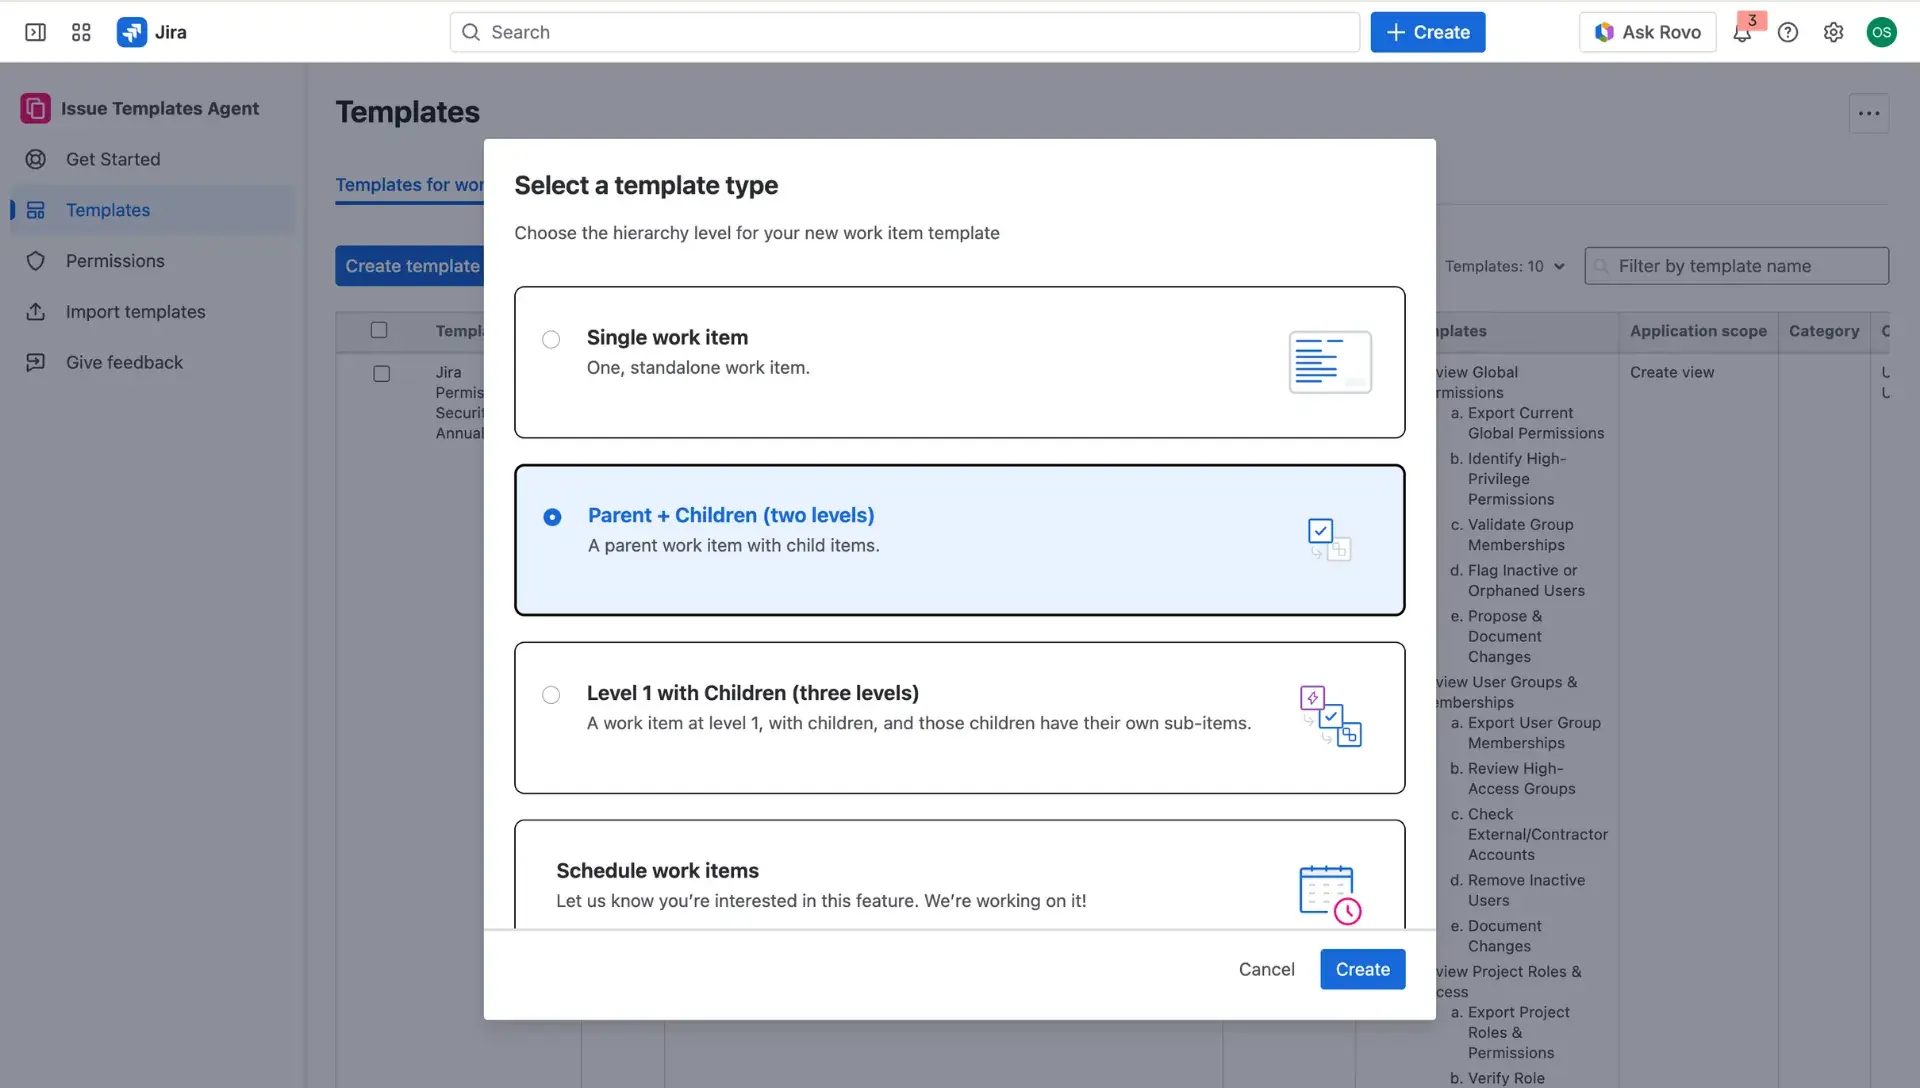
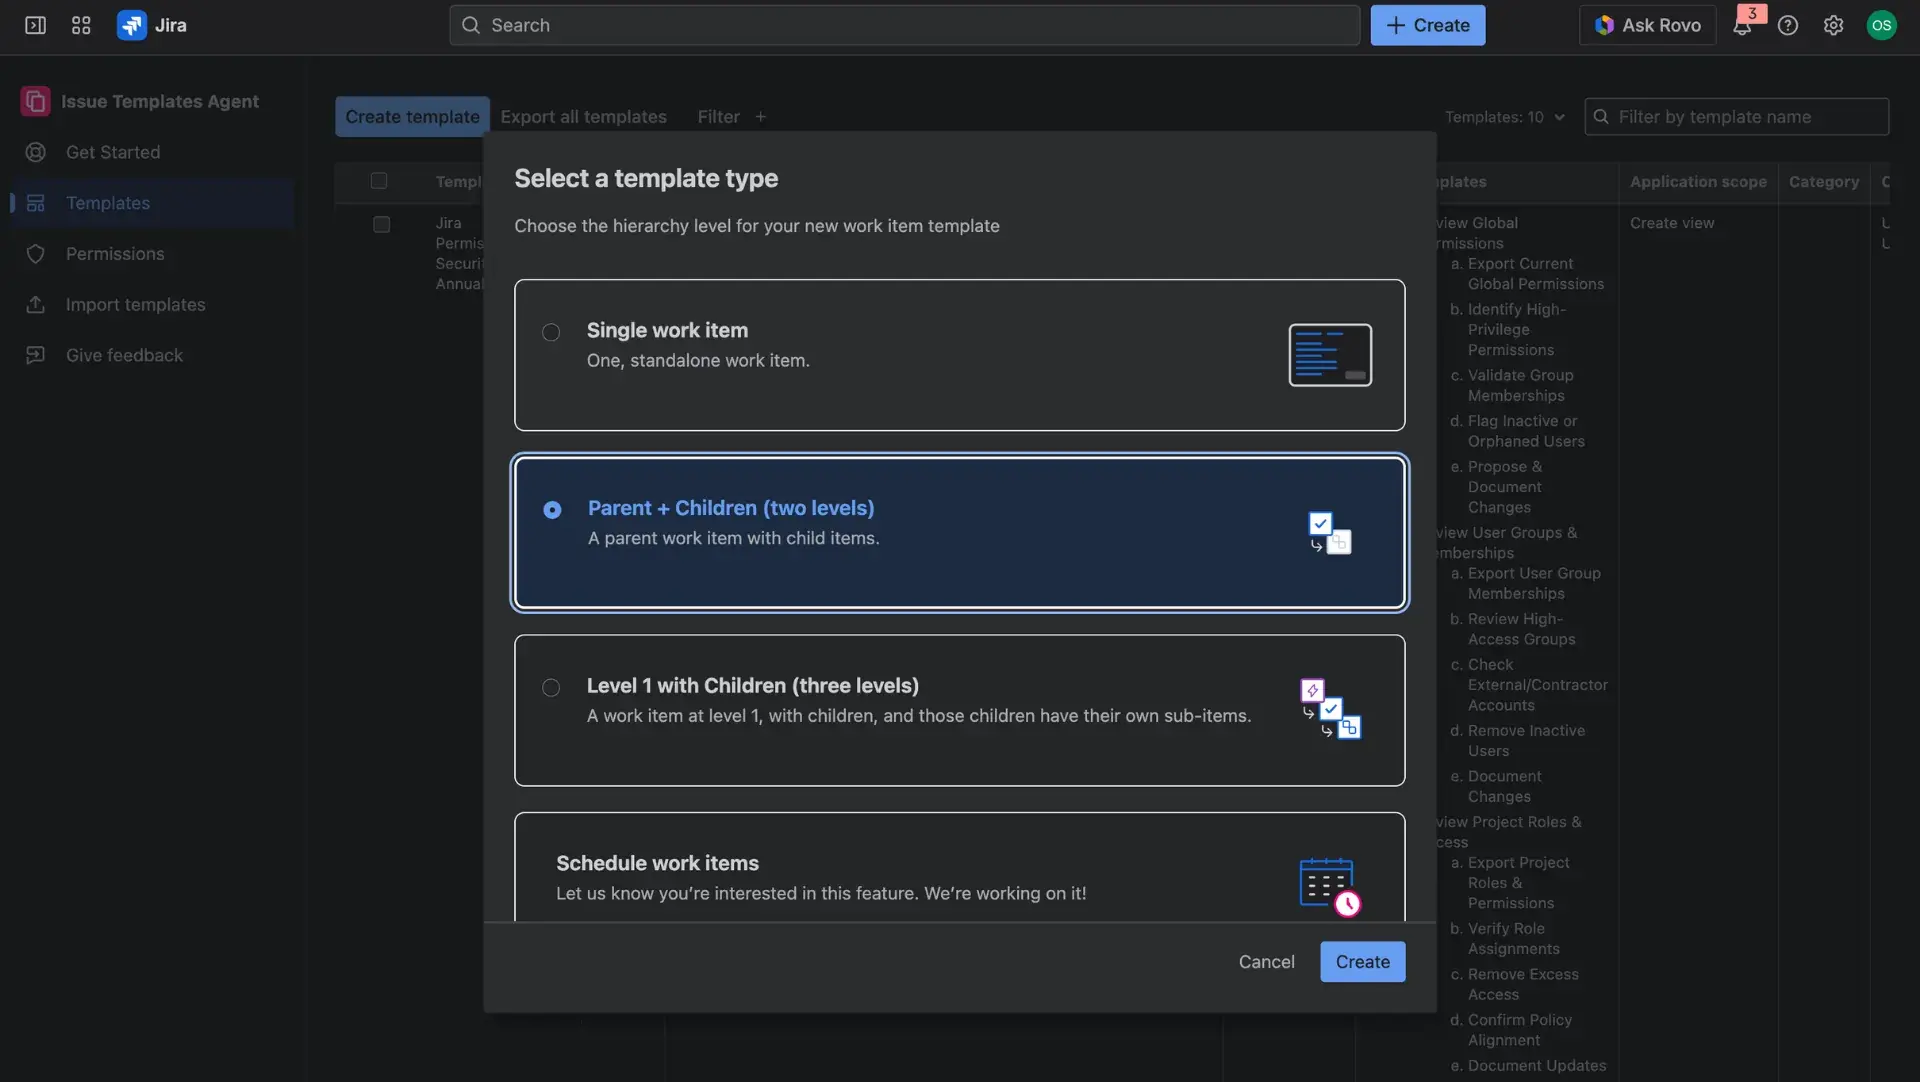
- In the new window select Parent + children.
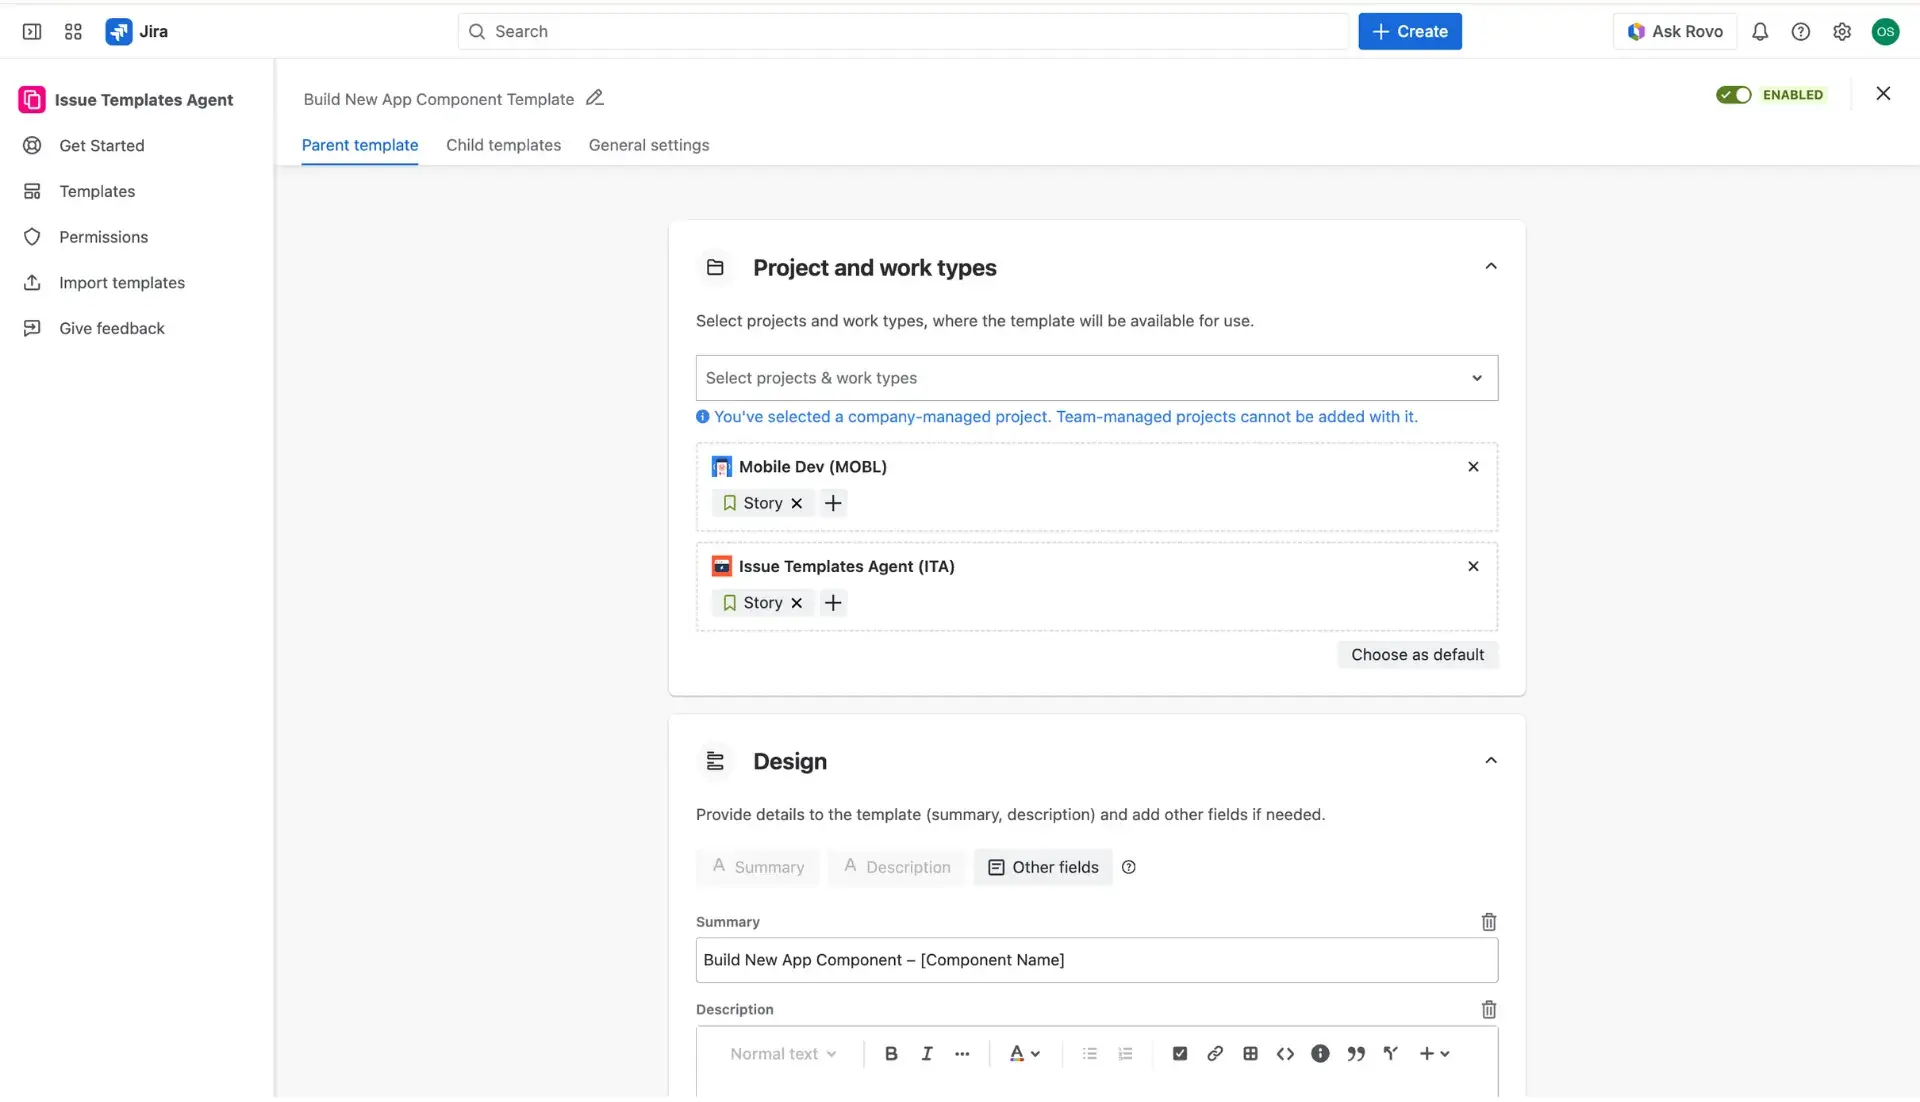
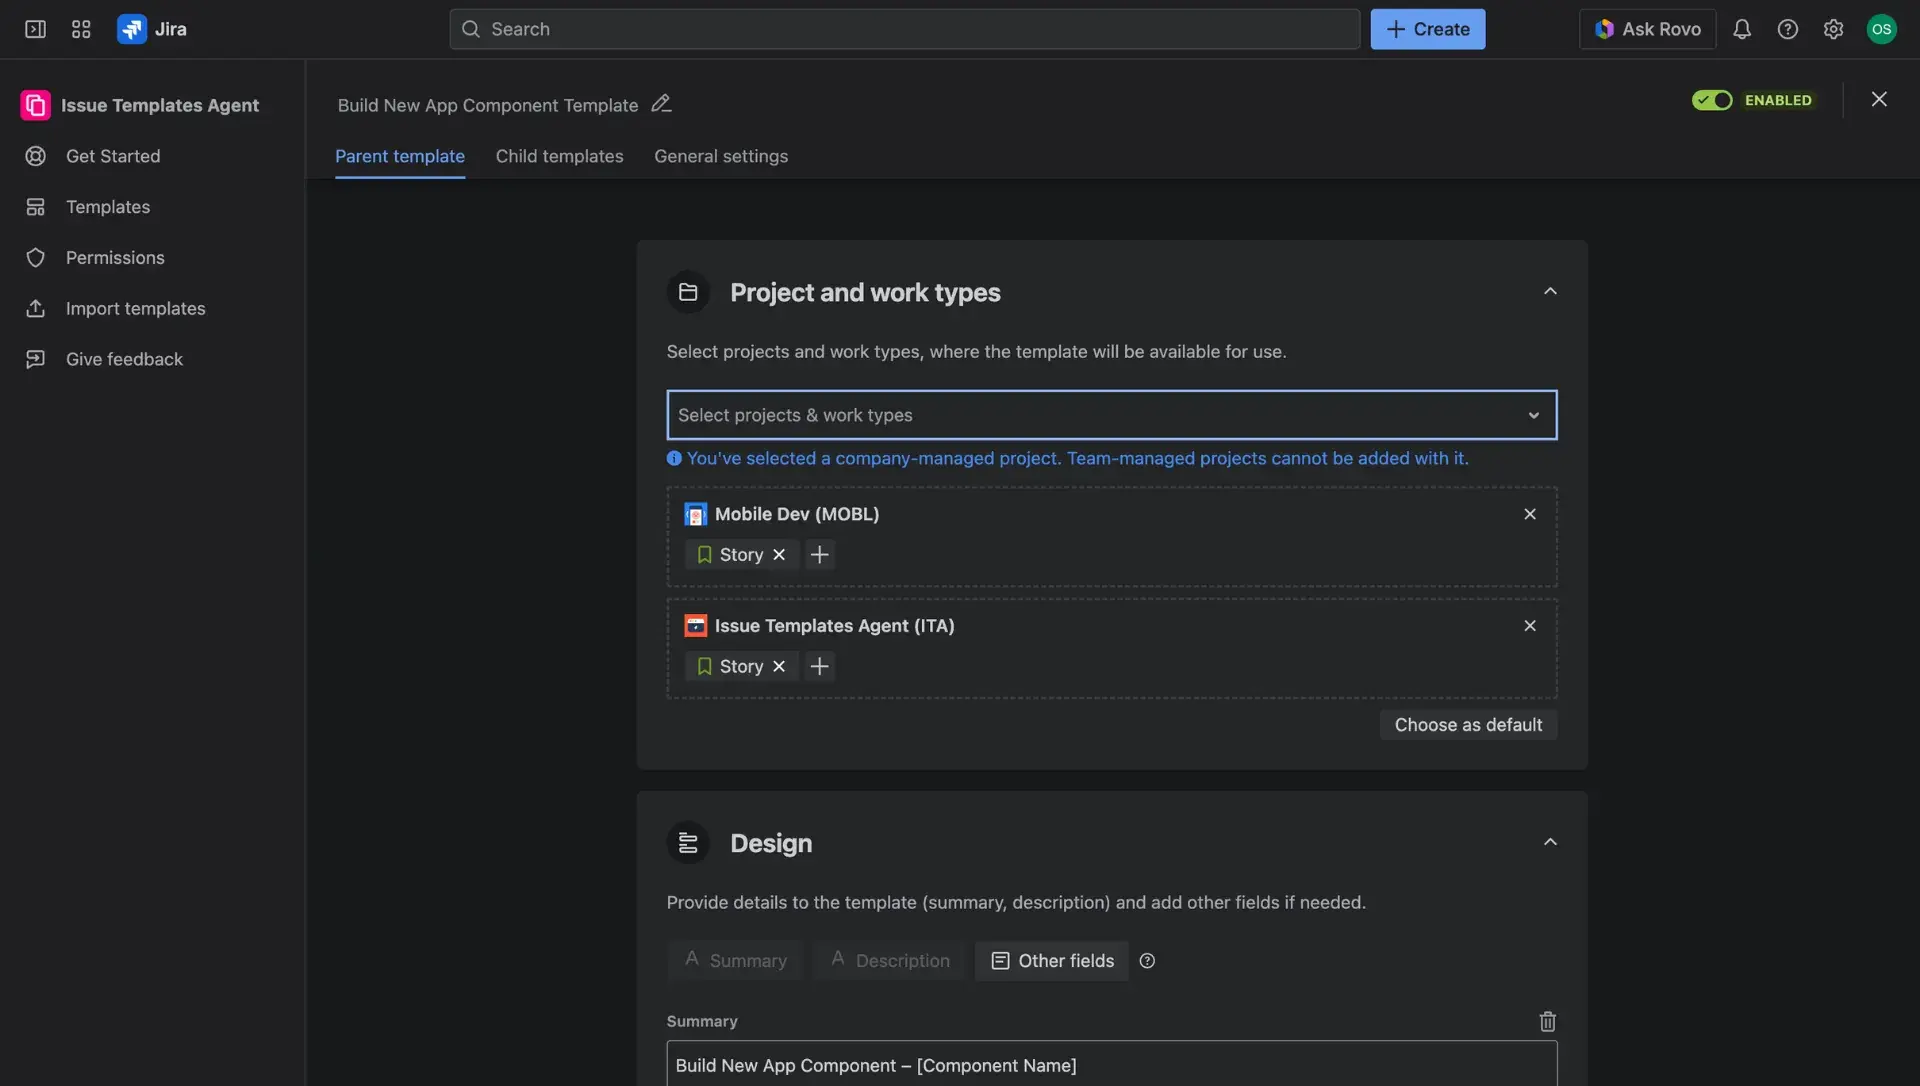
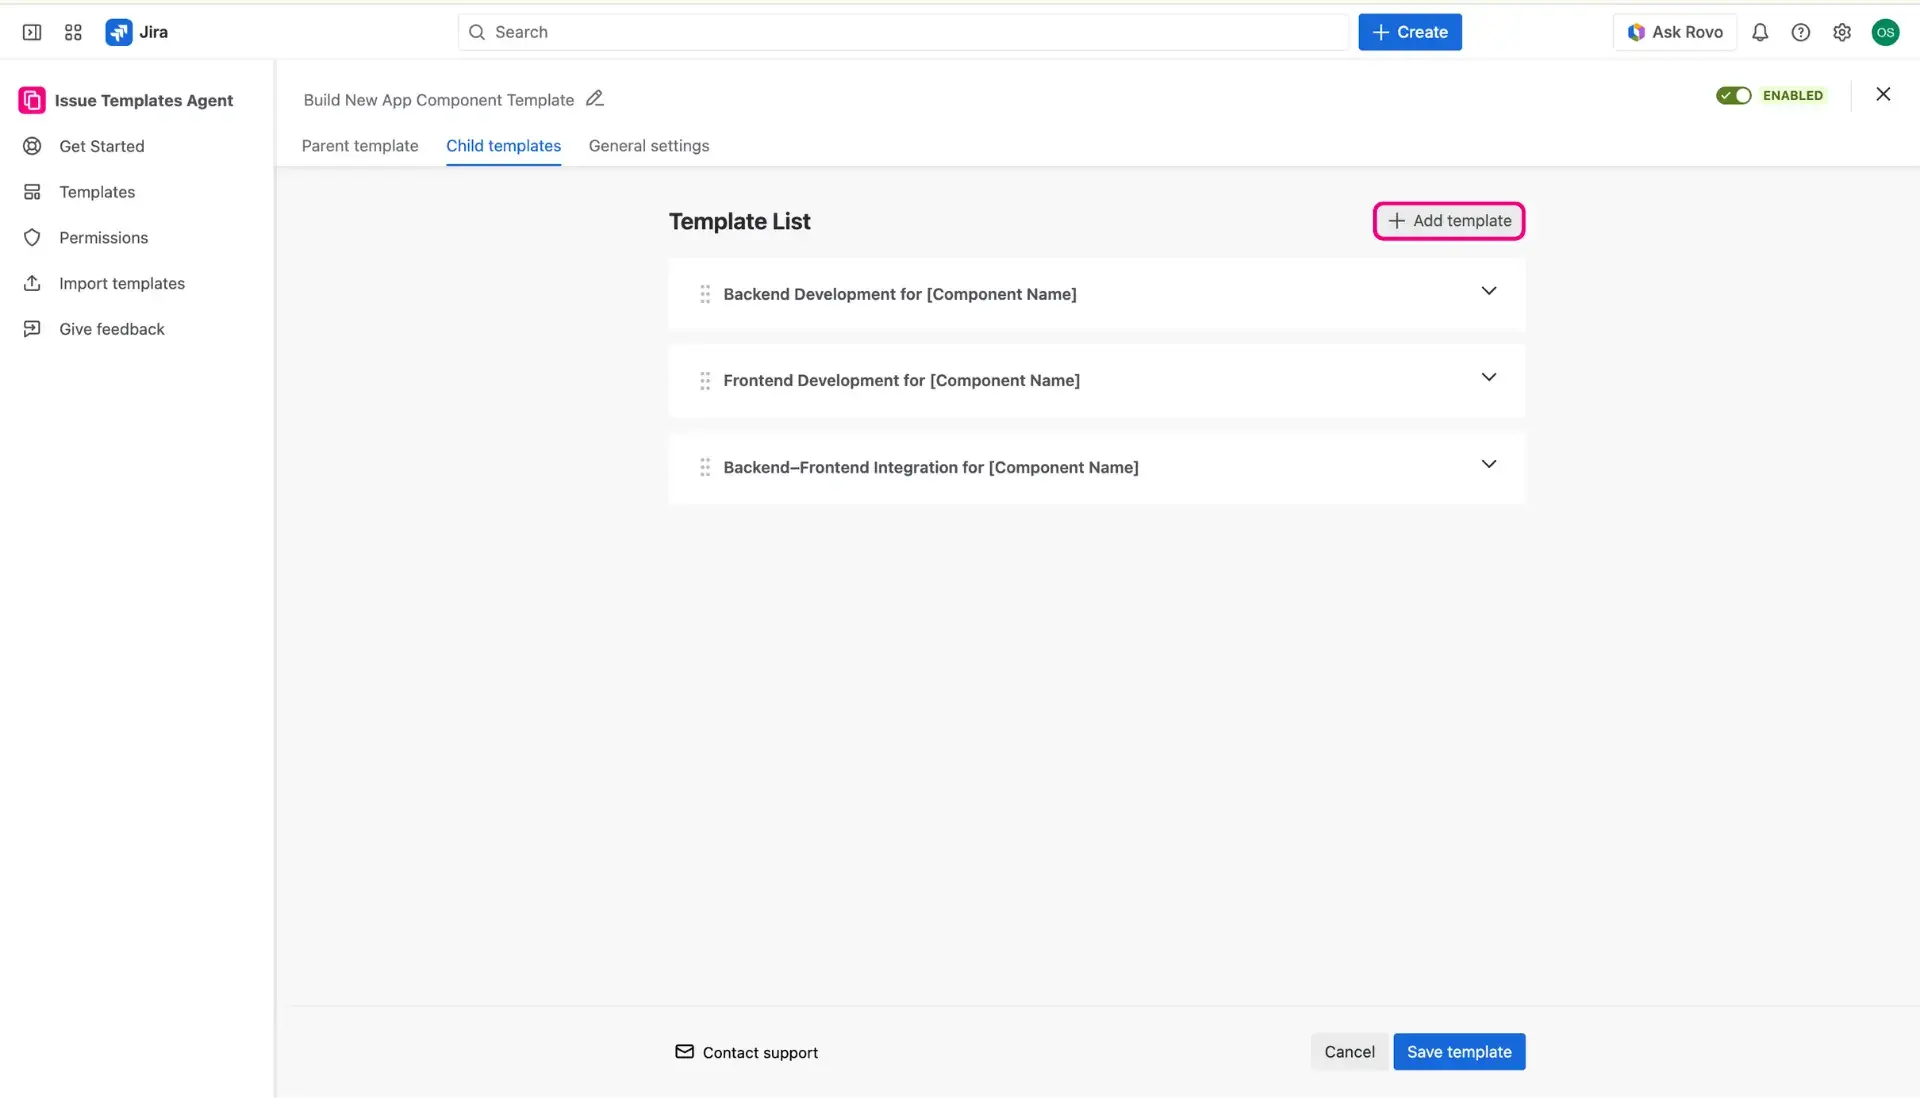
- The new page, in the Parent and Child templates tabs is where you design templates.
- Switch between the tabs to configure both levels.
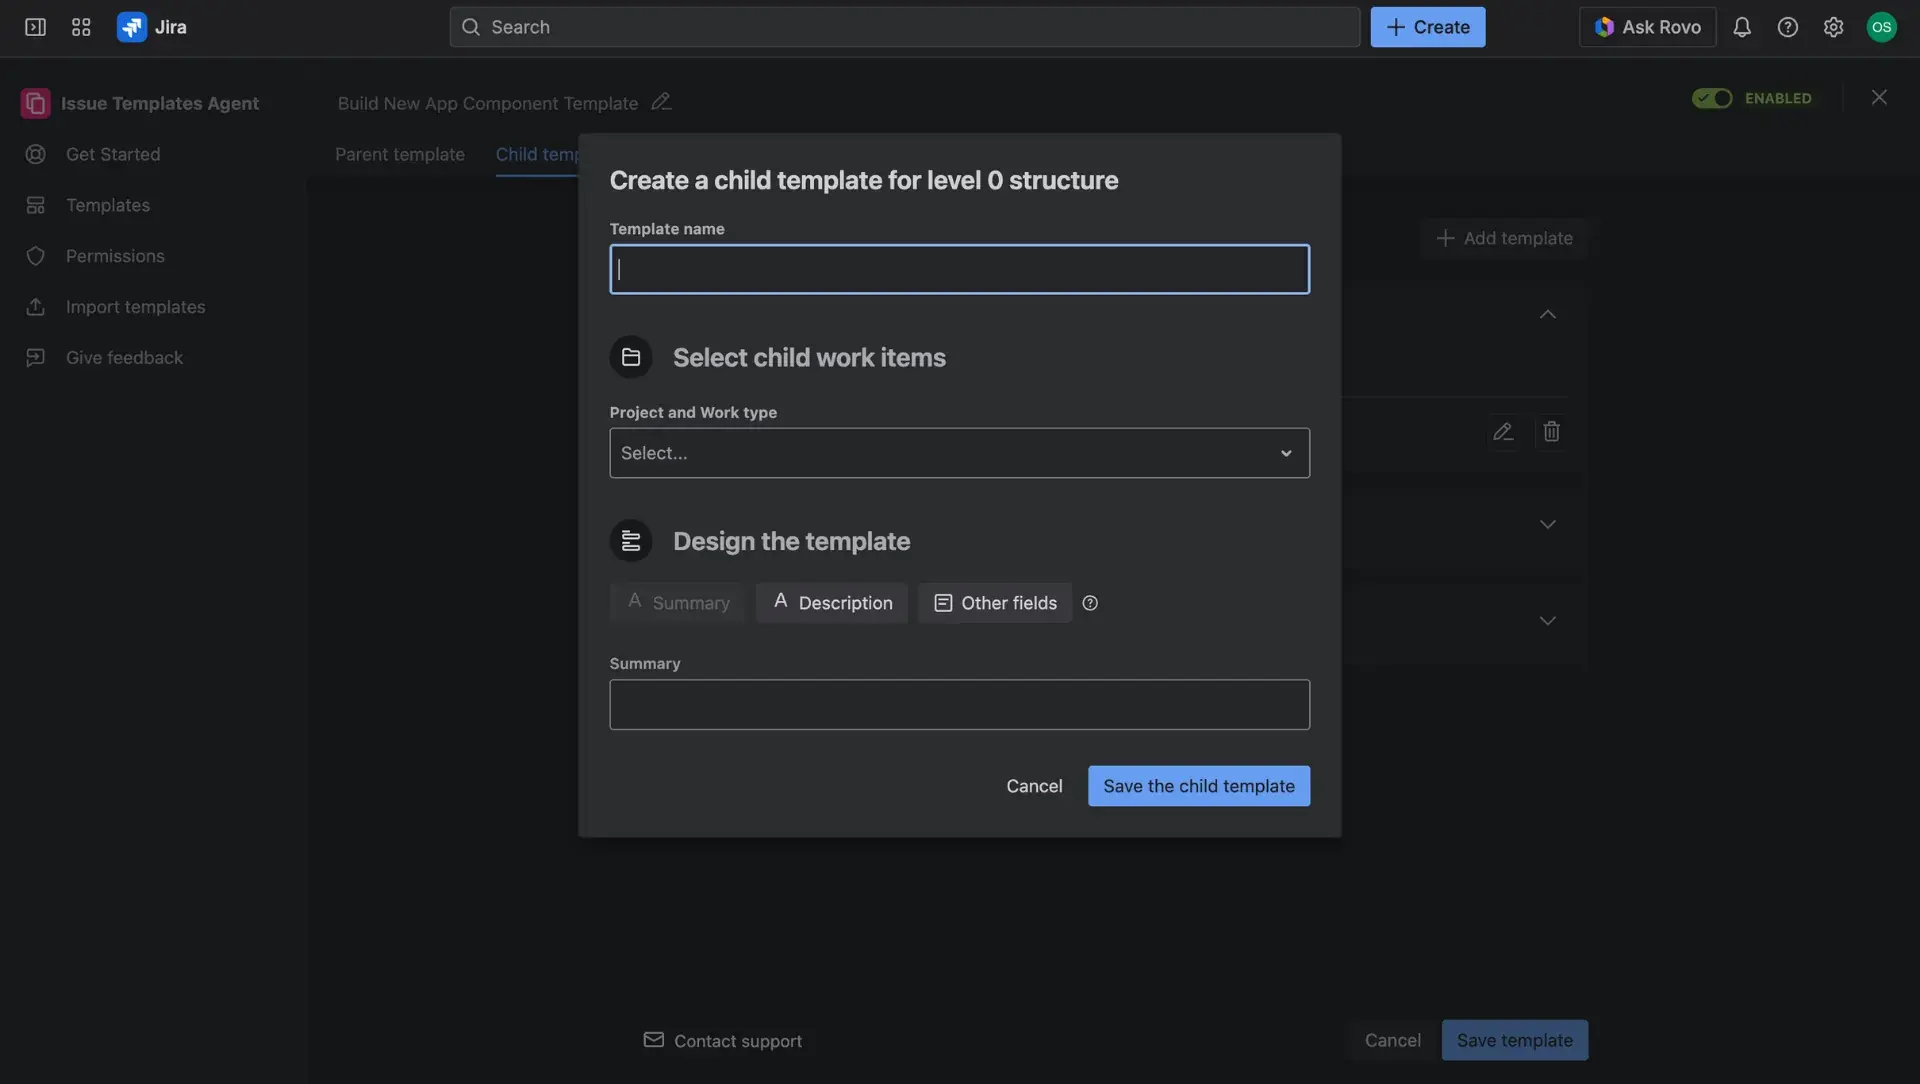
- Child templates can be configured once project and issue type have been added to the Parent template.
- For Child templates, the Summary field is required, as it is necessary for the creation of a new issue. Additionally, the list of supported fields is extended, in comparison to the Parent templates. For more details regarding supported fields, visit this page.

- Each tab allows you to configure the following aspects of templates:
- (required) Add a name of the template.
- Select Project(s) where the template will be used.
- Choose an issue type available in selected project.
- You can set the template as default in defined project and issue type - applicable only for the Parent template.
- You can enable/disable each template for use with a toggle in the top right corner - applicable only for the Parent template.
- Disabling the template means that it won’t show up in Create issue view.
How does setting a default template work?
If the box next to the project and issue type in ticked off, the default template will be applied on the Create issue screen immediately after selecting the issue type.
Thanks to this, the user won’t have to select it manually.
If you have already set a default template somewhere else, selecting a checkbox here will override the previous configuration.
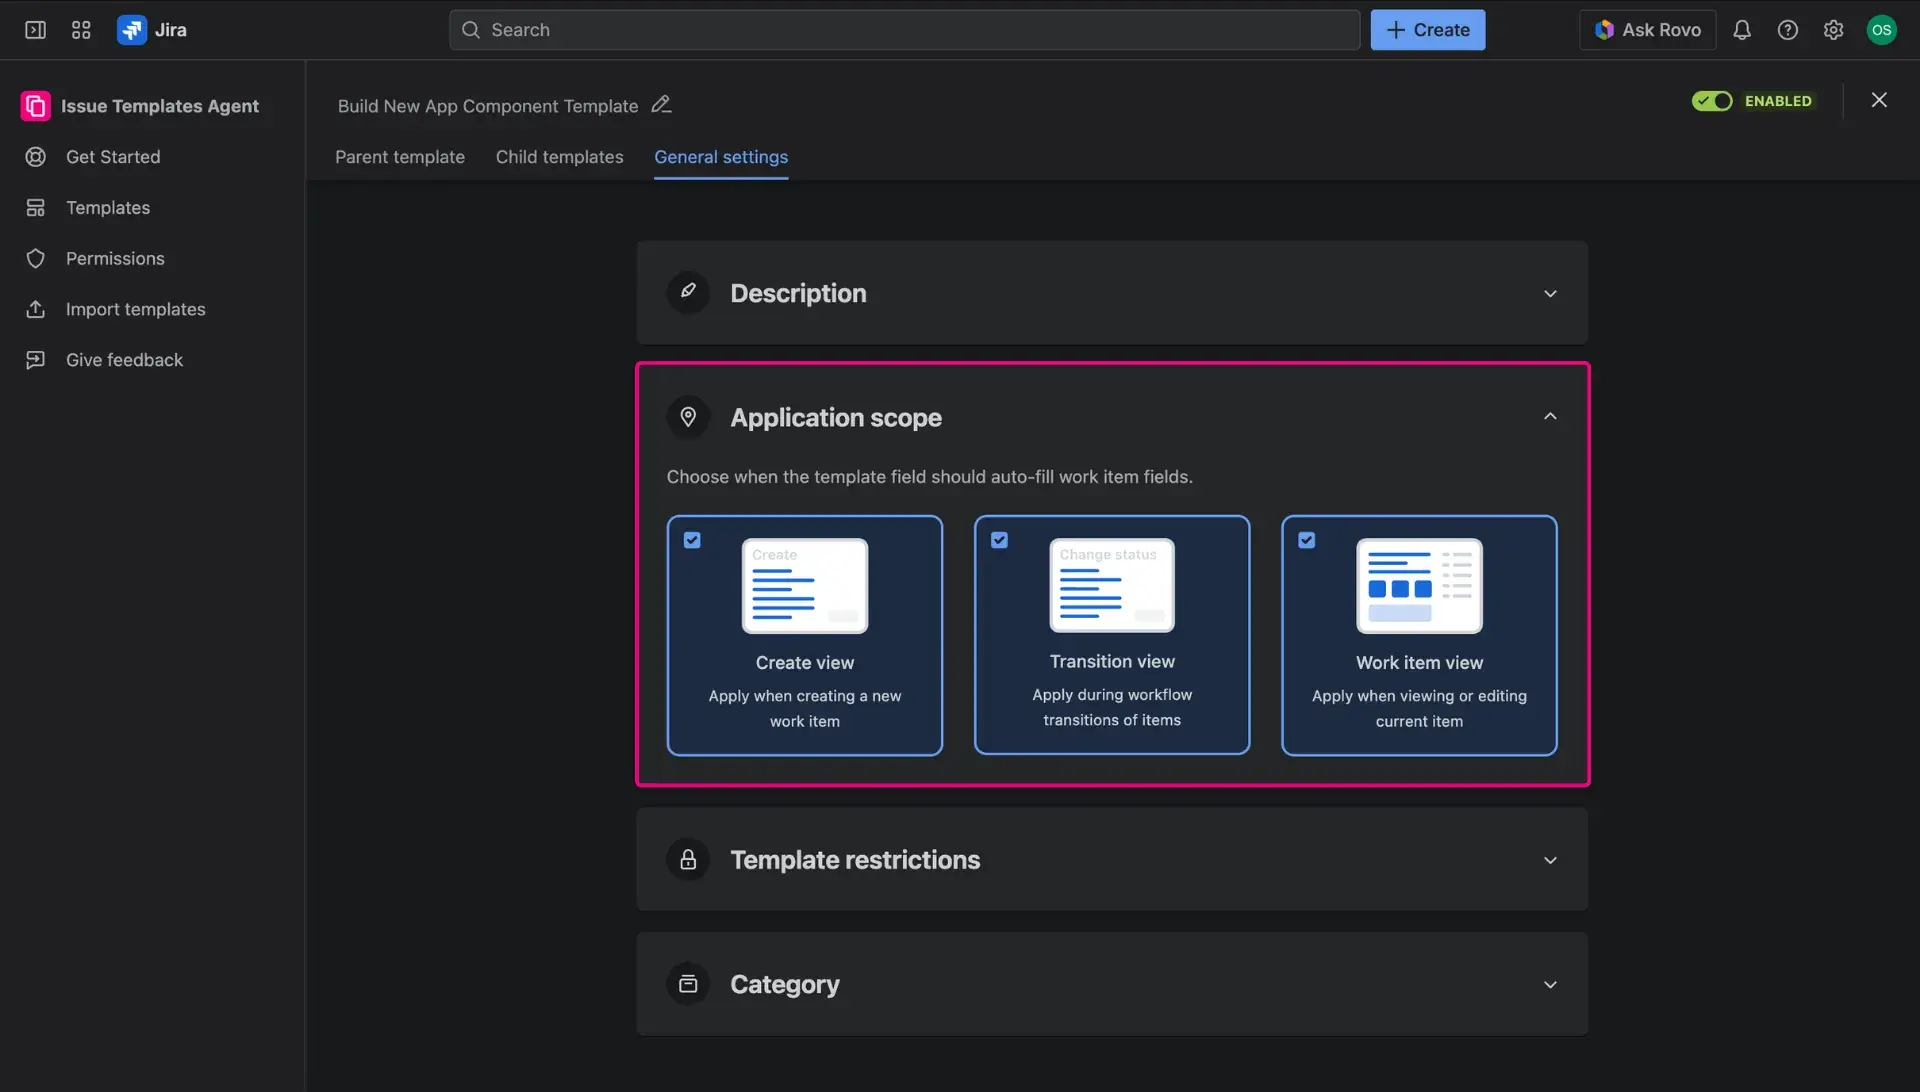
- In the General settings tab, users can configure: template description, application scope, restrictions and define a category.
- Template scope: three application scopes can be selected - Create view, Transition view, Issue/Work item view - learn more about template scopes here.
- Template restrictions: the access to the Issue Templates Agent and templates can be limited to specific users and users group by selecting them in the dropdown menus - for more details about template restrictions, visit this page.
- Category: for better organization and transparency, templates can be assigned a category, which will be visible in the Template library table. Find out more about the library here.

- Once finished, save the template.
Ready to use templates in practice?
With all of the basics covered, it’s best to move to practice immediately. Learn how to start using the created templates here.