Configure steps
On this page you define the steps of a request type, choose how the journey looks on the portal, translate its texts, and copy a configuration to other request types.
Before you start
- You are both an administrator of the service space and a service desk agent in it.
- Feature Bundle is installed. See Install Feature Bundle.
Steps
Configure the steps of a request type
Go to Space settings > Apps > Feature Bundle > Ticket Journey. The page lists the request types of the space under REQUEST TYPES. Request types that aren’t in any portal group appear under Request types hidden from portal. A blue dot marks a request type that already has a saved configuration.
Select the request type. The first one is selected for you. If you switch with unsaved changes, Feature Bundle warns you that changing the request type discards them.
Optionally, enter a title for the journey. It takes up to 100 characters.
In Location, choose Vertical: Side panel, the default, or Horizontal: Top (above the request). Feature Bundle saves the choice for each request type with its steps.
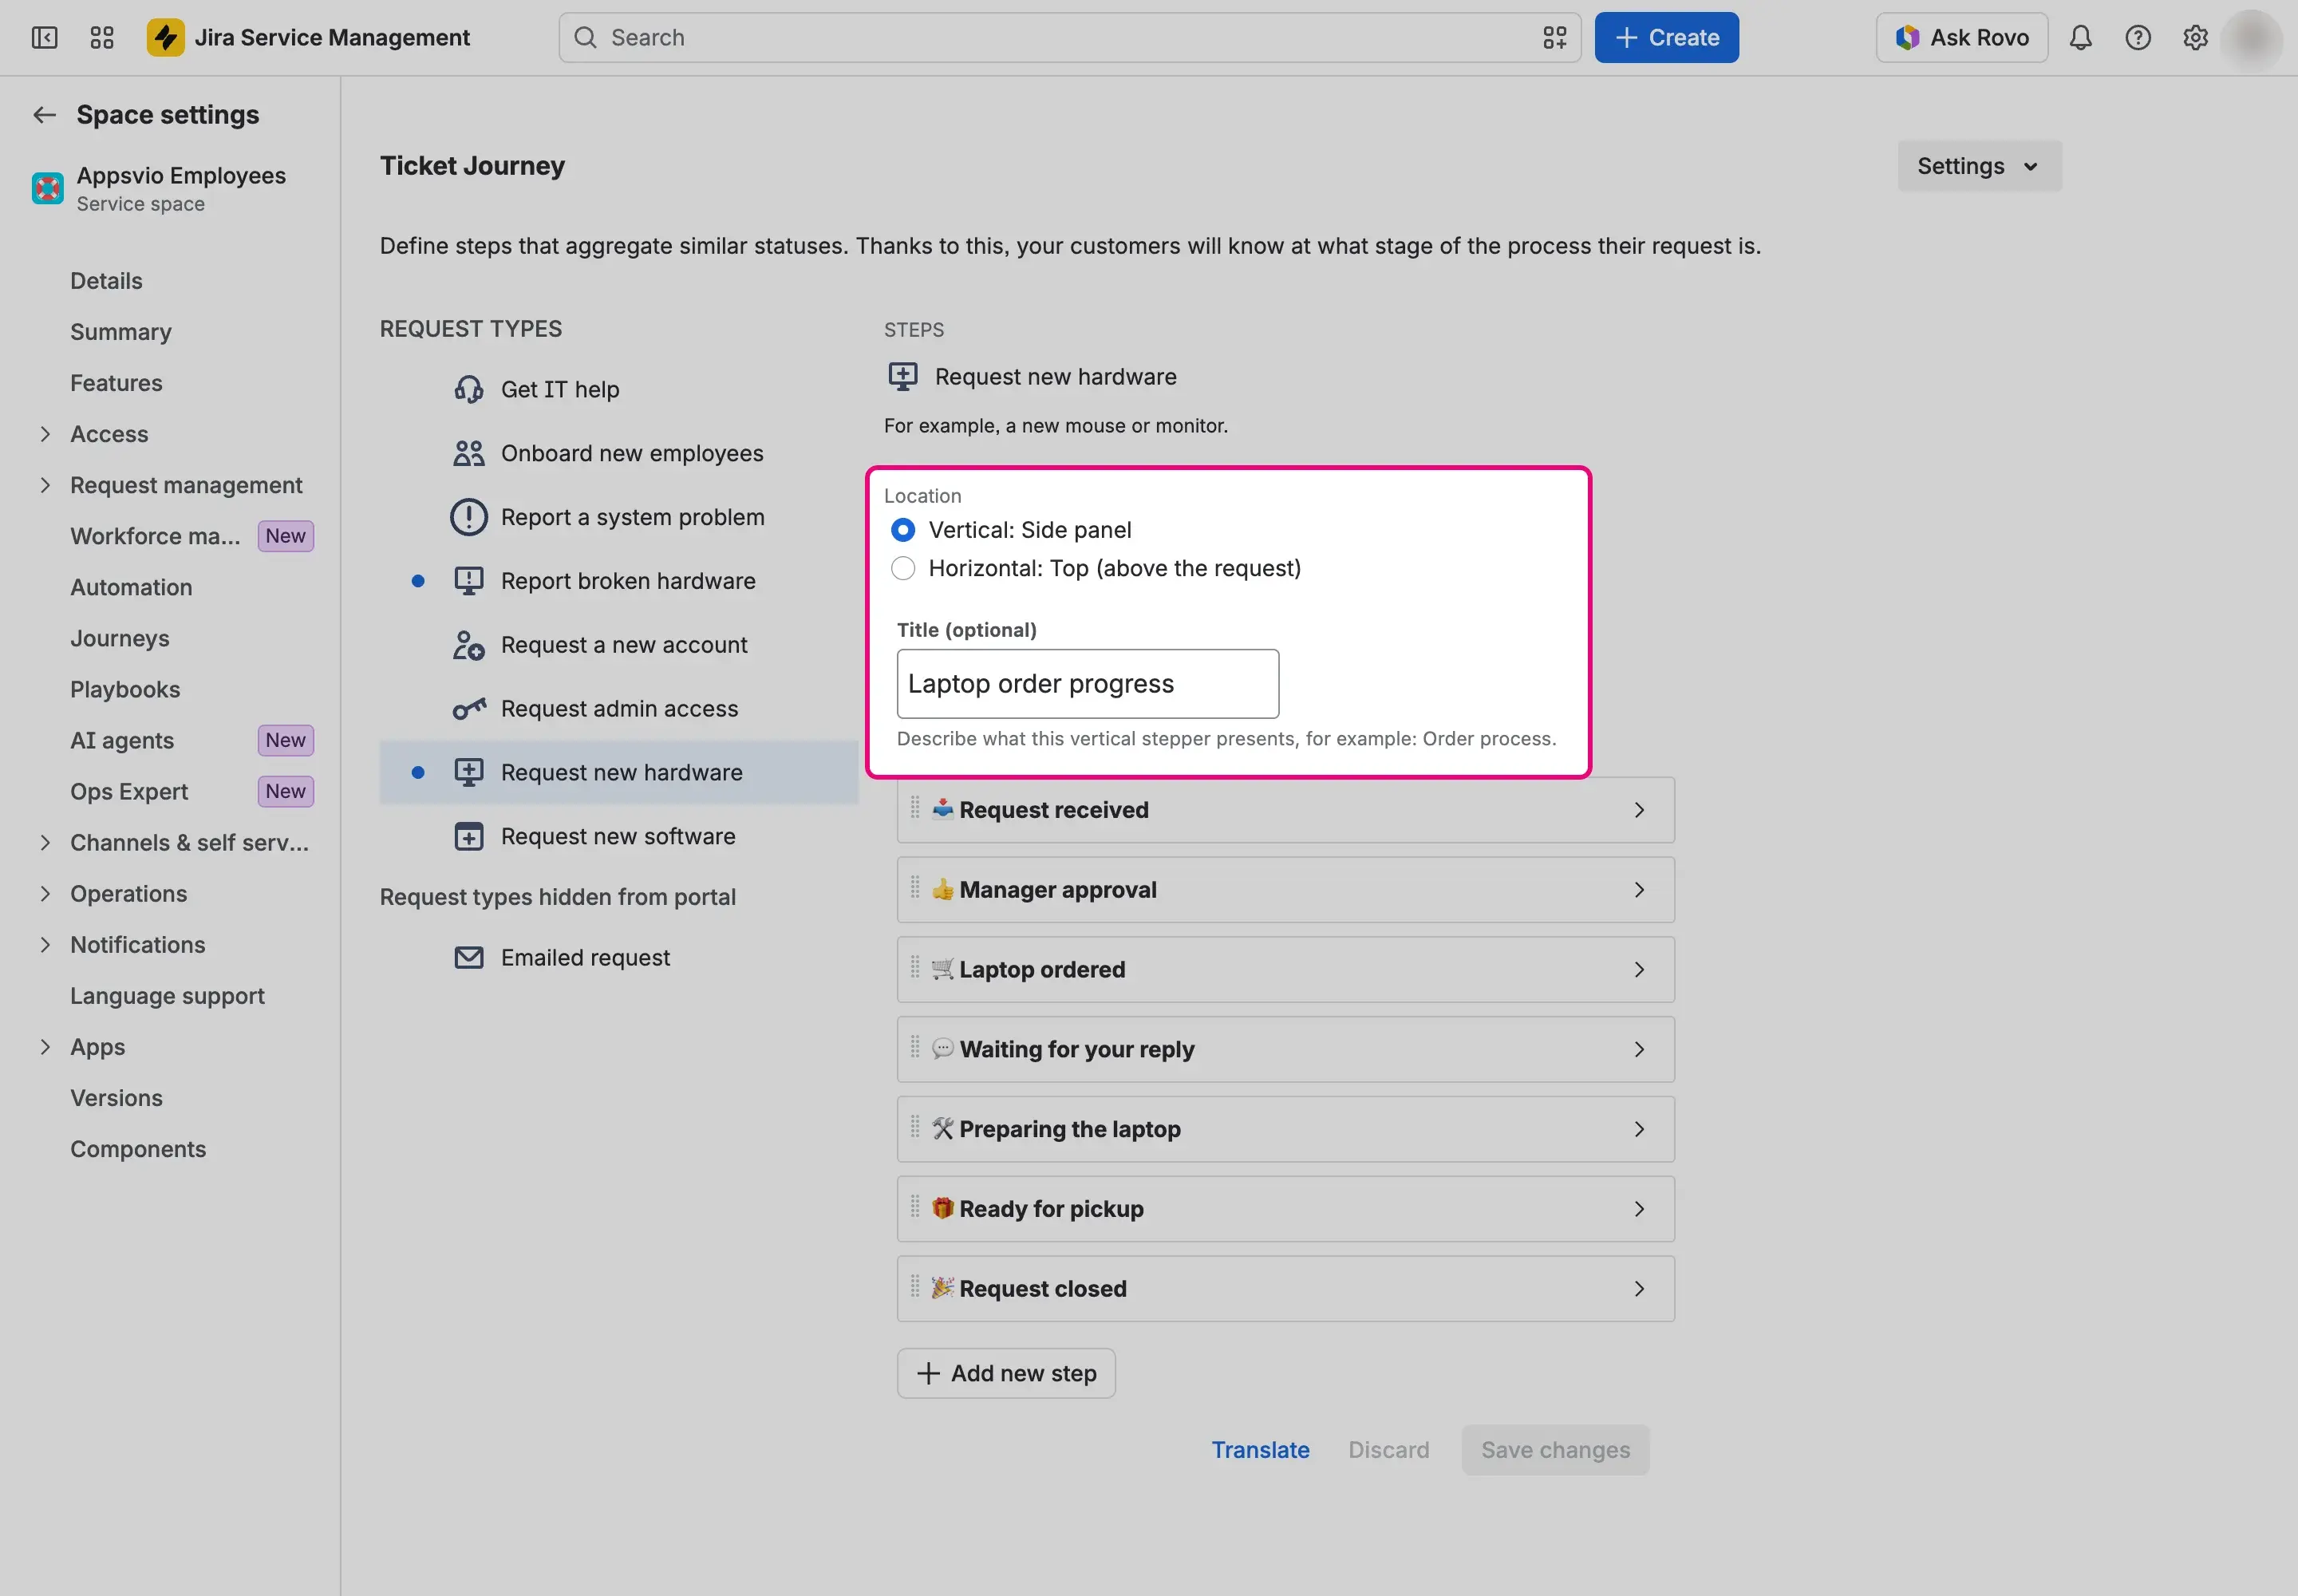
Select Add new step. A new step is named “Step name”.
To rename the step, select its name and type a new one. A name takes 1 to 100 characters. Expand the step and set:
- Short description (optional): up to 250 characters.
- JQL condition: a query that decides when the request has reached the step. The field shows how many requests match. A query can have up to 2,048 characters. A step without JQL is never reached.
Steps can overlap, so one request can reach several steps at once.
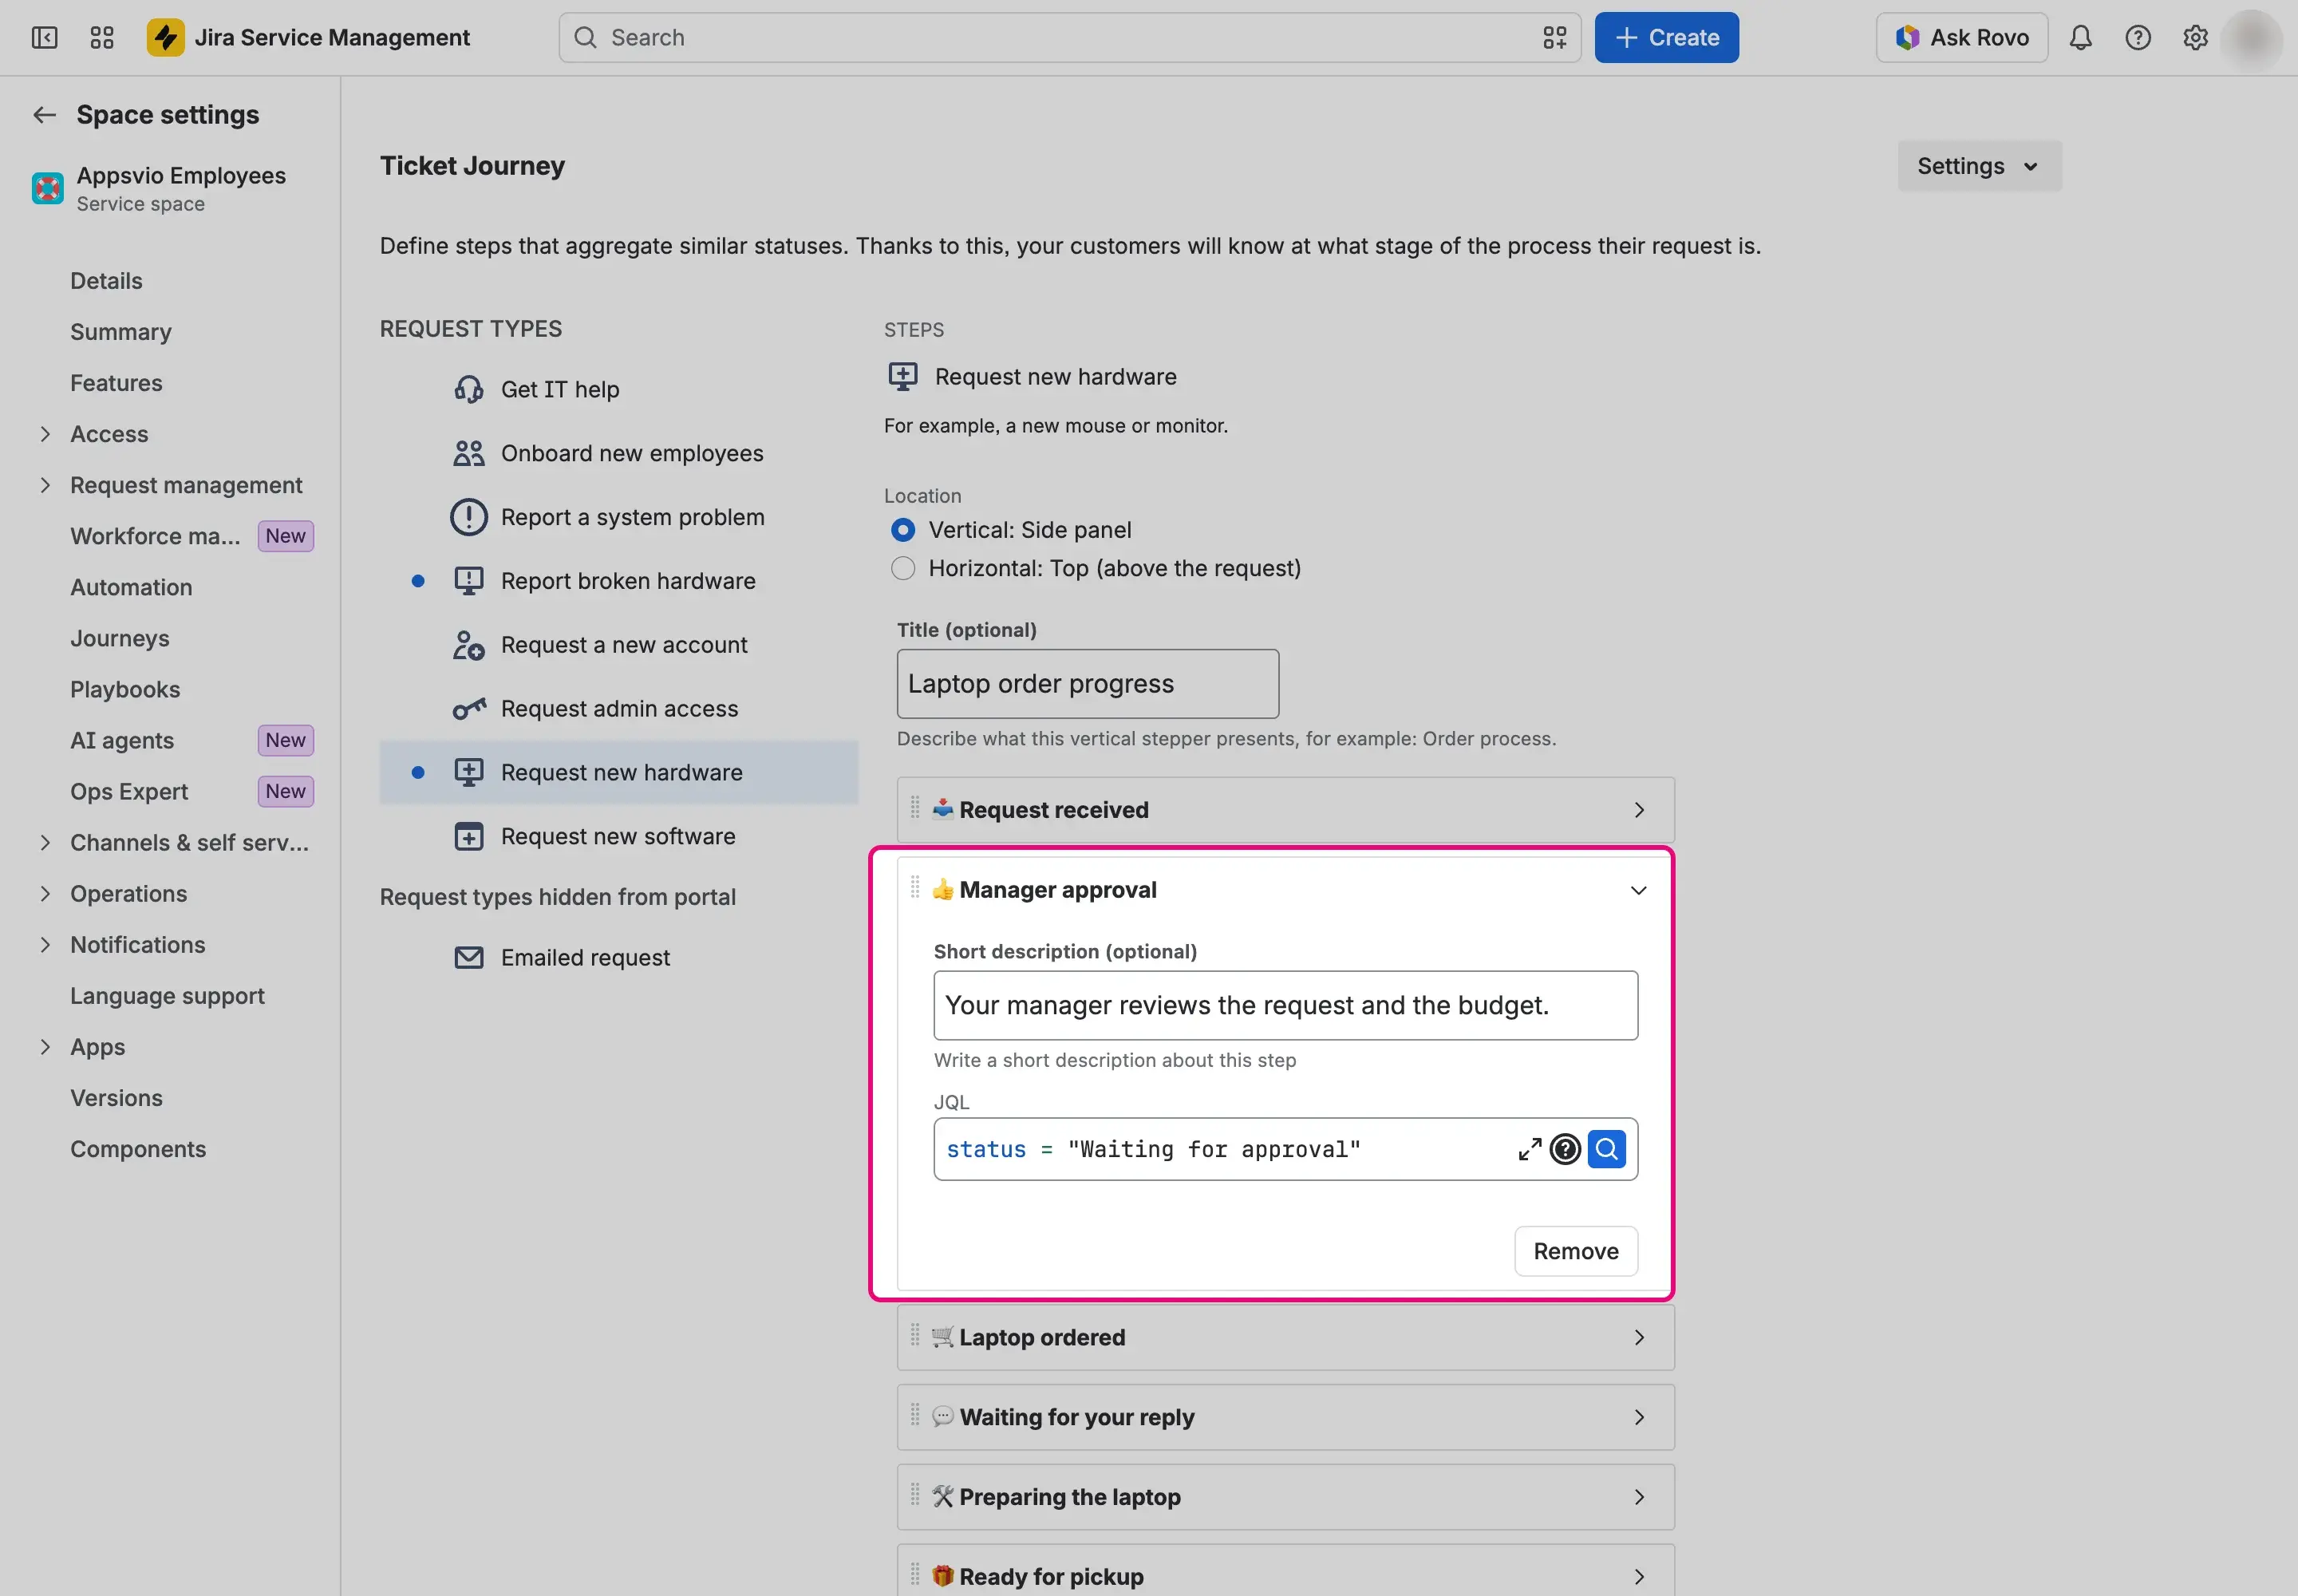
Repeat steps 5 and 6 for each step. To change the order, drag the steps. Each step keeps its own JQL. To delete a step, expand it, select Remove, and confirm with Delete. The deletion takes effect when you save.
Select Save changes. A message confirms that the Ticket Journey is saved. To go back to the last saved state, select Discard.


To translate the title, the step names, and the descriptions, see Translate a journey.
Translate a journey
On the Ticket Journey page, select the request type and select Translate. The Translate Ticket Journey dialog opens.
Choose what to translate: the title, a step name, or a description. Items that already have a translation have a green check.
Choose a language and type the translation.
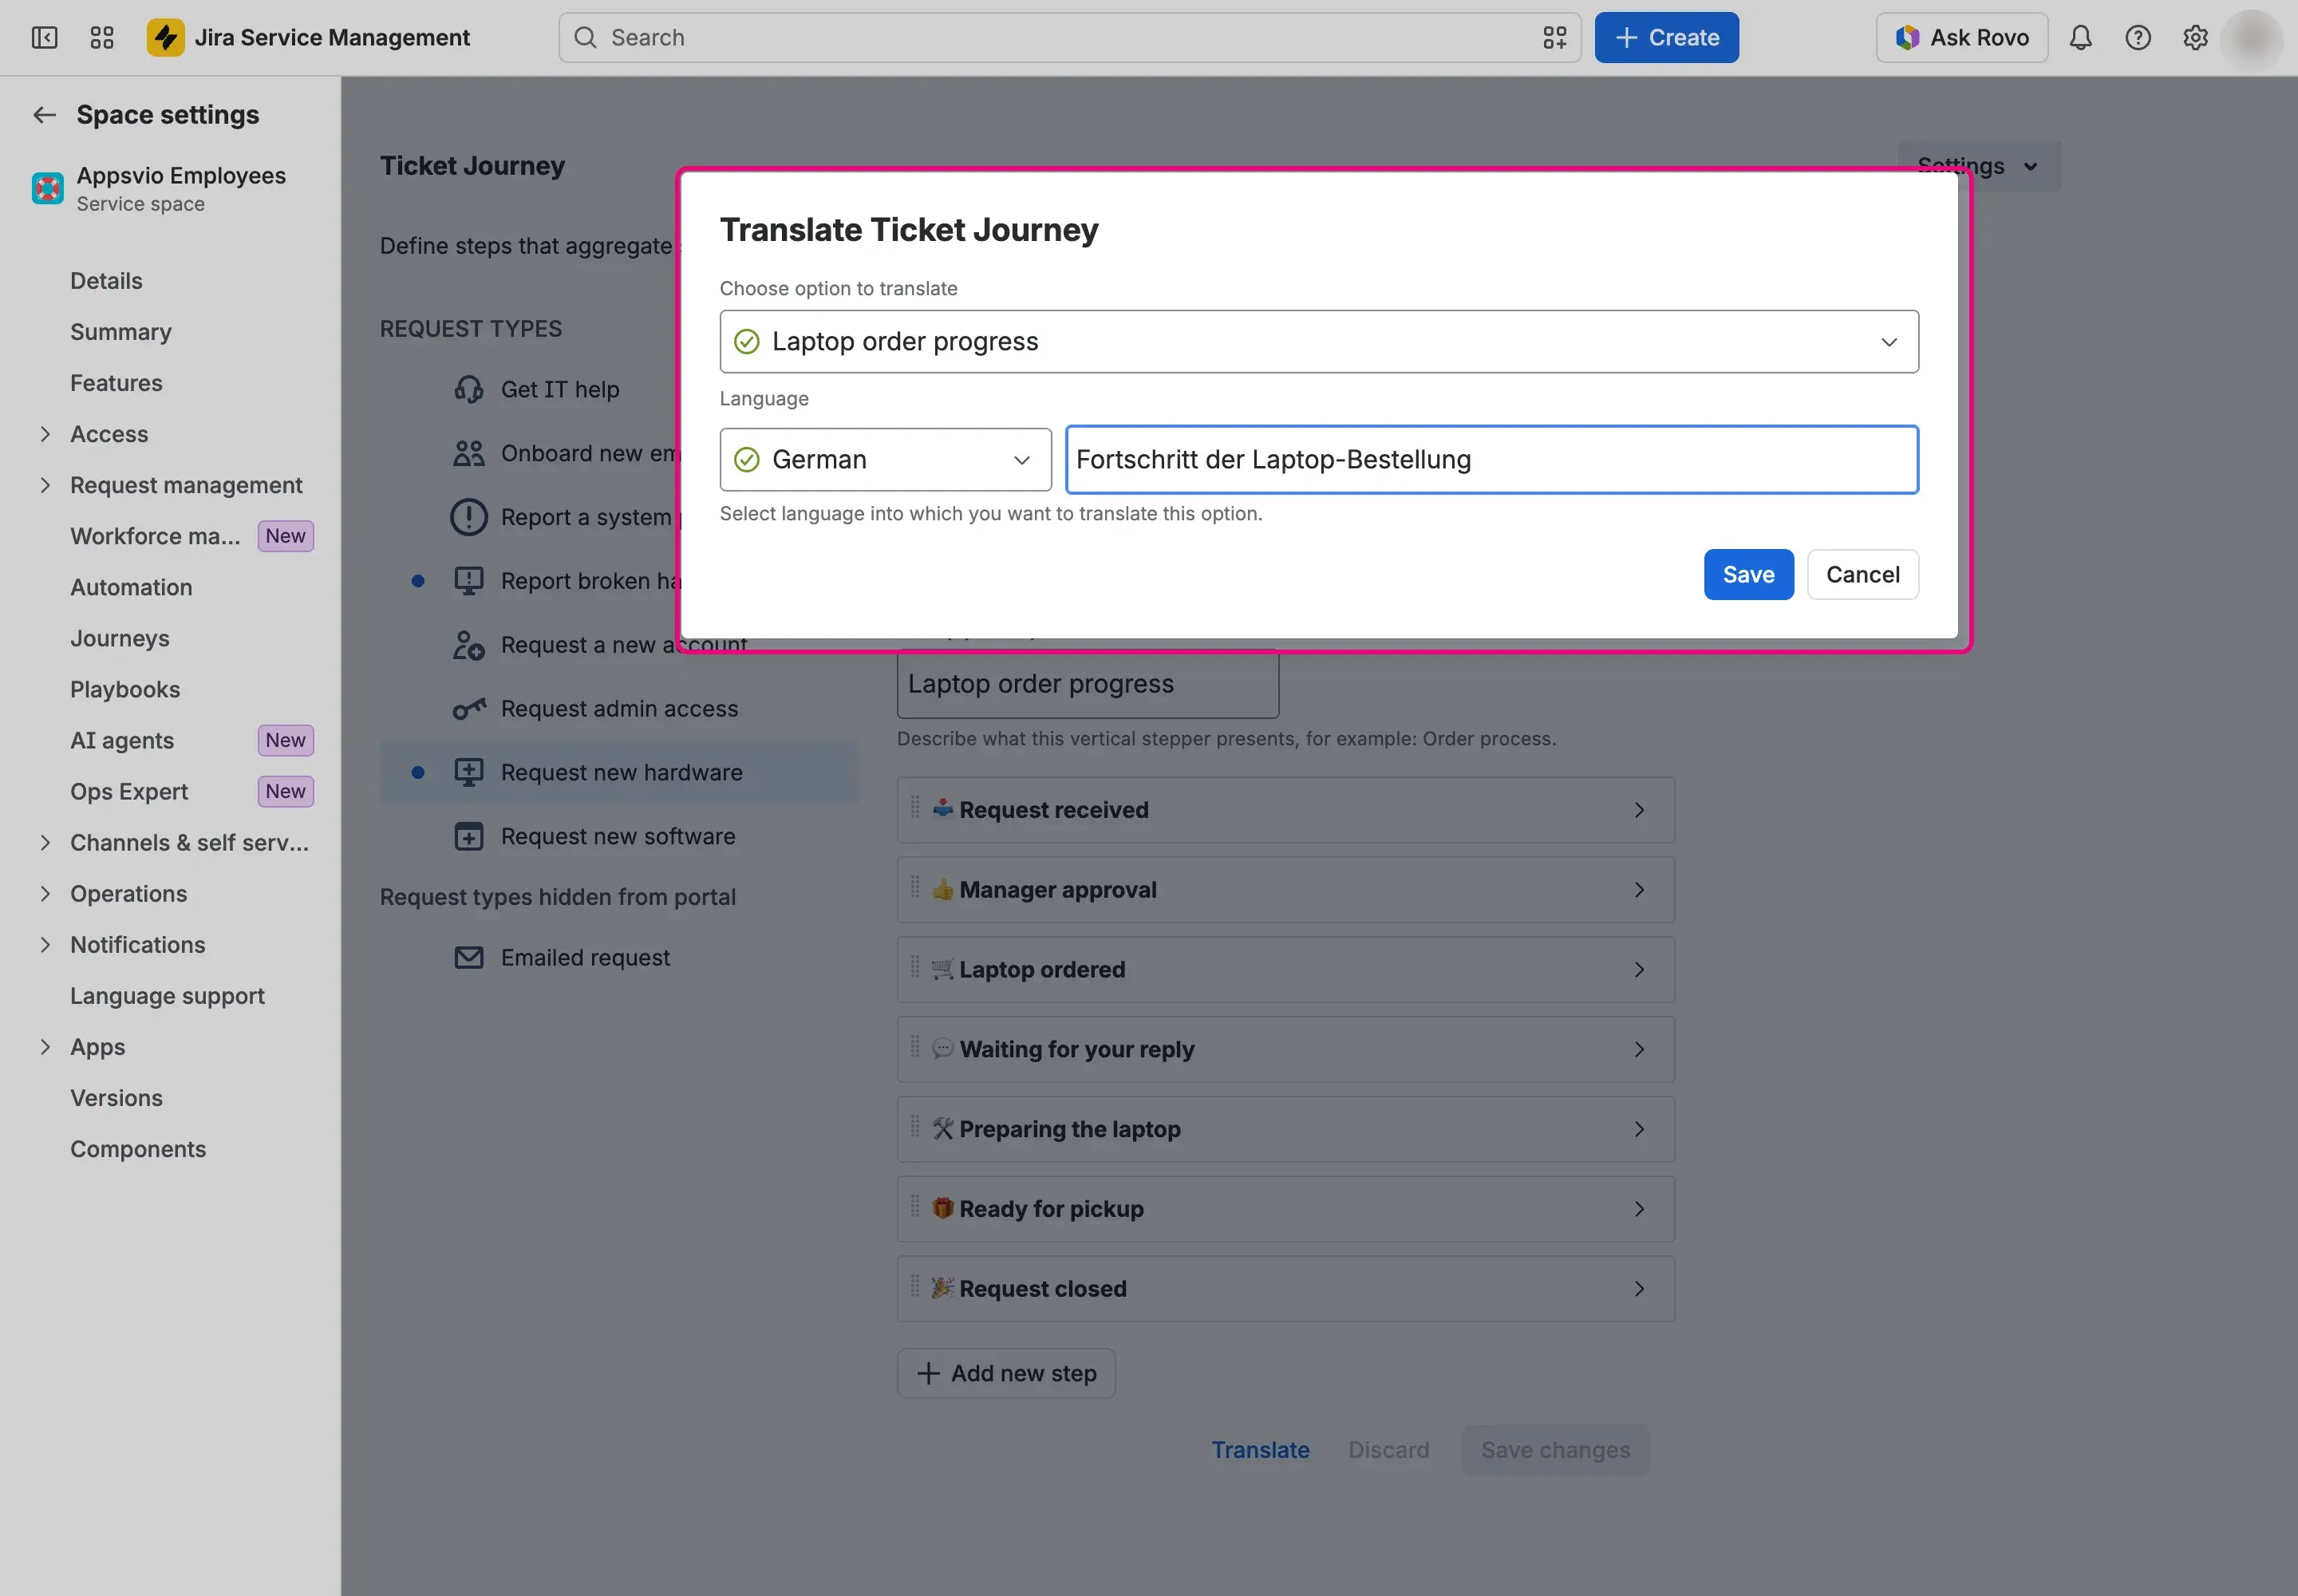
Select Save in the dialog. Then select Save changes on the page.

Copy a configuration
Copying adds the configuration of one request type to other request types. What a target gets depends on whether it already has a configuration:
- A target without a configuration gets a full copy: the title, the layout, the steps, and the translations.
- With add new configuration to it, the target keeps its own title and layout. Feature Bundle adds only the steps whose JQL the target doesn’t use yet, the steps without JQL, and the translations the target doesn’t have.
- With replace it with a new configuration, the copy fully replaces the target configuration.
Colors aren’t copied, because they are set for the whole space.
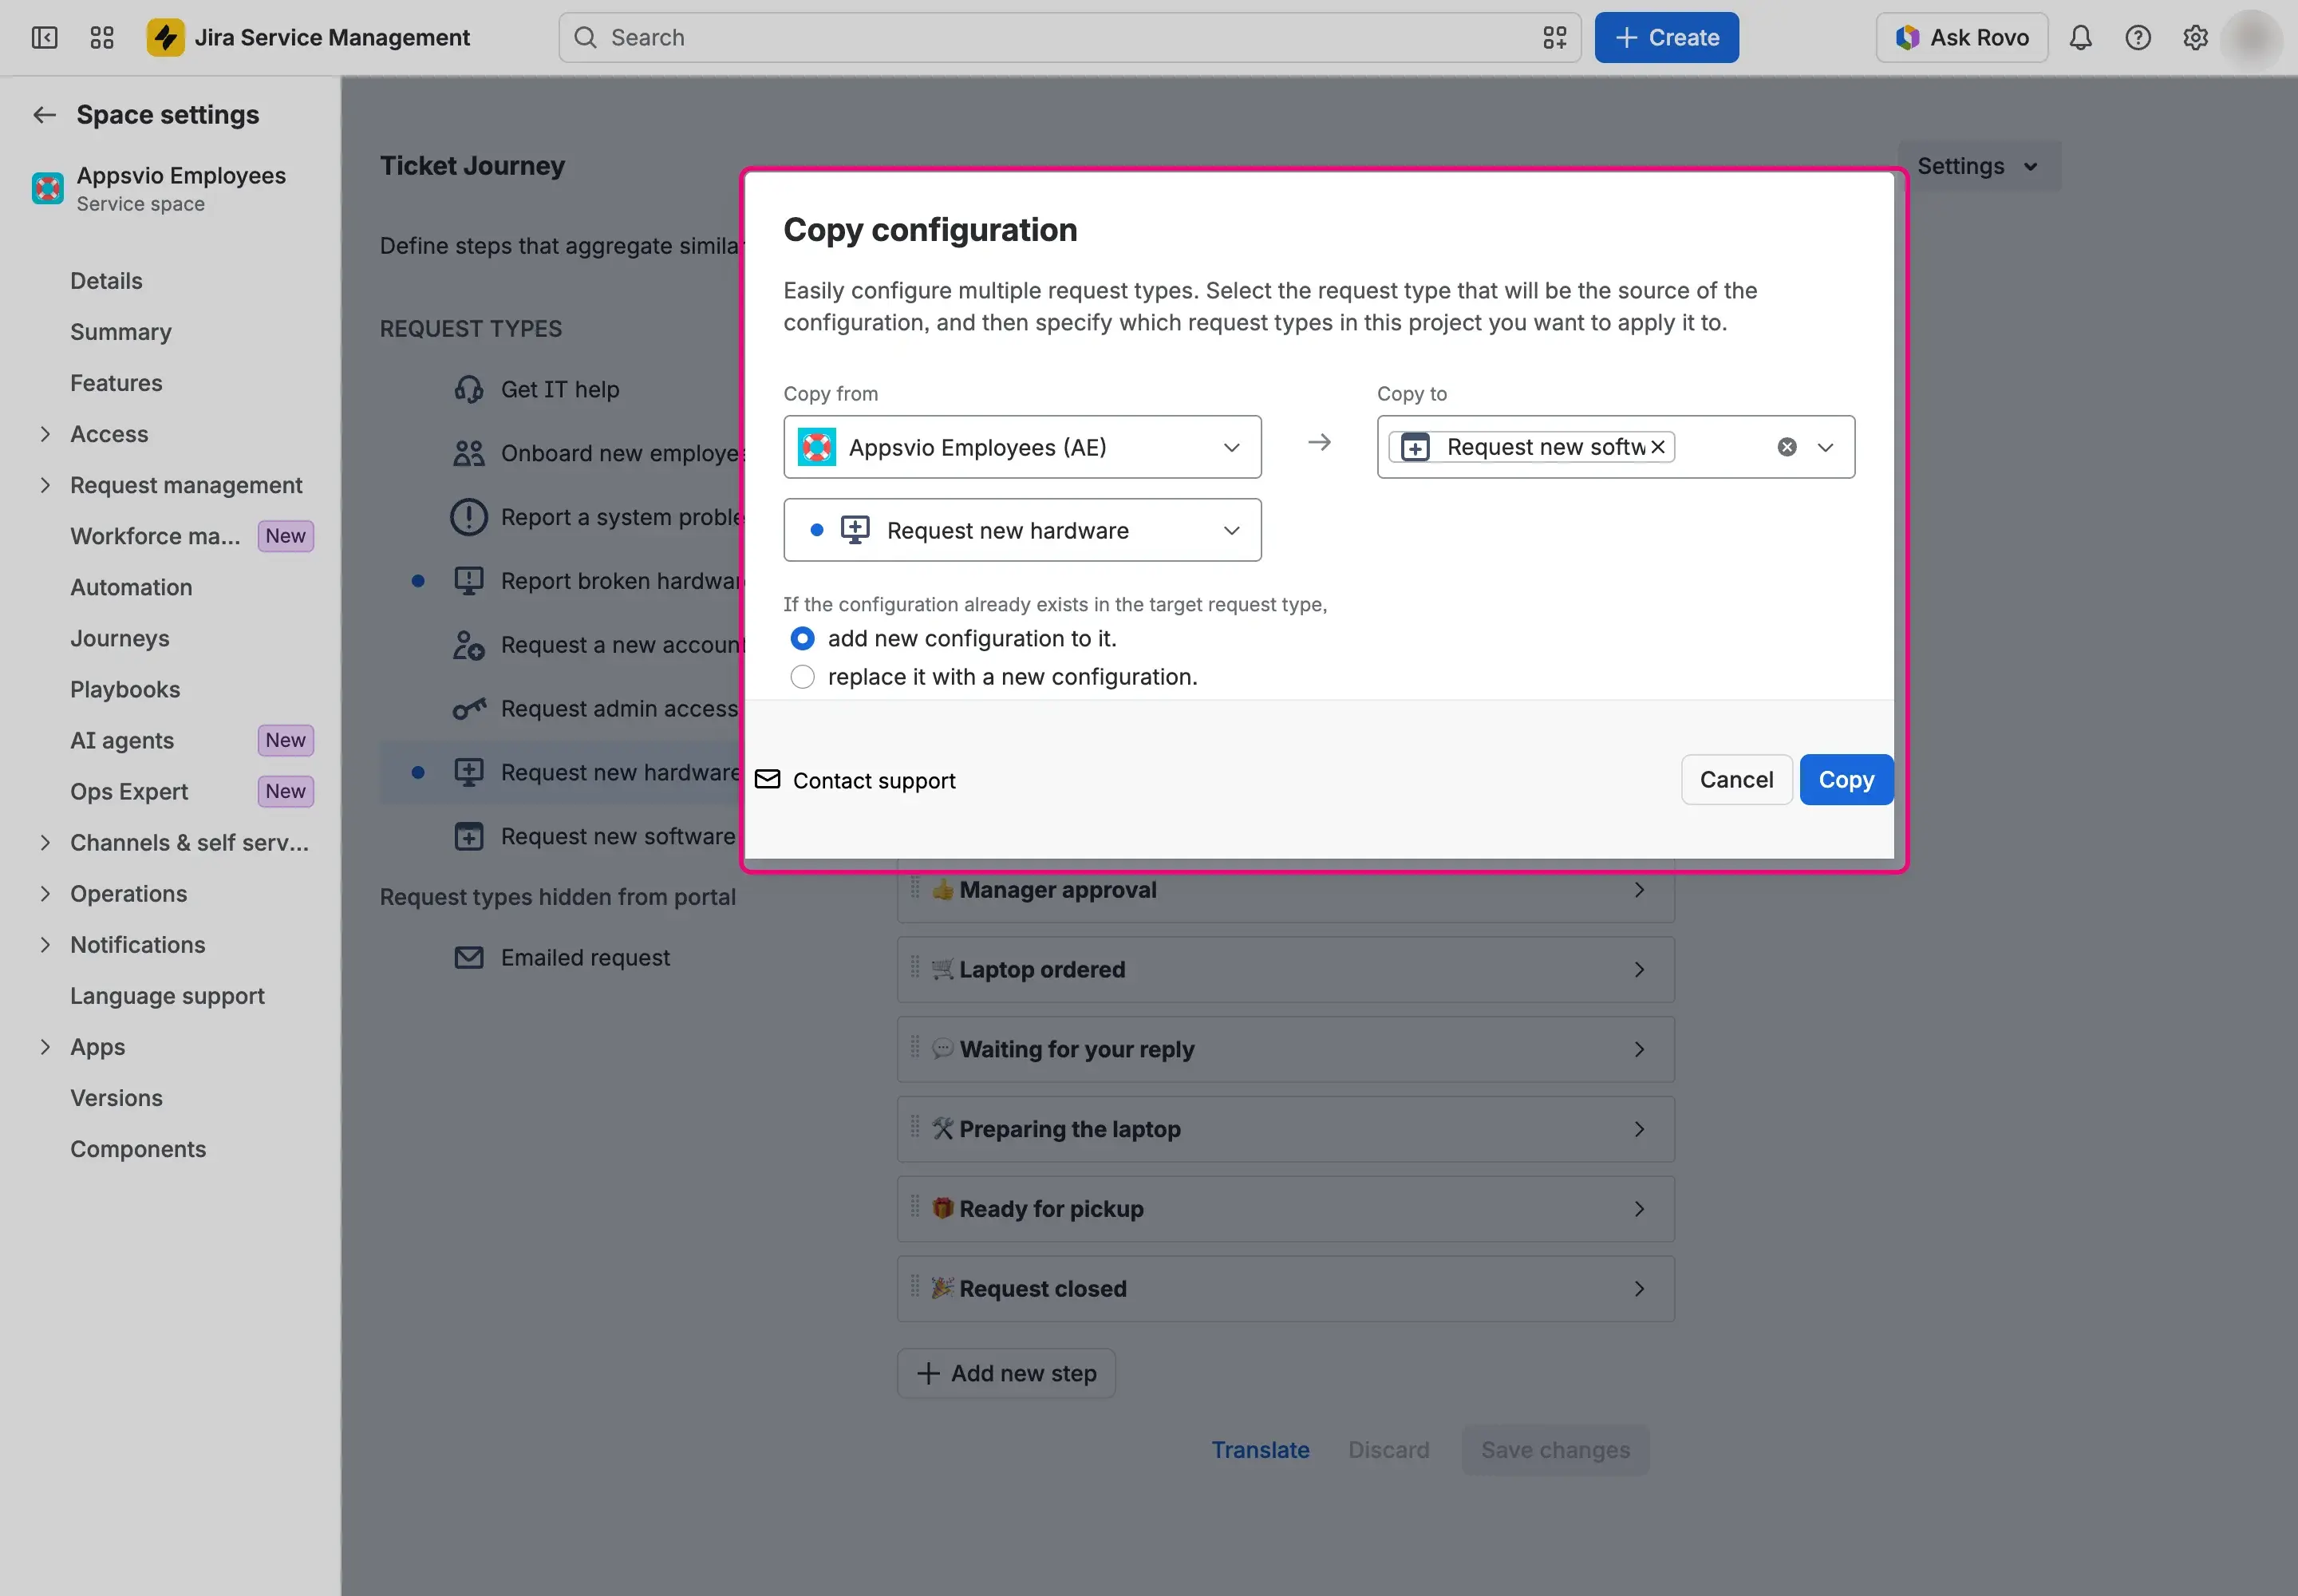
On the Ticket Journey page, select Settings > Copy configuration.
In Copy from, select the space and the request type that has the configuration. You can choose only request types that have a saved configuration, and only spaces you administer.
In Copy to, select one or more request types of the current space. The source request type isn’t offered.
Choose what to do if a target request type already has a configuration: add new configuration to it (the default) or replace it with a new configuration.
Select Copy.

Result
- Configure steps: the request type has a blue dot, and customers see the journey on matching requests. See Progress on the portal. If you save a request type with no steps, Feature Bundle deletes its whole configuration, including the title and the translations, and the blue dot disappears.
- Translate a journey: customers see the translated texts in the language you chose.
- Copy a configuration: a message confirms that the configuration has been copied.