Customer Actions
Setting up custom interactions on the Jira portal involves finding a balance between accessibility and control. This guide outlines the configuration process for building a more capable customer self service portal. Using an escalation use case as an example, the following steps show how to simplify incident management in Jira while maintaining a clean and helpful interface for all users.
To be able to use this functionality, users must be logged in with the Project Administrator’s permission.
Learn more about Assets integration
More detailed information about Assets integration is available here.
Ready for more ideas?
Seeing how other teams handle specific workflows can help in designing the perfect action for any service desk.
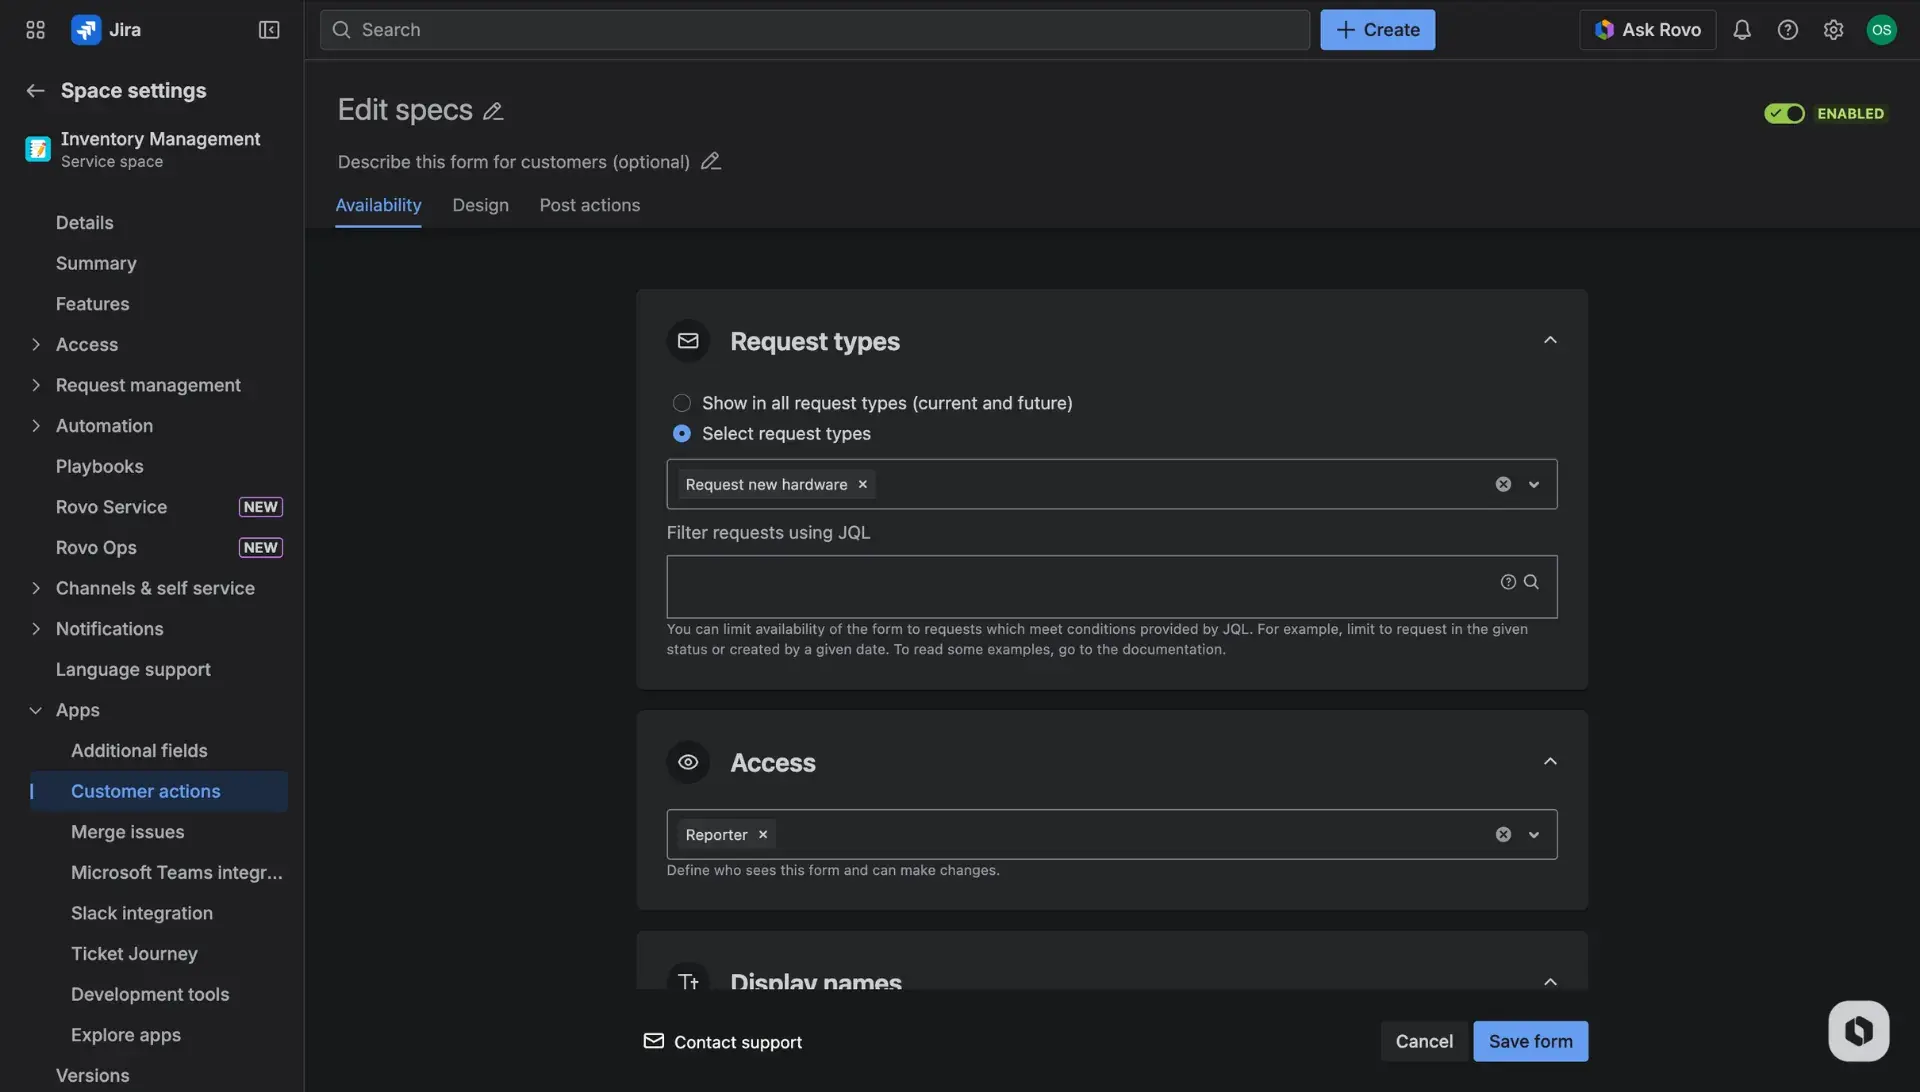
Availability
The Availability tab determines the “when” and “who” of the action. Proper filtering ensures the self service customer portal remains clean and relevant. In each section, users can define following information:
Request types: Use this box to decide where the action appears.
- It is possible to select specific request types from a list or use JQL for more dynamic control.
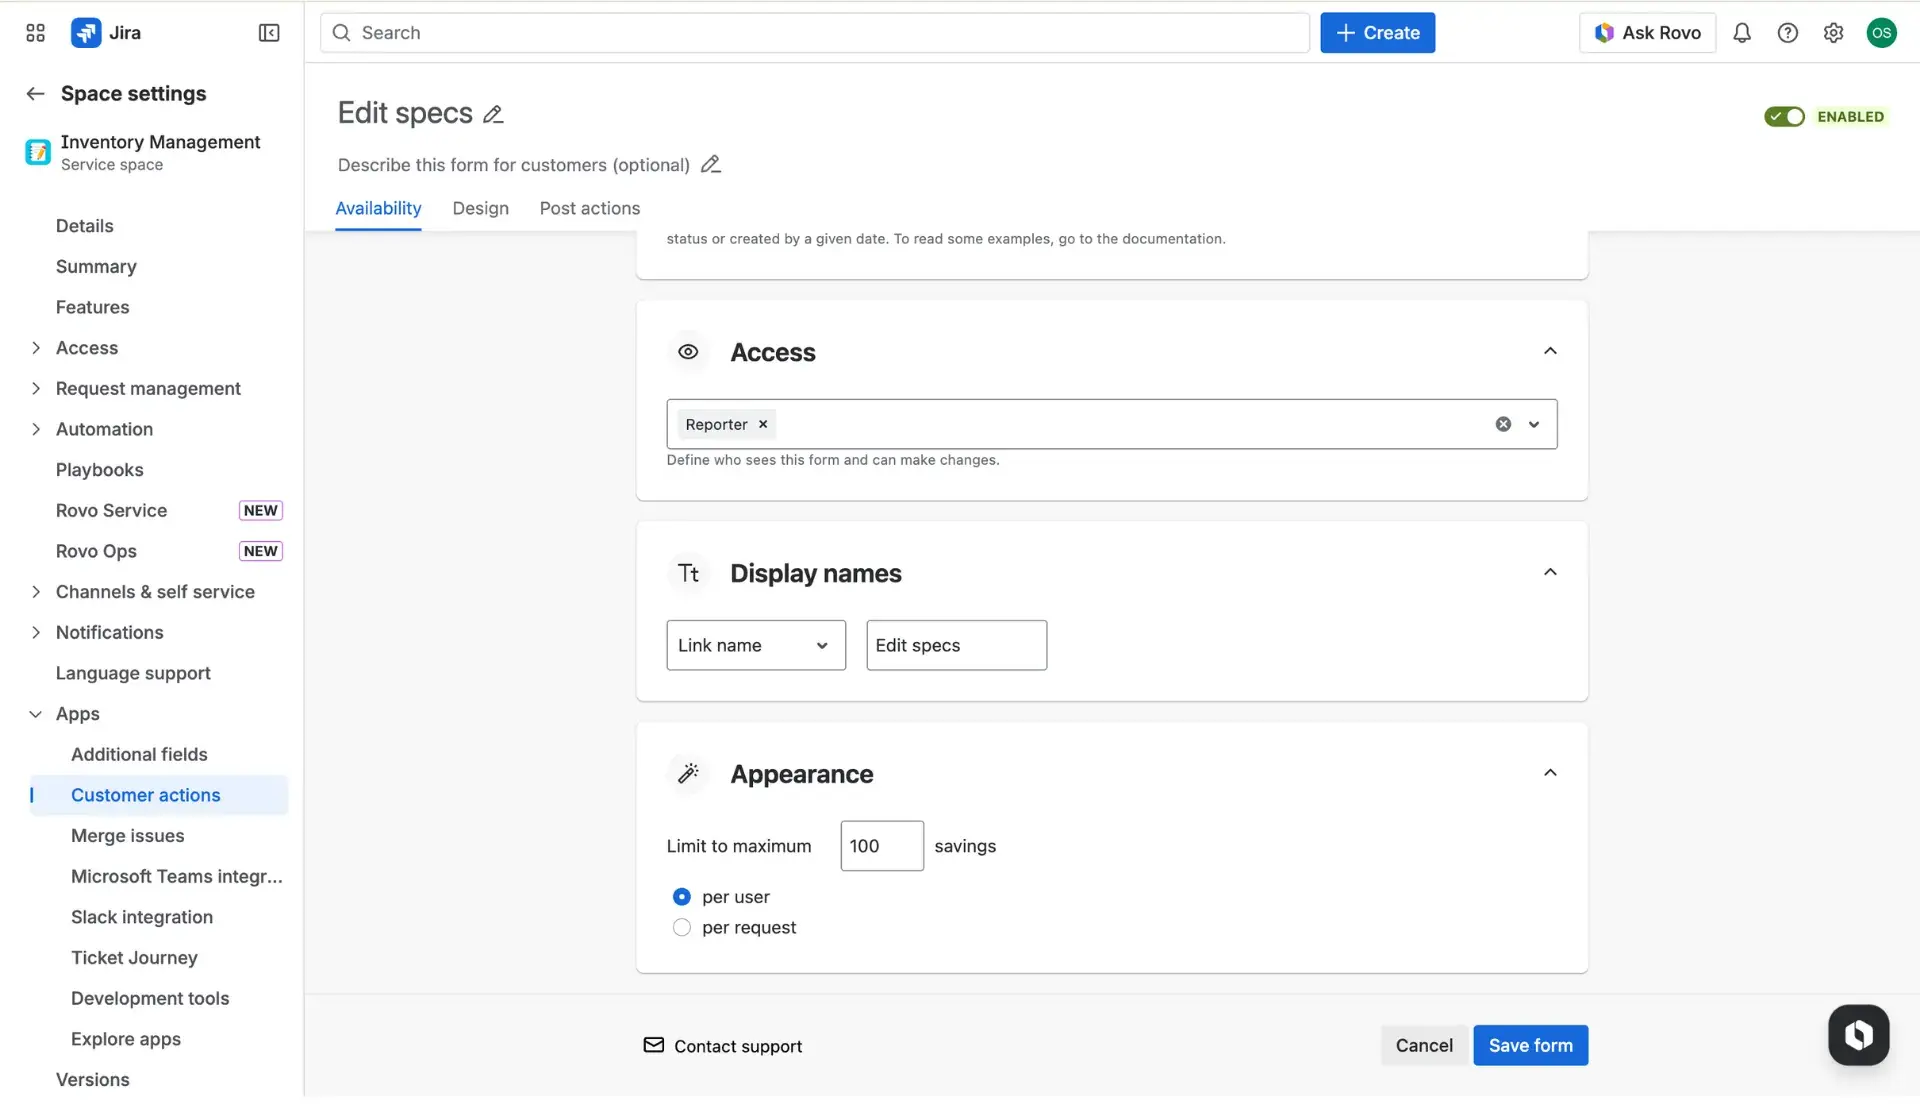
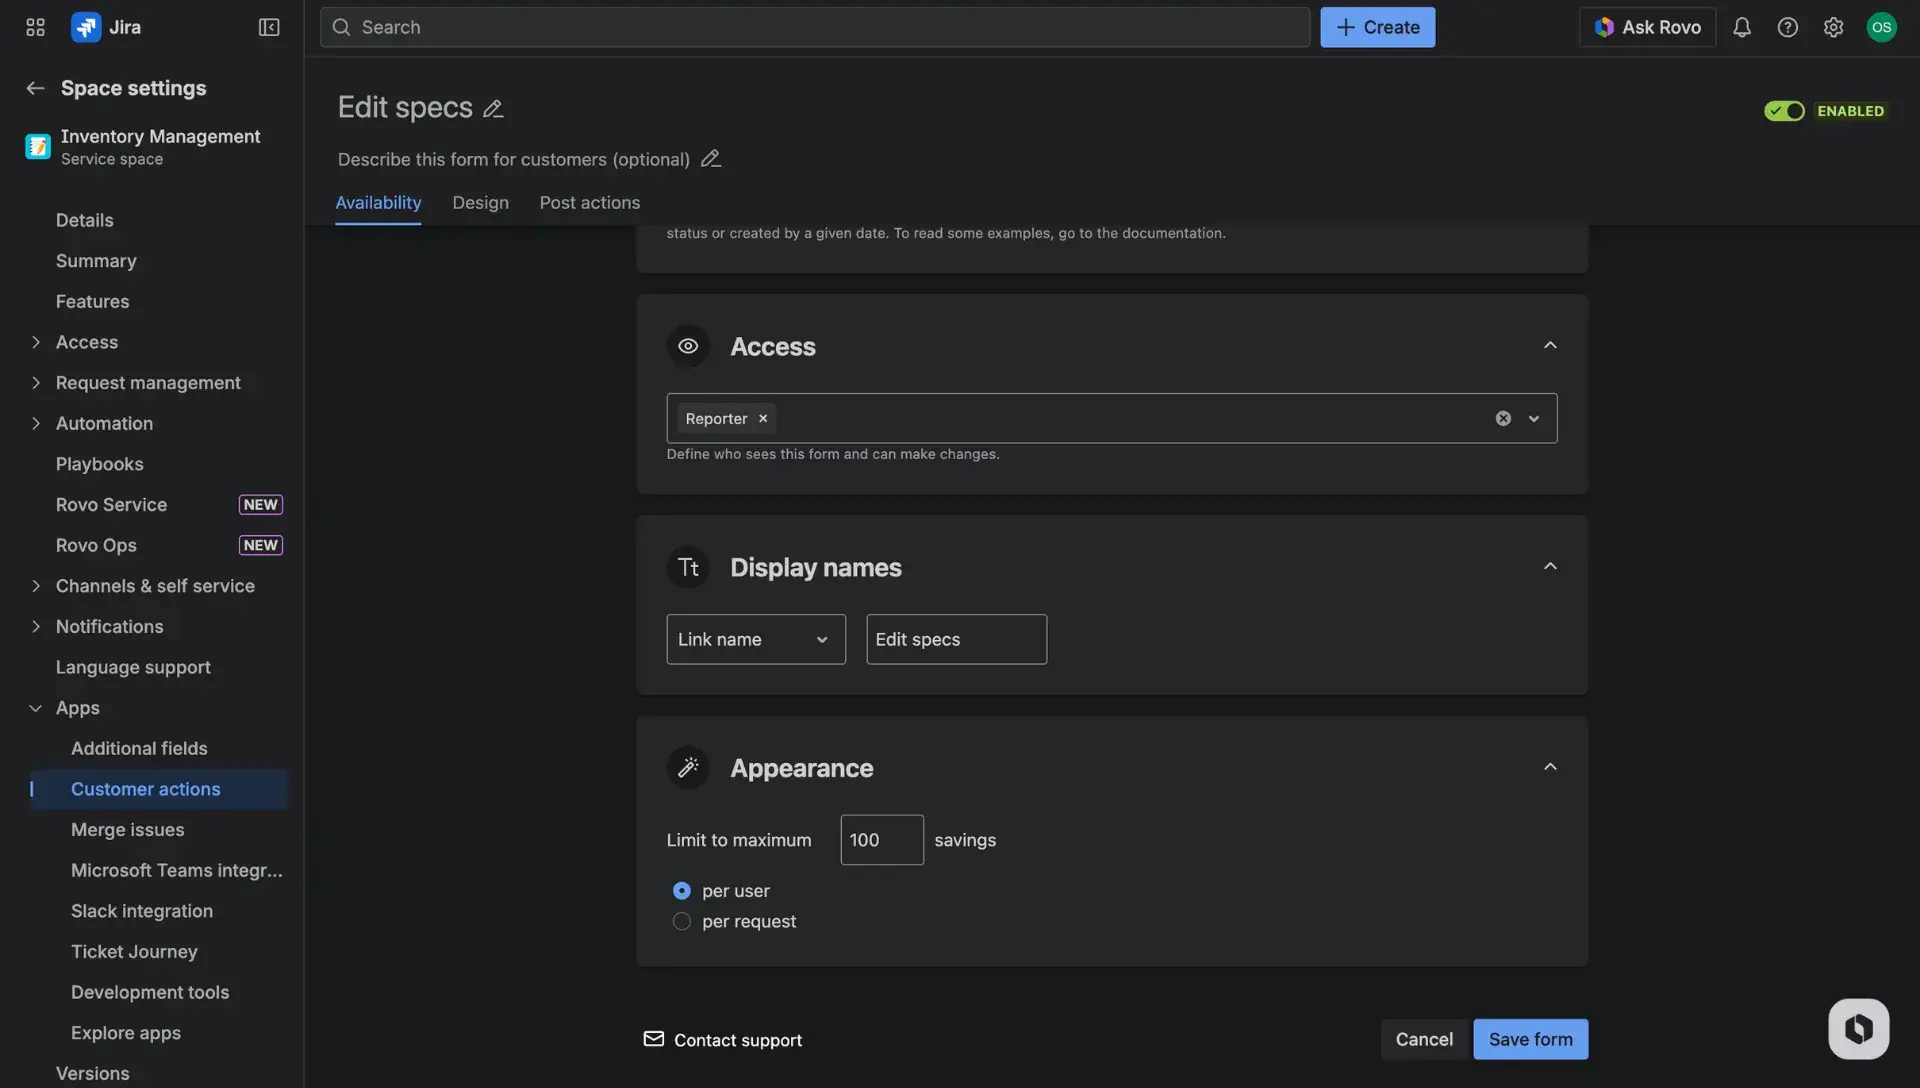
Access: Define which users can view and trigger the action.
By default, Reporter is selected, however, users can also choose: Request participants, Organizations (all organizations or selected) and Approvers.
While visibility can be restricted to reporters or specific groups, Jira administrators and service agents always retain access. This ensures that those managing Jira Service Management can test and verify the configuration directly from the request details view.

Display names: This field sets the title of the button as it appears on the request details view.
Appearance: Set a limit on how many times an action can be performed.
- By default, this is set to 100 savings per user or per request to prevent accidental spamming of the system.
JQL examples
Using JQL offers more precise control over when a button appears on the Jira portal. Below are common snippets used to define visibility based on project status or request type.
| JQL | Explanation |
|---|---|
| status = Open | The field is editable if only the request is in the Open status. |
| priority != Medium | If the Priority field has a value ‘Medium’, the field is not displayed on the Edit form = it can’t be edit by the customer. |
| description ~ ‘to do’ | The field is editable if the Description contains ‘to do’. It’s useful if your customers are working on the request and need more time to fill the whole ticket with the necessary information. They can type ‘to do’ as a signal that the request is not ready to investigate by service agents. |
| created >= -60m | The field can be edited for 60 minutes from creating the request. |
You aren't familiar with Jira Query Language (JQL)?
Read more in the official Atlassian documentation or contact us via Customer Portal. We’ll be happy to help.
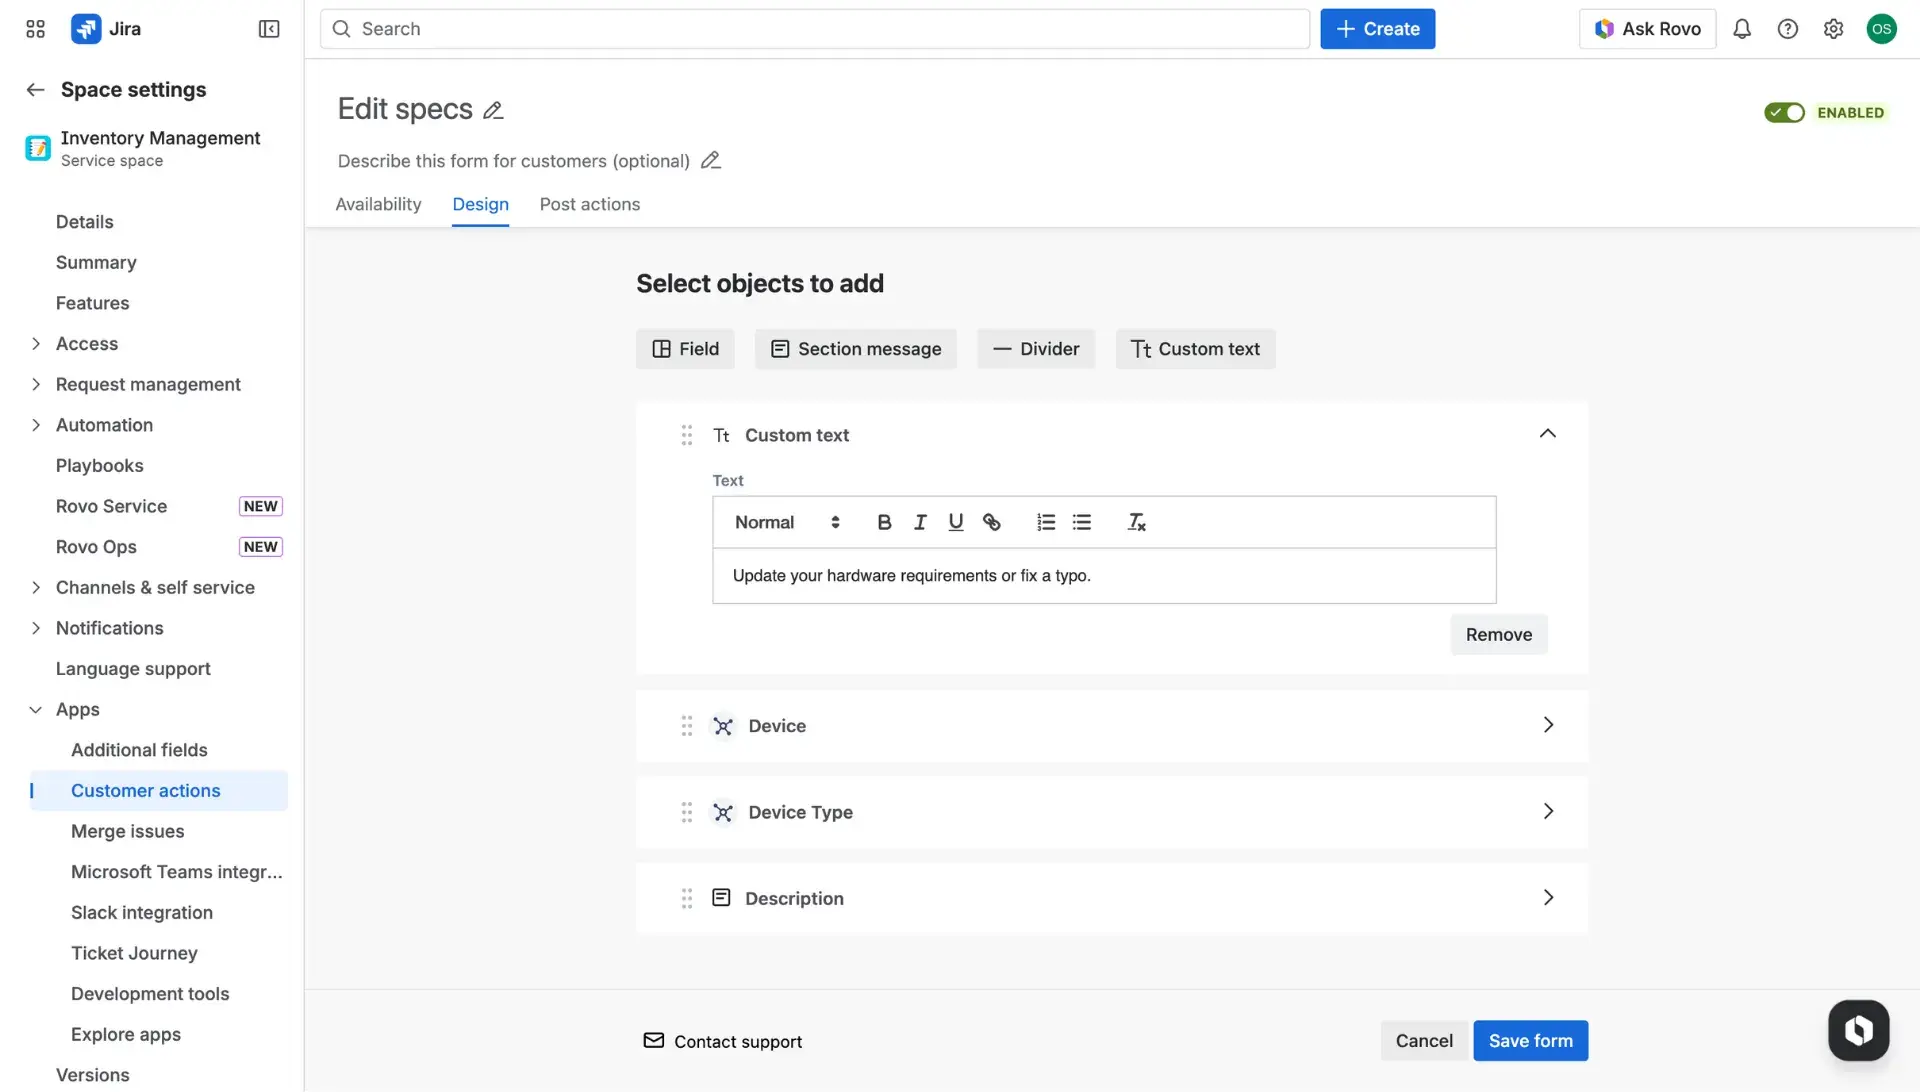
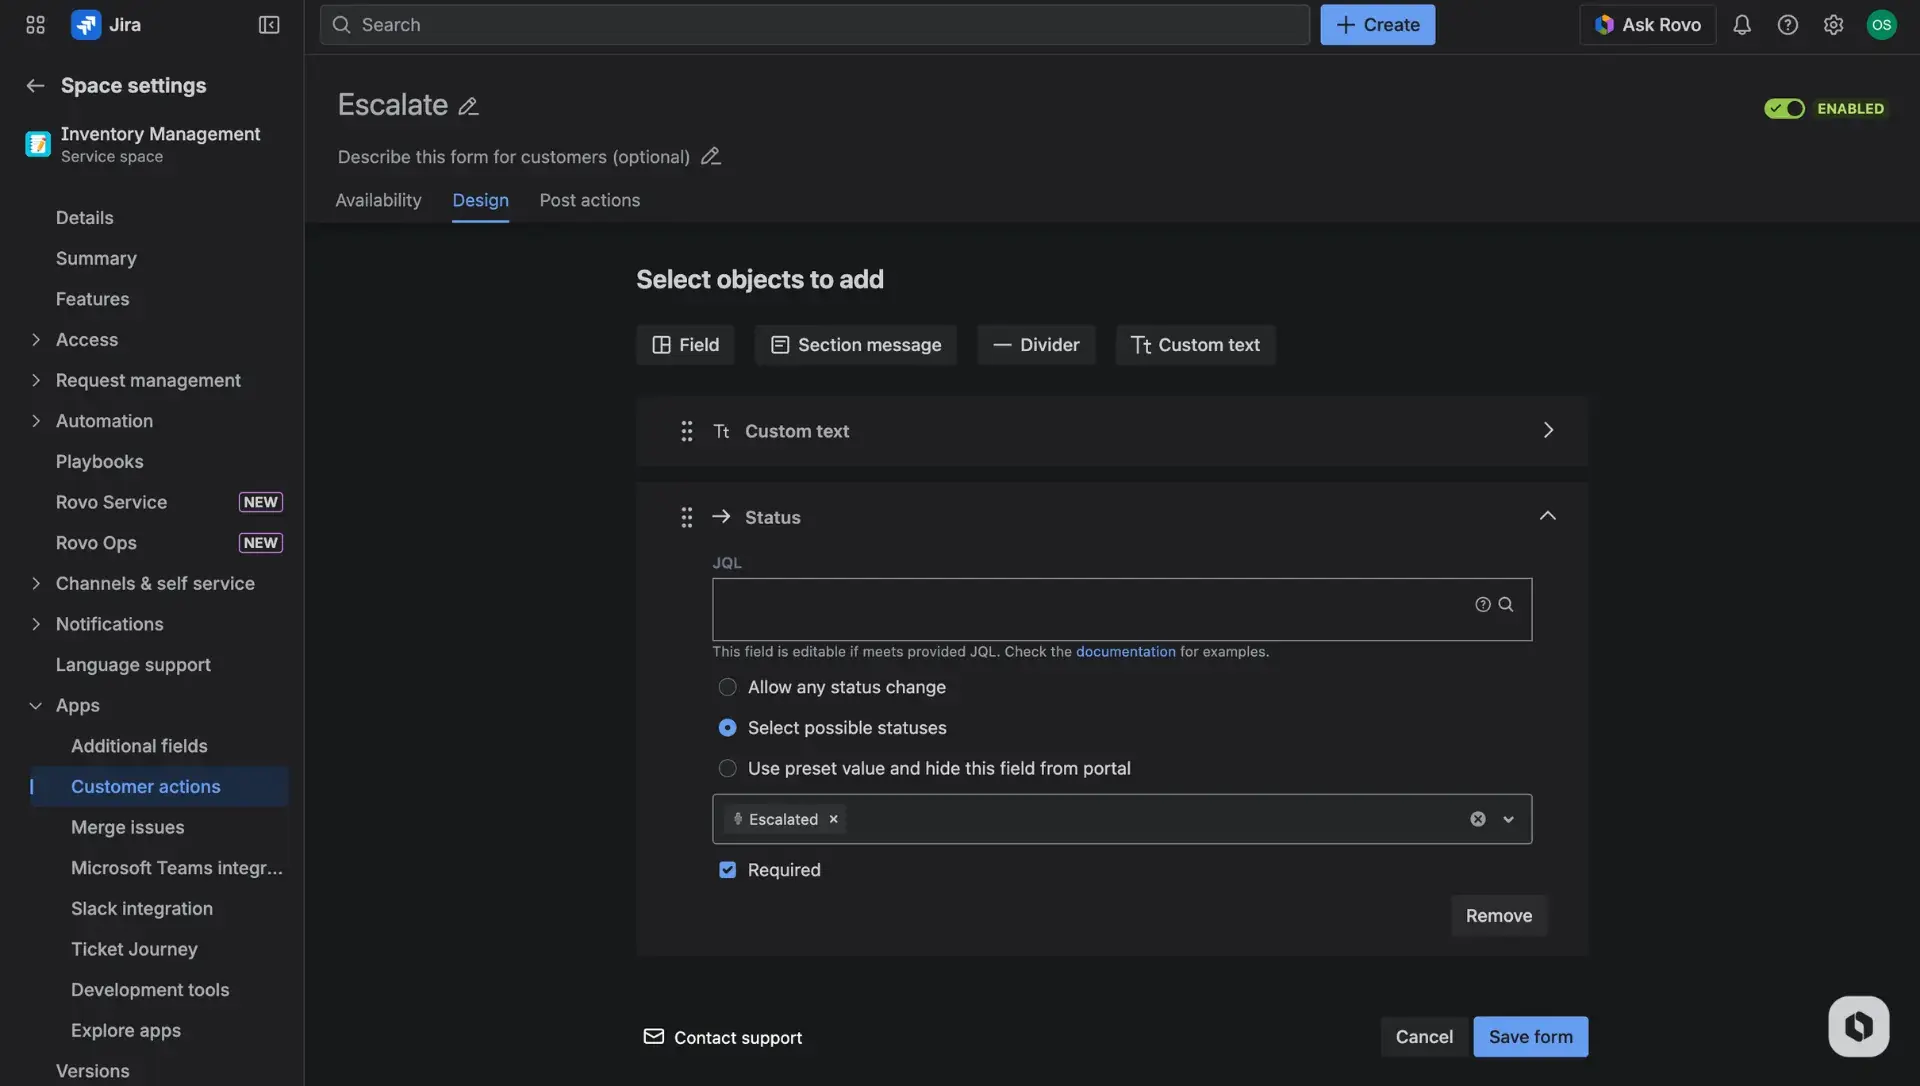
Design
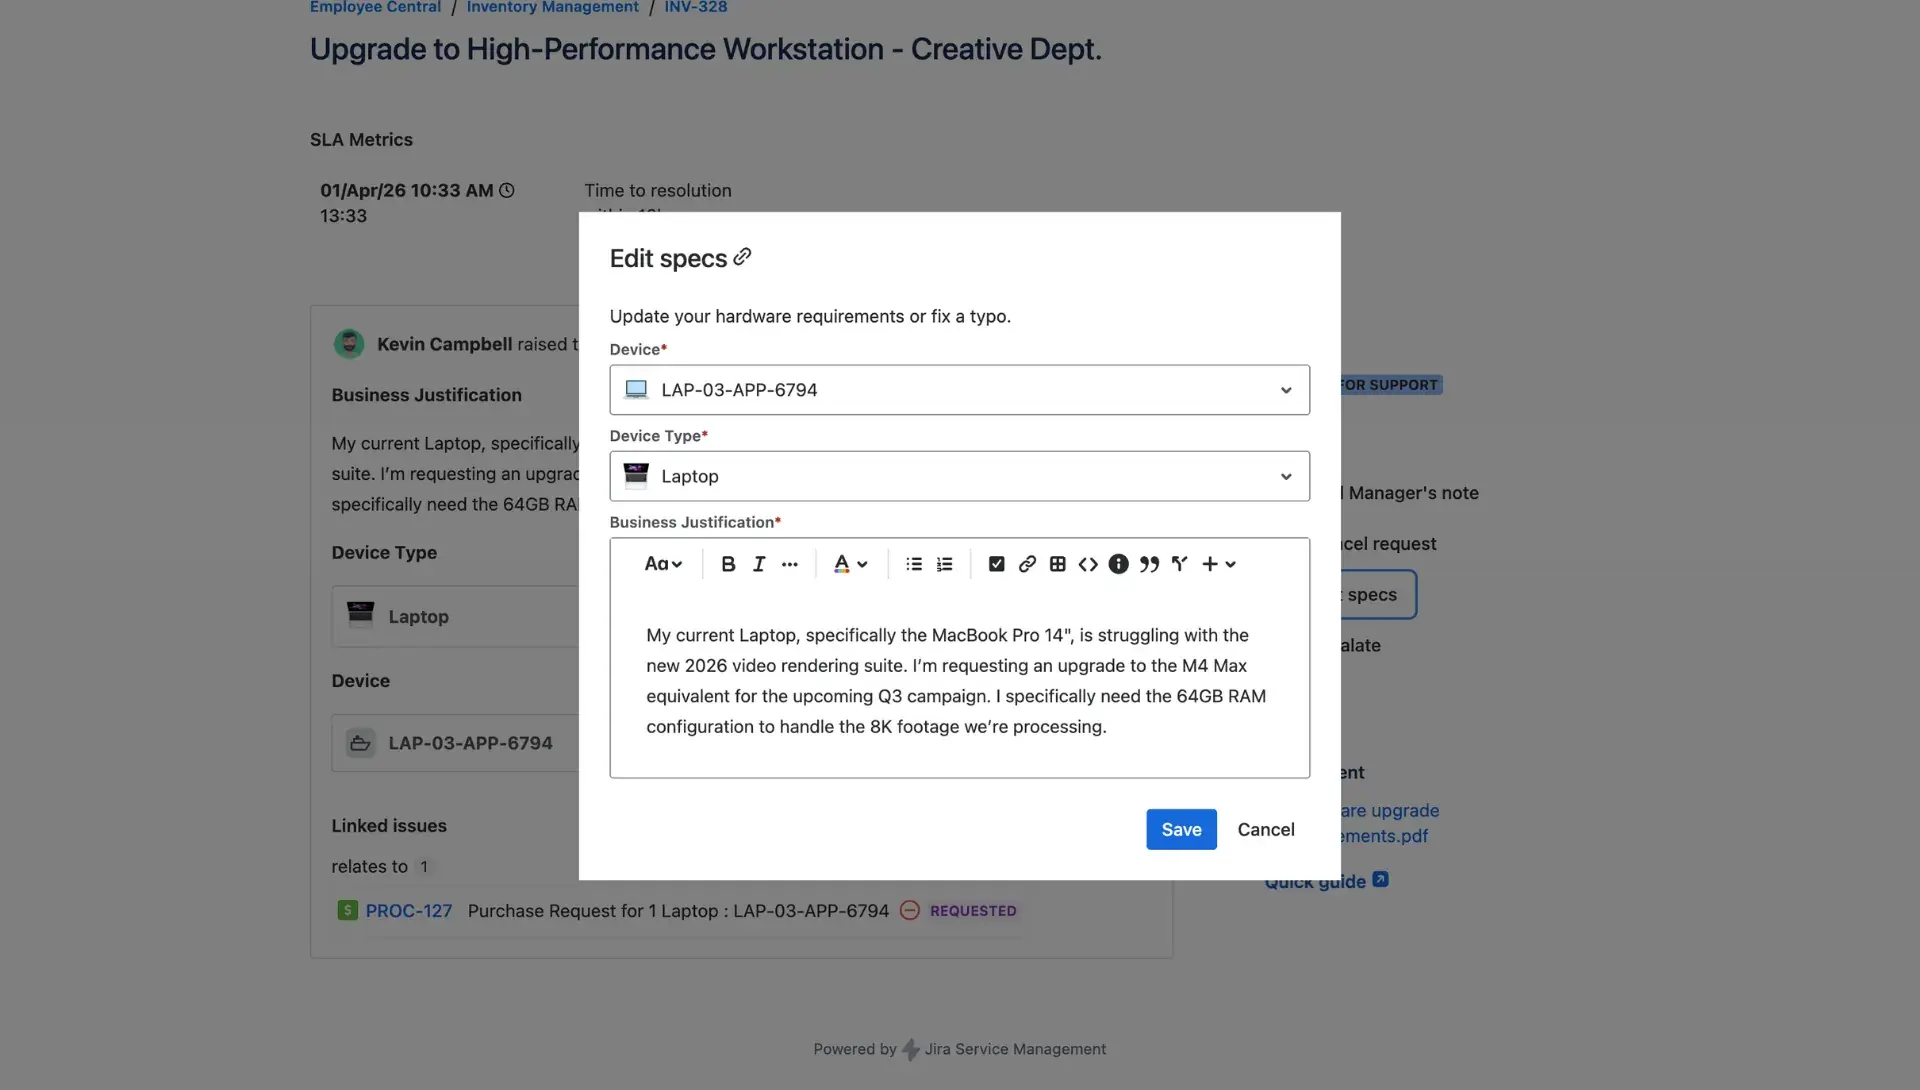
The Design tab is where the layout of the form is built. This section defines the information gathered during the interaction.
Form layout: Add custom messages, specific fields, and helpful links to guide the user through the process.
Required fields: Any field can be marked as mandatory. This ensures that users provide essential information before the form can be submitted.

Troubleshooting team-managed projects
In team-managed projects, ensuring fields are correctly mapped is vital. If an action is not behaving as expected, check Project settings > Fields. If a field used in the configuration has been deleted or modified in the project settings, an error may occur, and the functionality may fail.
Comment field support
A comment field can now be included in the edit dialog window. Once the edit is submitted, the comment is added to the ticket. If the dialog is opened again for further changes, the field resets to empty, allowing for fresh input.
Check out all supported fields here.
Status field
The Status field is one of the supported fields and can be used in Edit request forms. Users define conditions in which requests with statuses are editable (with JQL) and change status automatically after editing the ticket by customers. One of the use cases for this field is allowing customers to escalate their requests. Read more about it here.

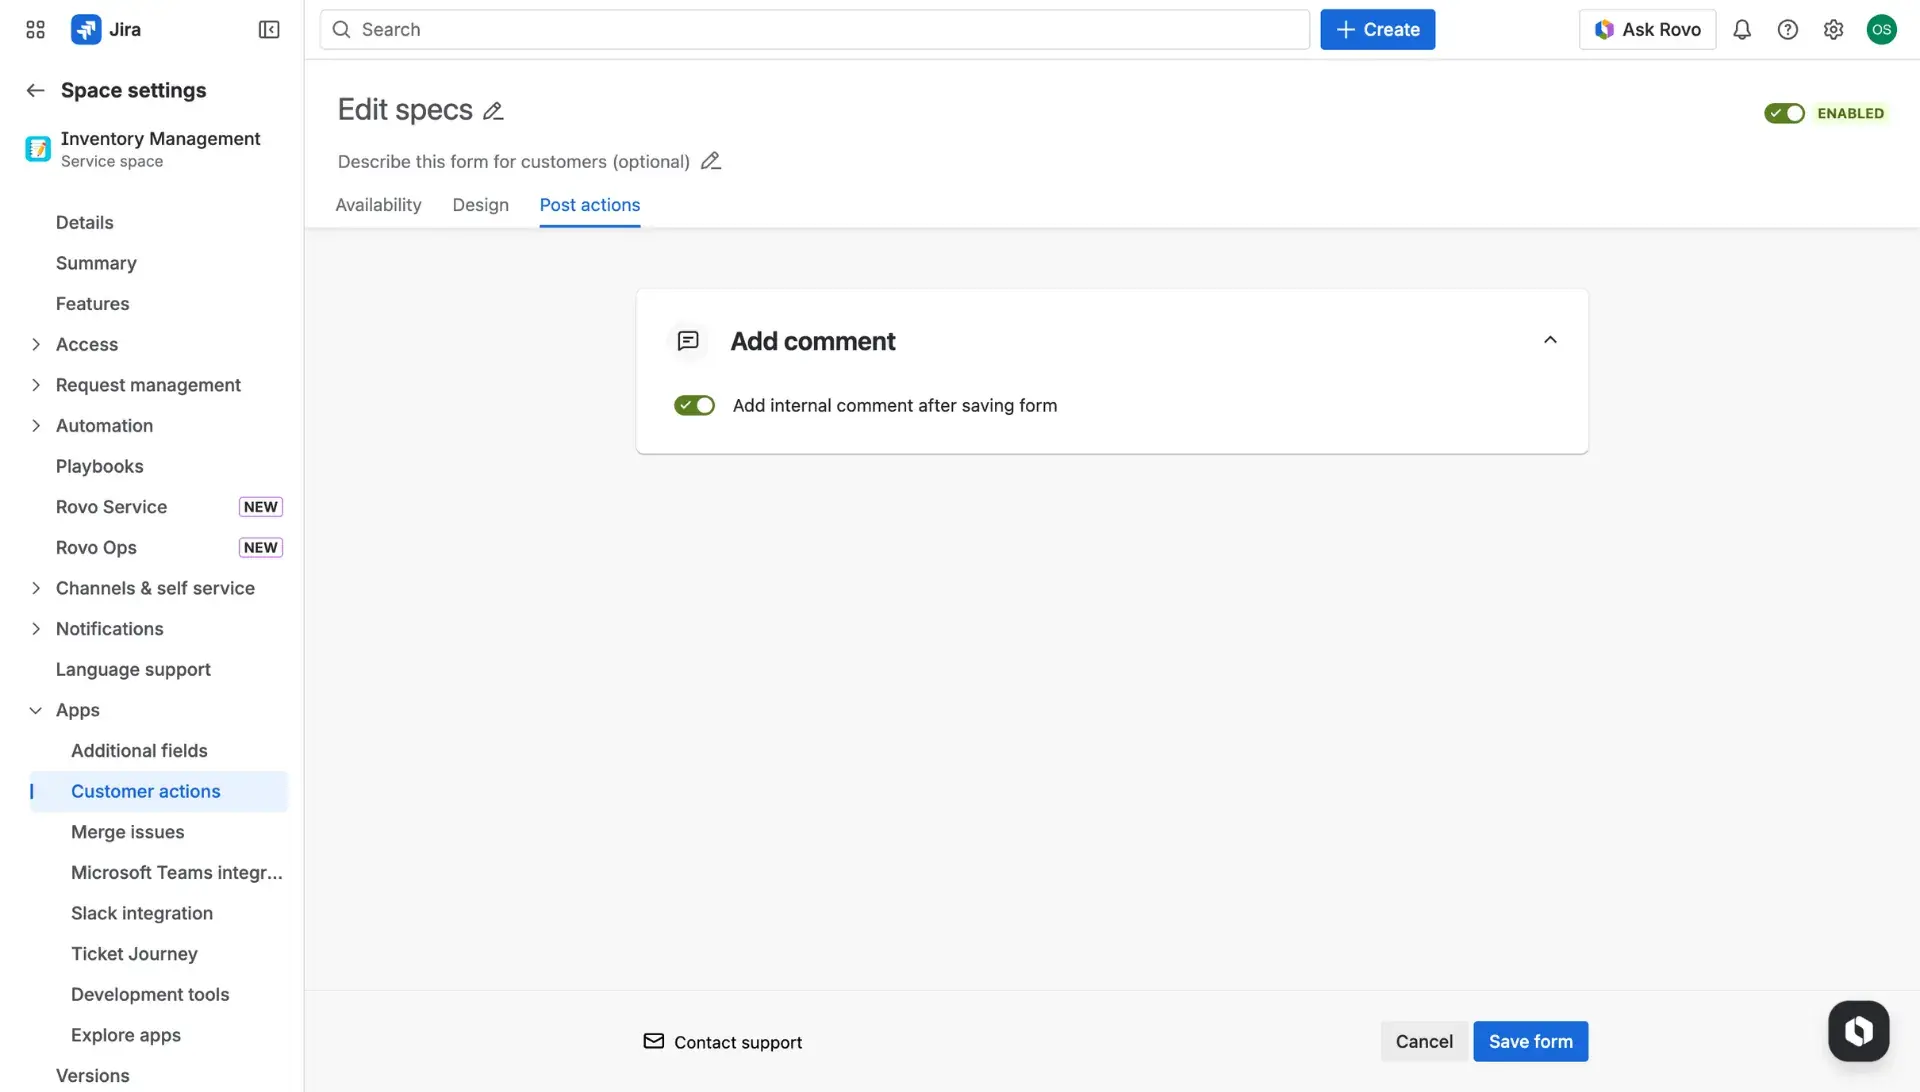
Post-actions
The Post-actions tab manages the automation that happens behind the scenes after a user interaction on the customer self service portal. This feature can be turned on or off with a toggle provided in the tab, depending on how much notification the team requires
- Internal/ public comments: This function automatically adds a comment to the request in the service project once an edit is made. This alerts agents to changes without them needing to check the history logs manually. Users can select between two modes of adding a comment - either internally, with Jira Service Management or on the customer portal.
Customize internal & public comments on issue
Automated messages can be tailored to provide specific context for the team - either within the Jira Service Management project (internally) or on the customer portal (publically). To do so, follow these steps:
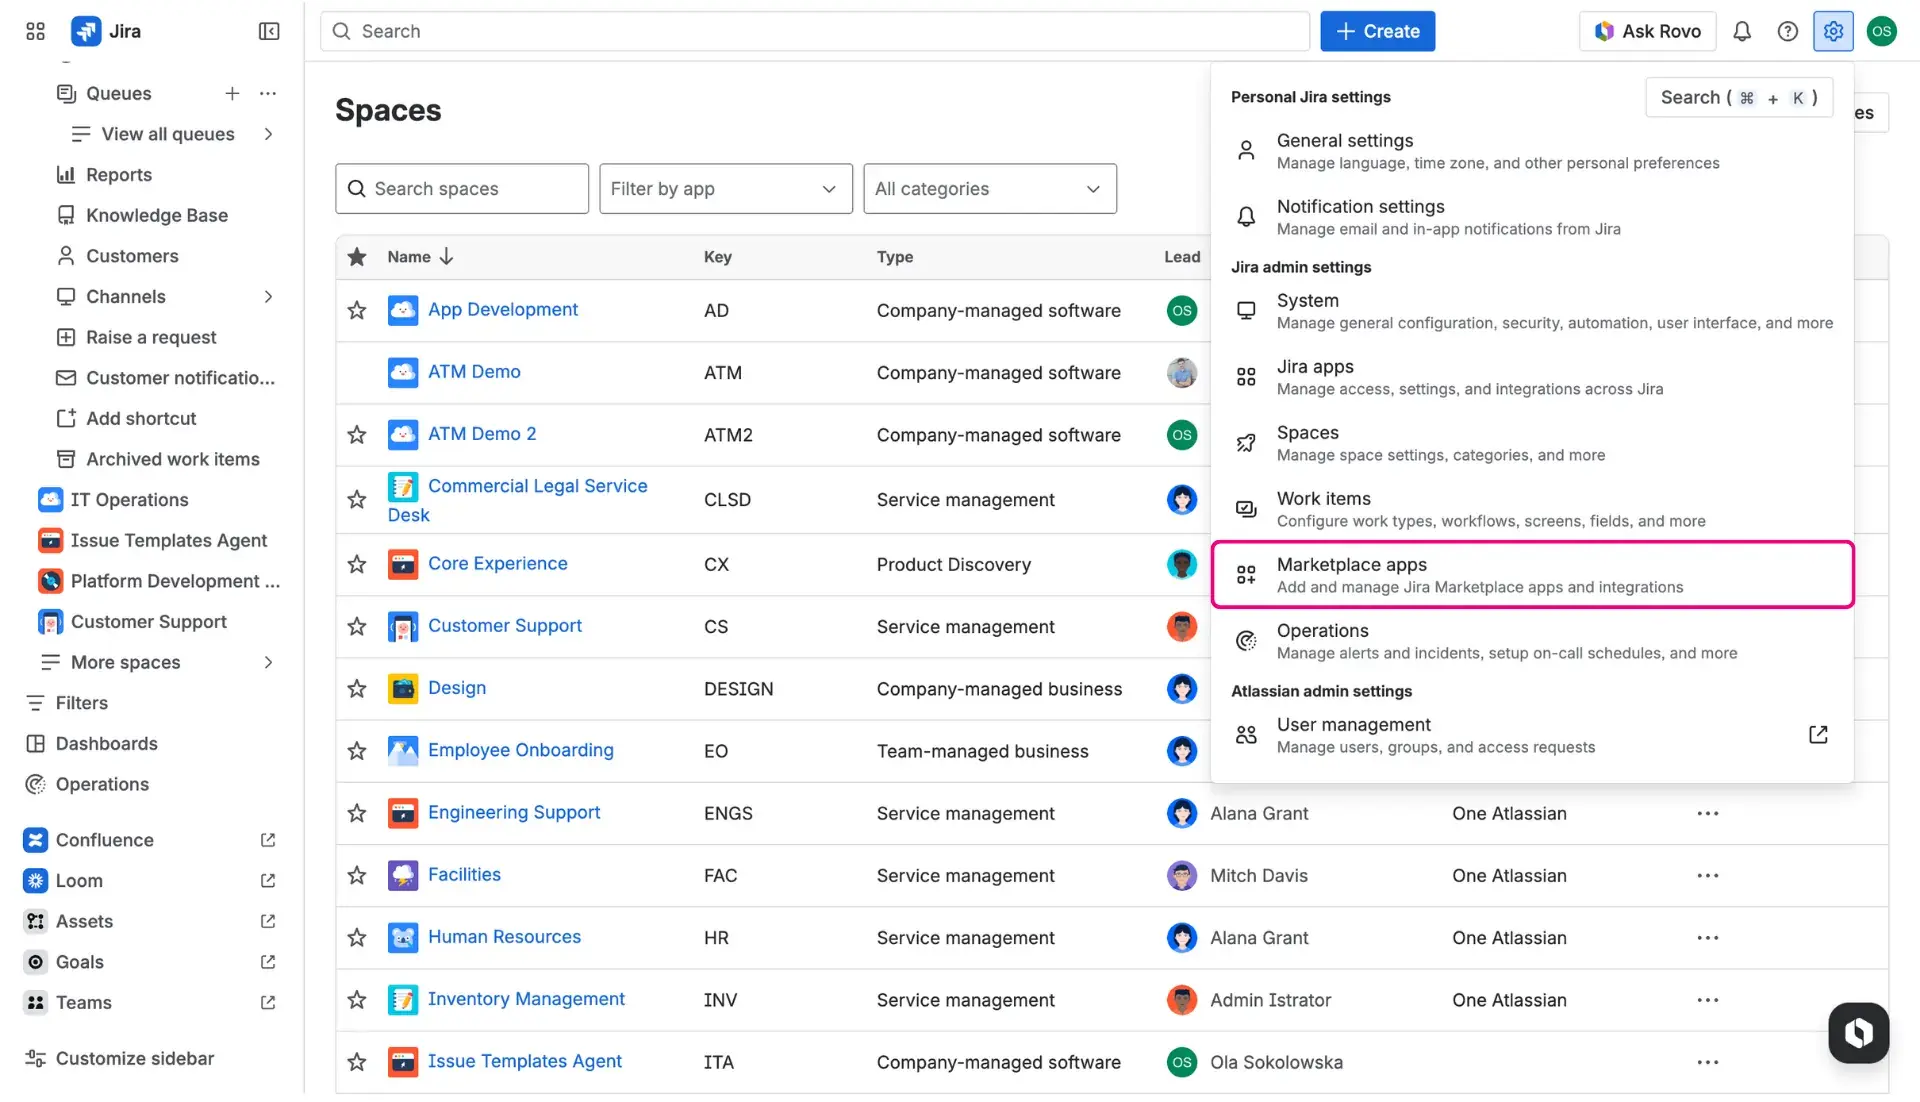
- Go into Settings (cog icon) > Marketplace apps > Feature Bundle.
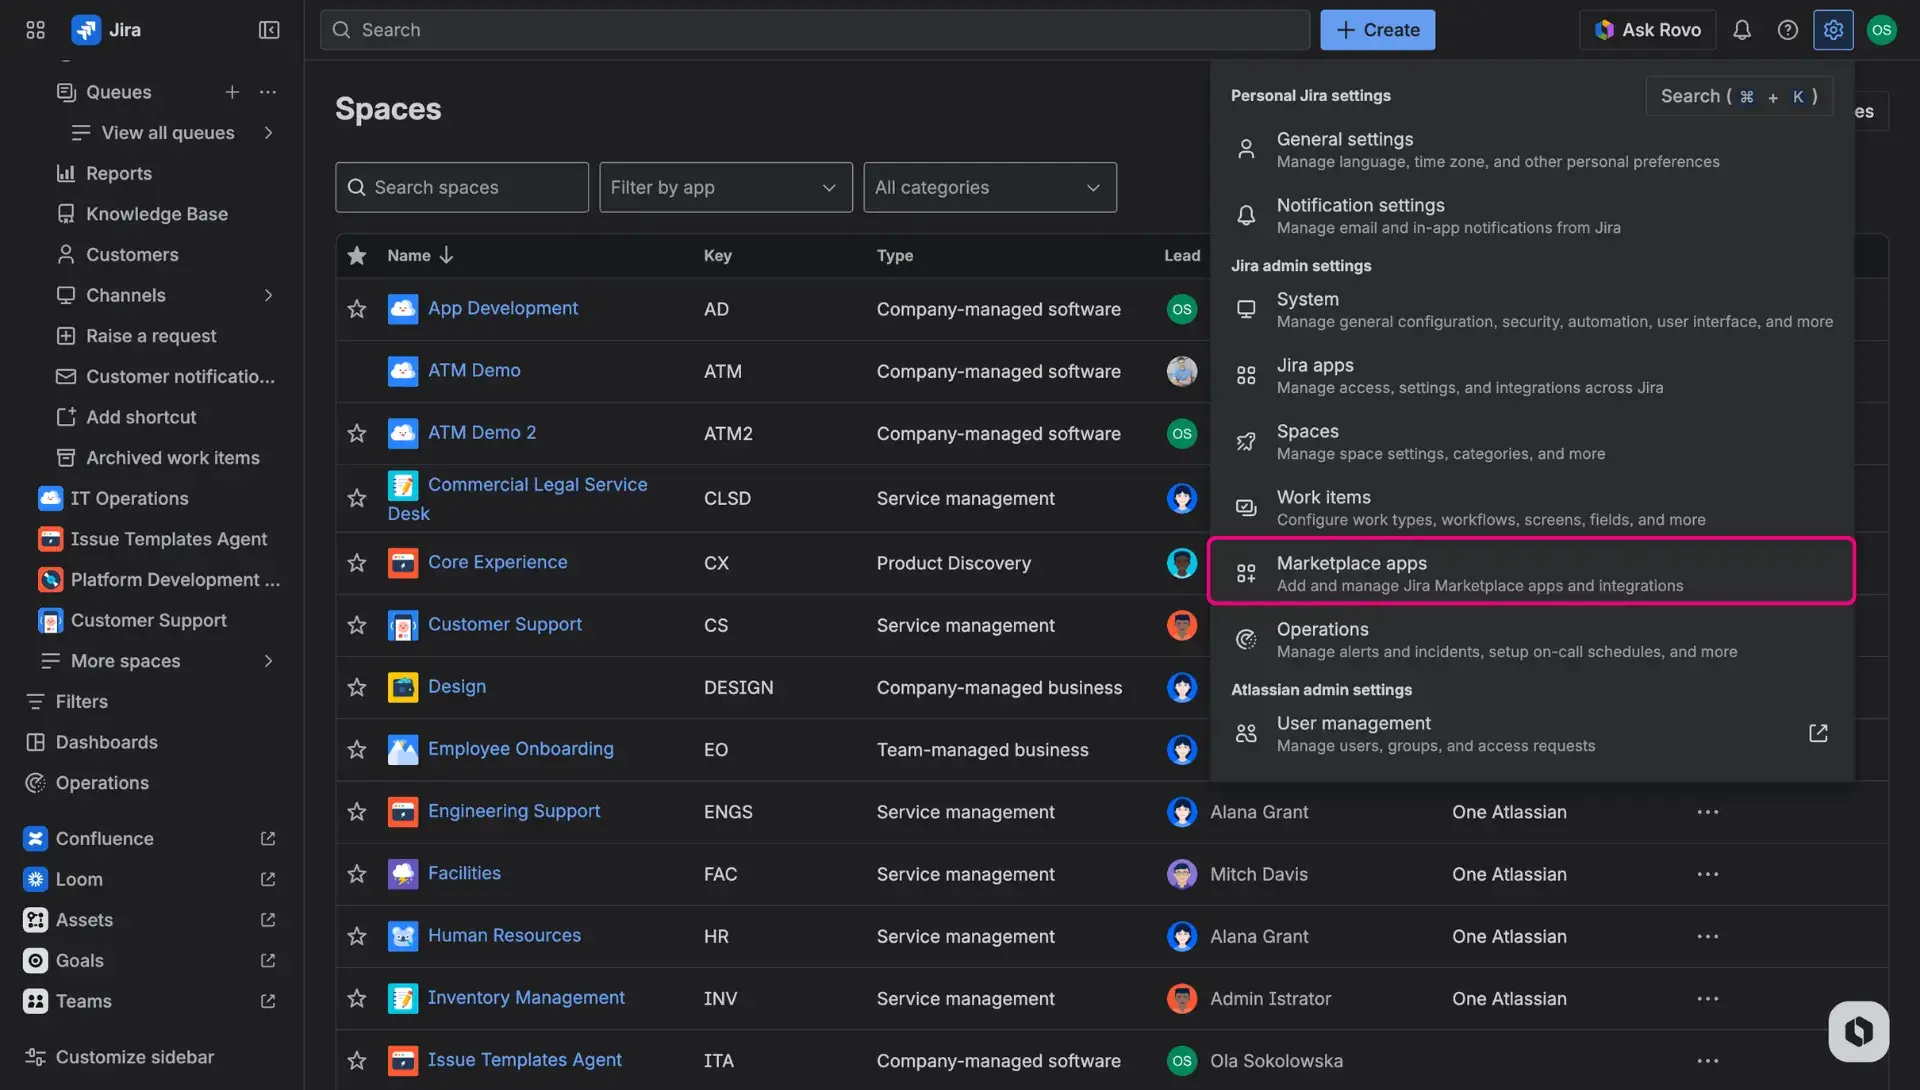
- Click on Configuration.
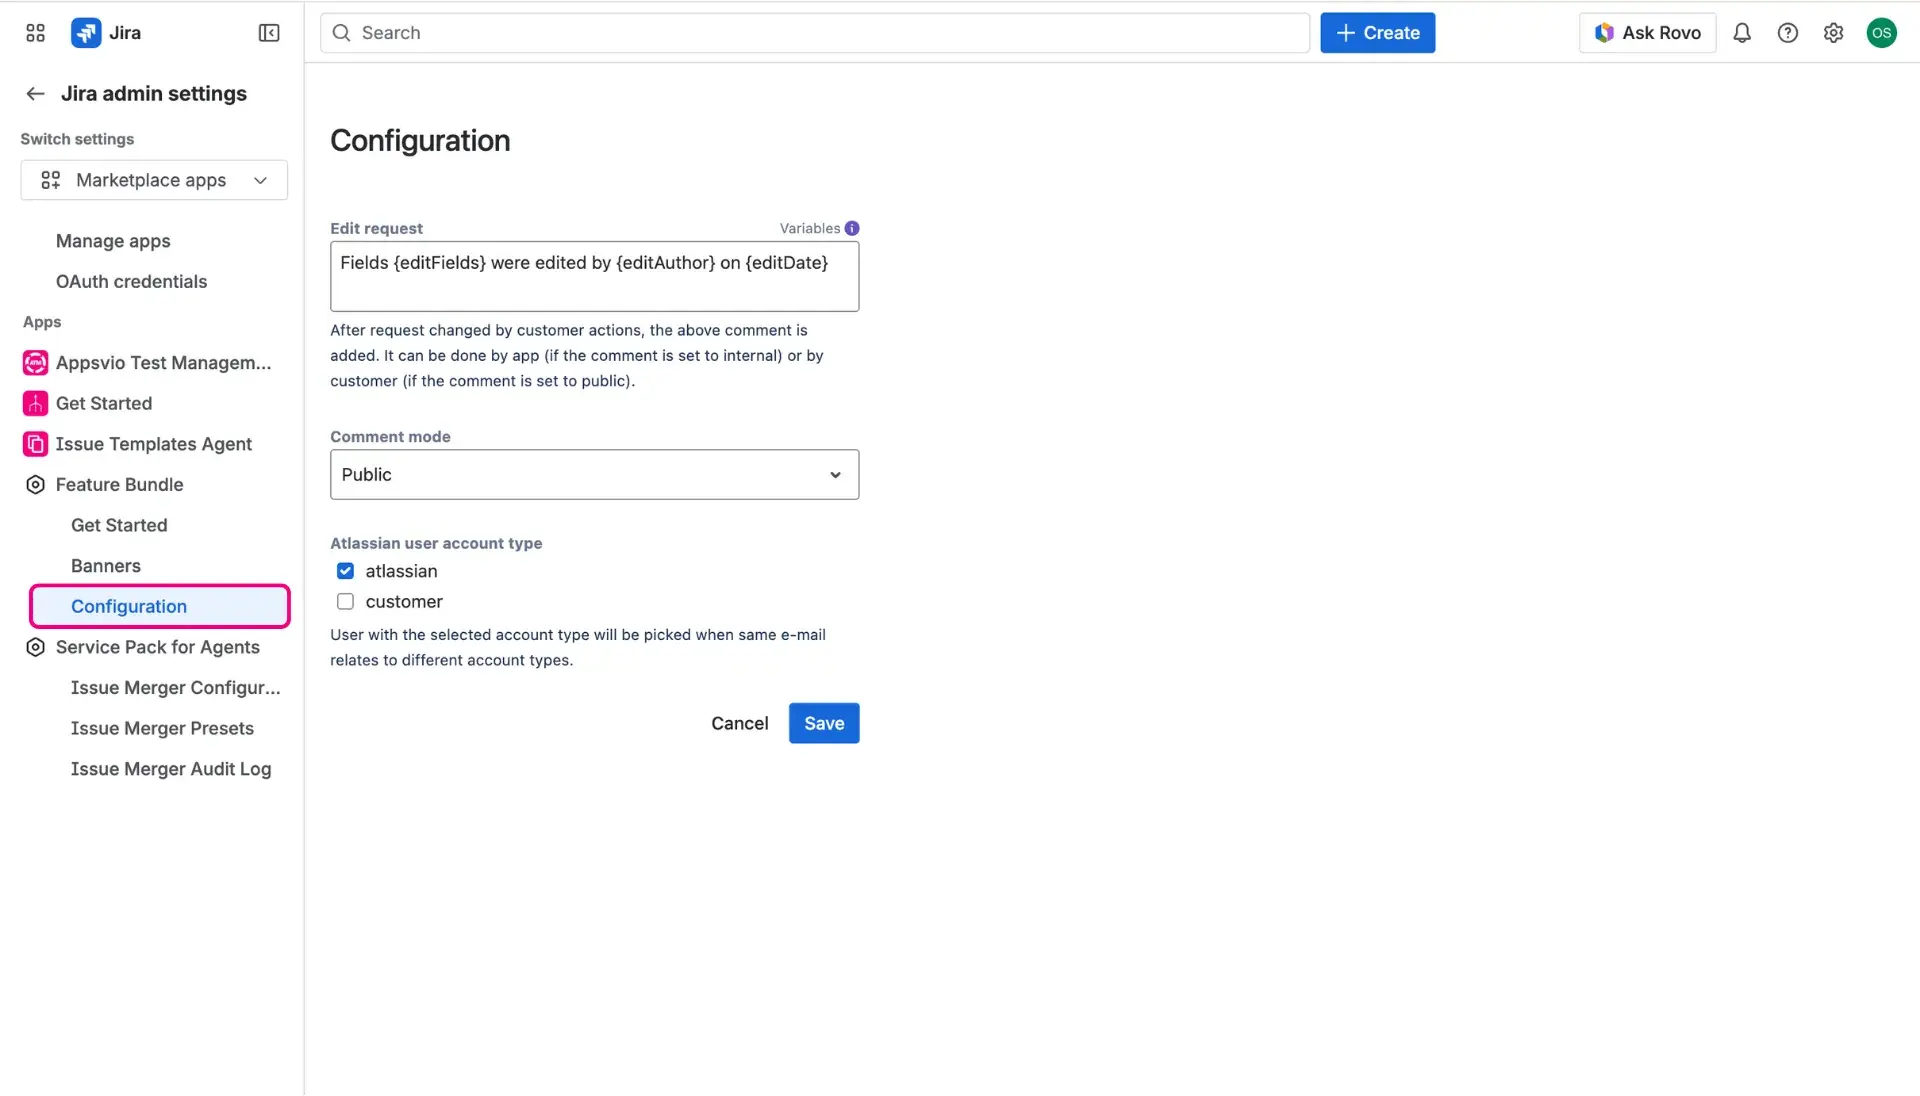
- In Edit request text field, add customized comment that will be added to request after editing, use variables for more personalization.
- Following variables can be used:
{editFields}- lists fields which were edited{editAuthor}- displays who made an edition{editDate}- logs when the edition was made
- Following variables can be used:
Once the configuration of the form is complete, clicking the Save button pushes the changes live.
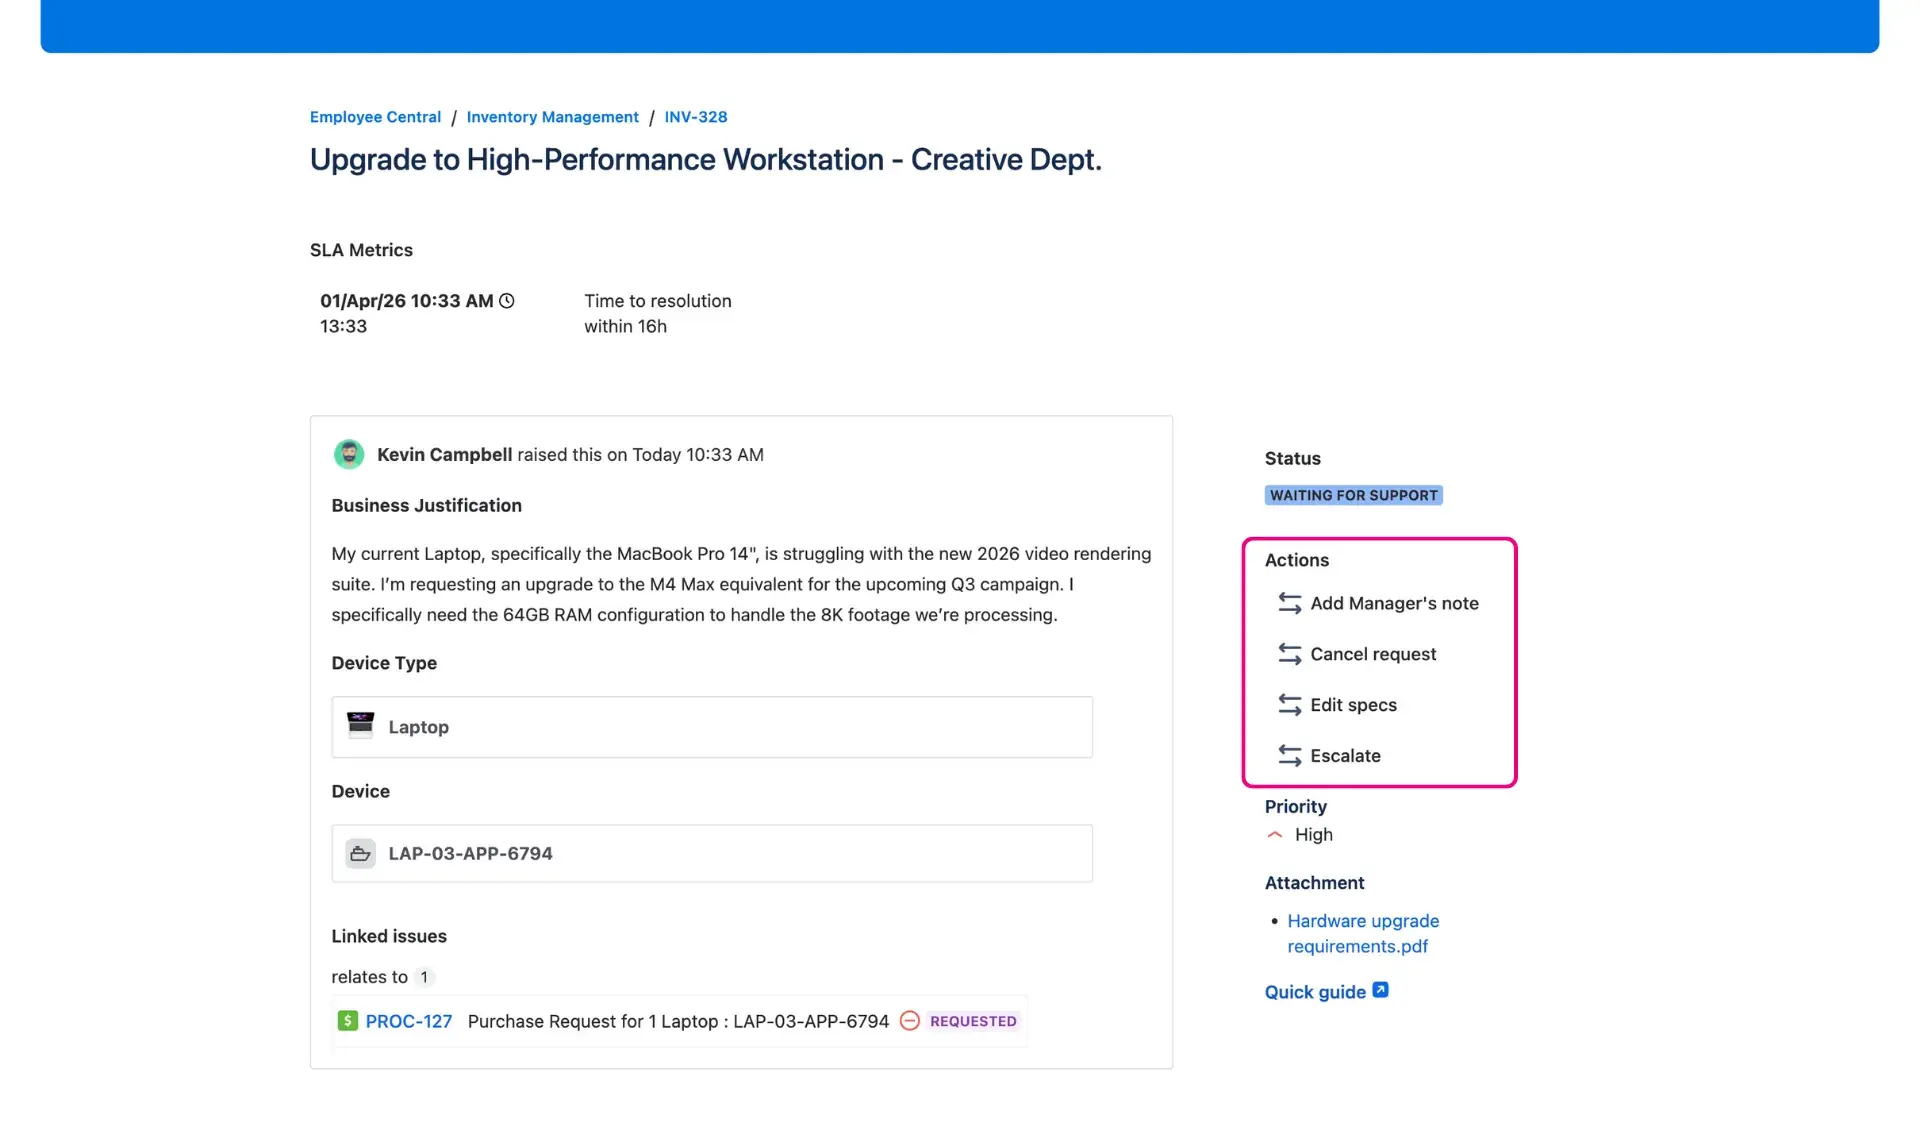
Customer actions in practice
With the configuration saved, the new button appears on the request detail view. When a user clicks it, the designed form opens, allowing for data entry or ticket escalation. Upon submission, any enabled post-actions - such as adding comments - trigger immediately. This keeps the incident management in Jira process moving forward without manual intervention.
Reminder
The customer must have access to the request in order to be able to edit it.