Customer actions
Giving users the power to handle their own requests changes the whole vibe of a Jira portal. Instead of waiting for an agent to fix a typo or move a ticket along, clients can take care of it themselves. This makes any customer self service portal feel much more capable and keeps the data accurate without extra emails.
Visual setup guide
A quick walkthrough shows how to create and deploy these actions so they look great on the Jira customer portal.
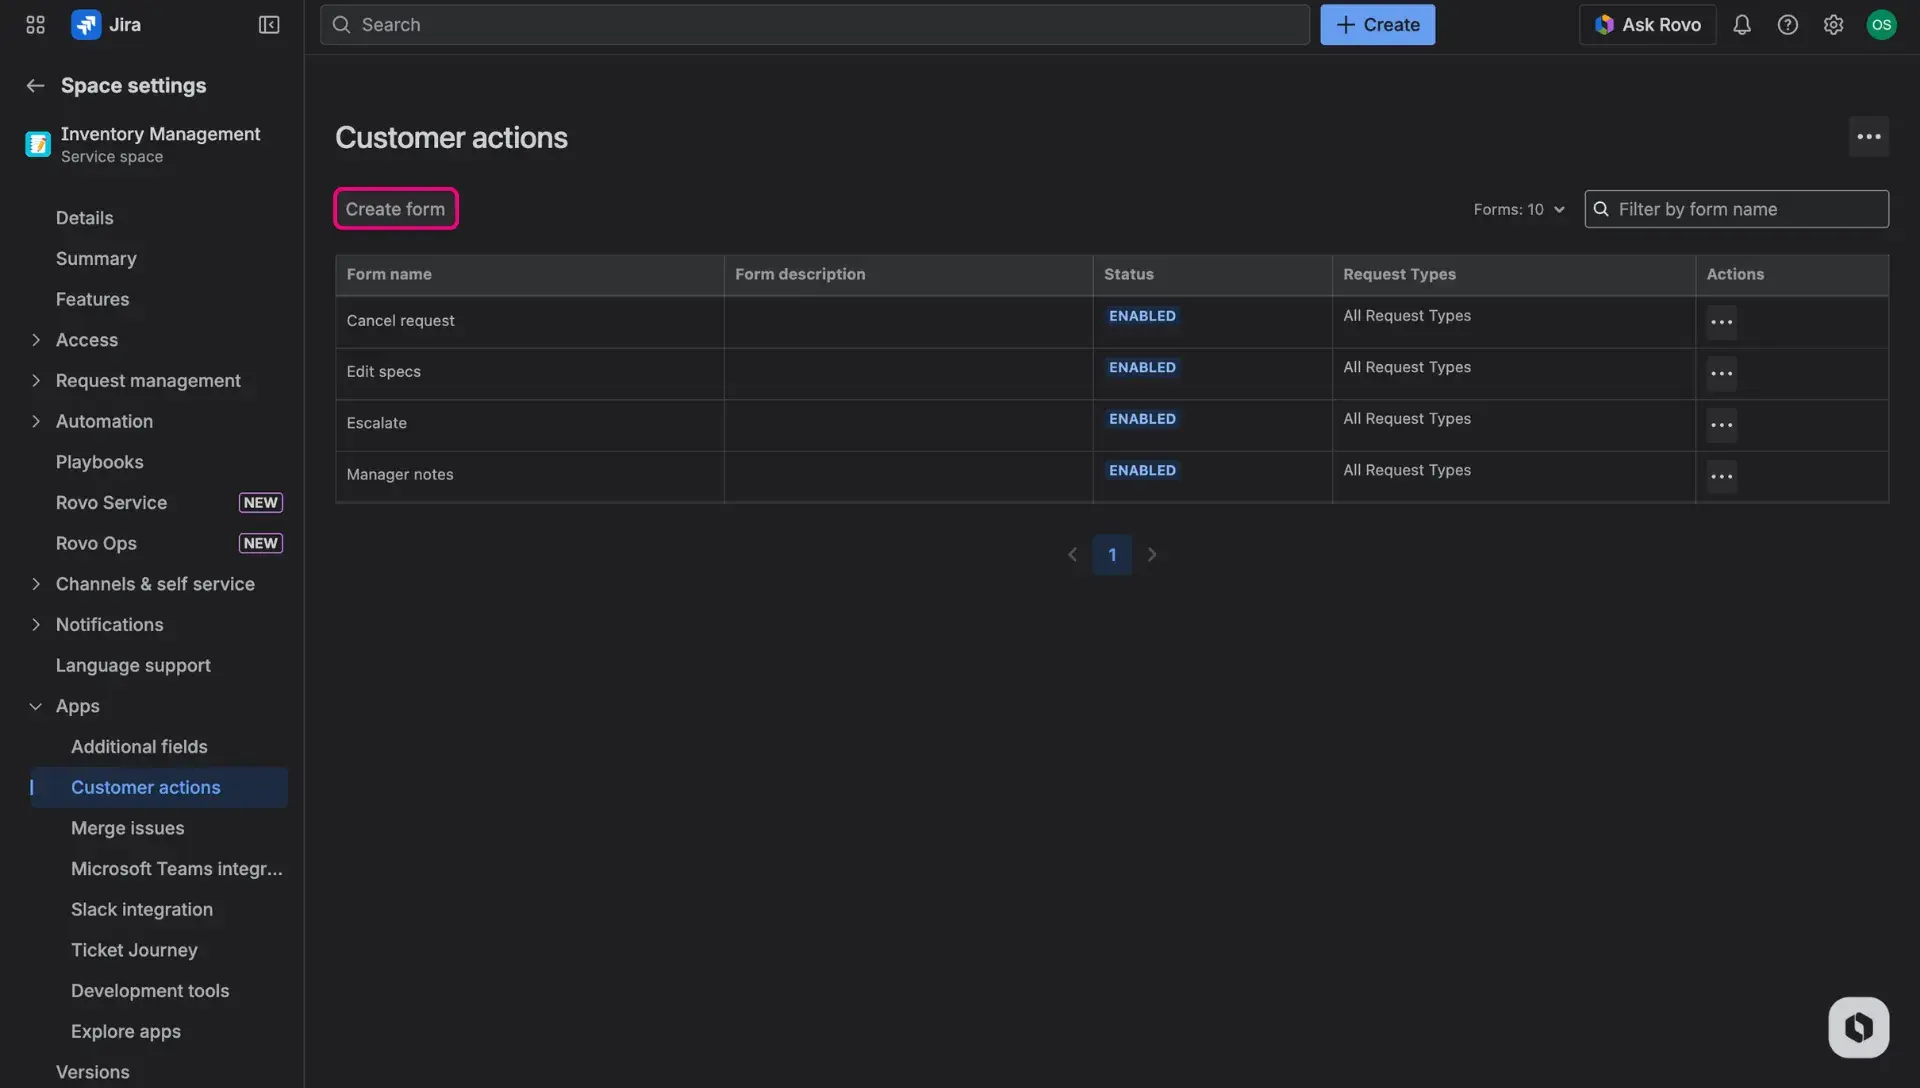
Access Customer actions
Setting things up happens right inside the project settings to keep every self service customer portal tailored to the team’s needs. To find the dashboard:
- Head over to the specific Jira Service Management project and open Project settings from the sidebar.
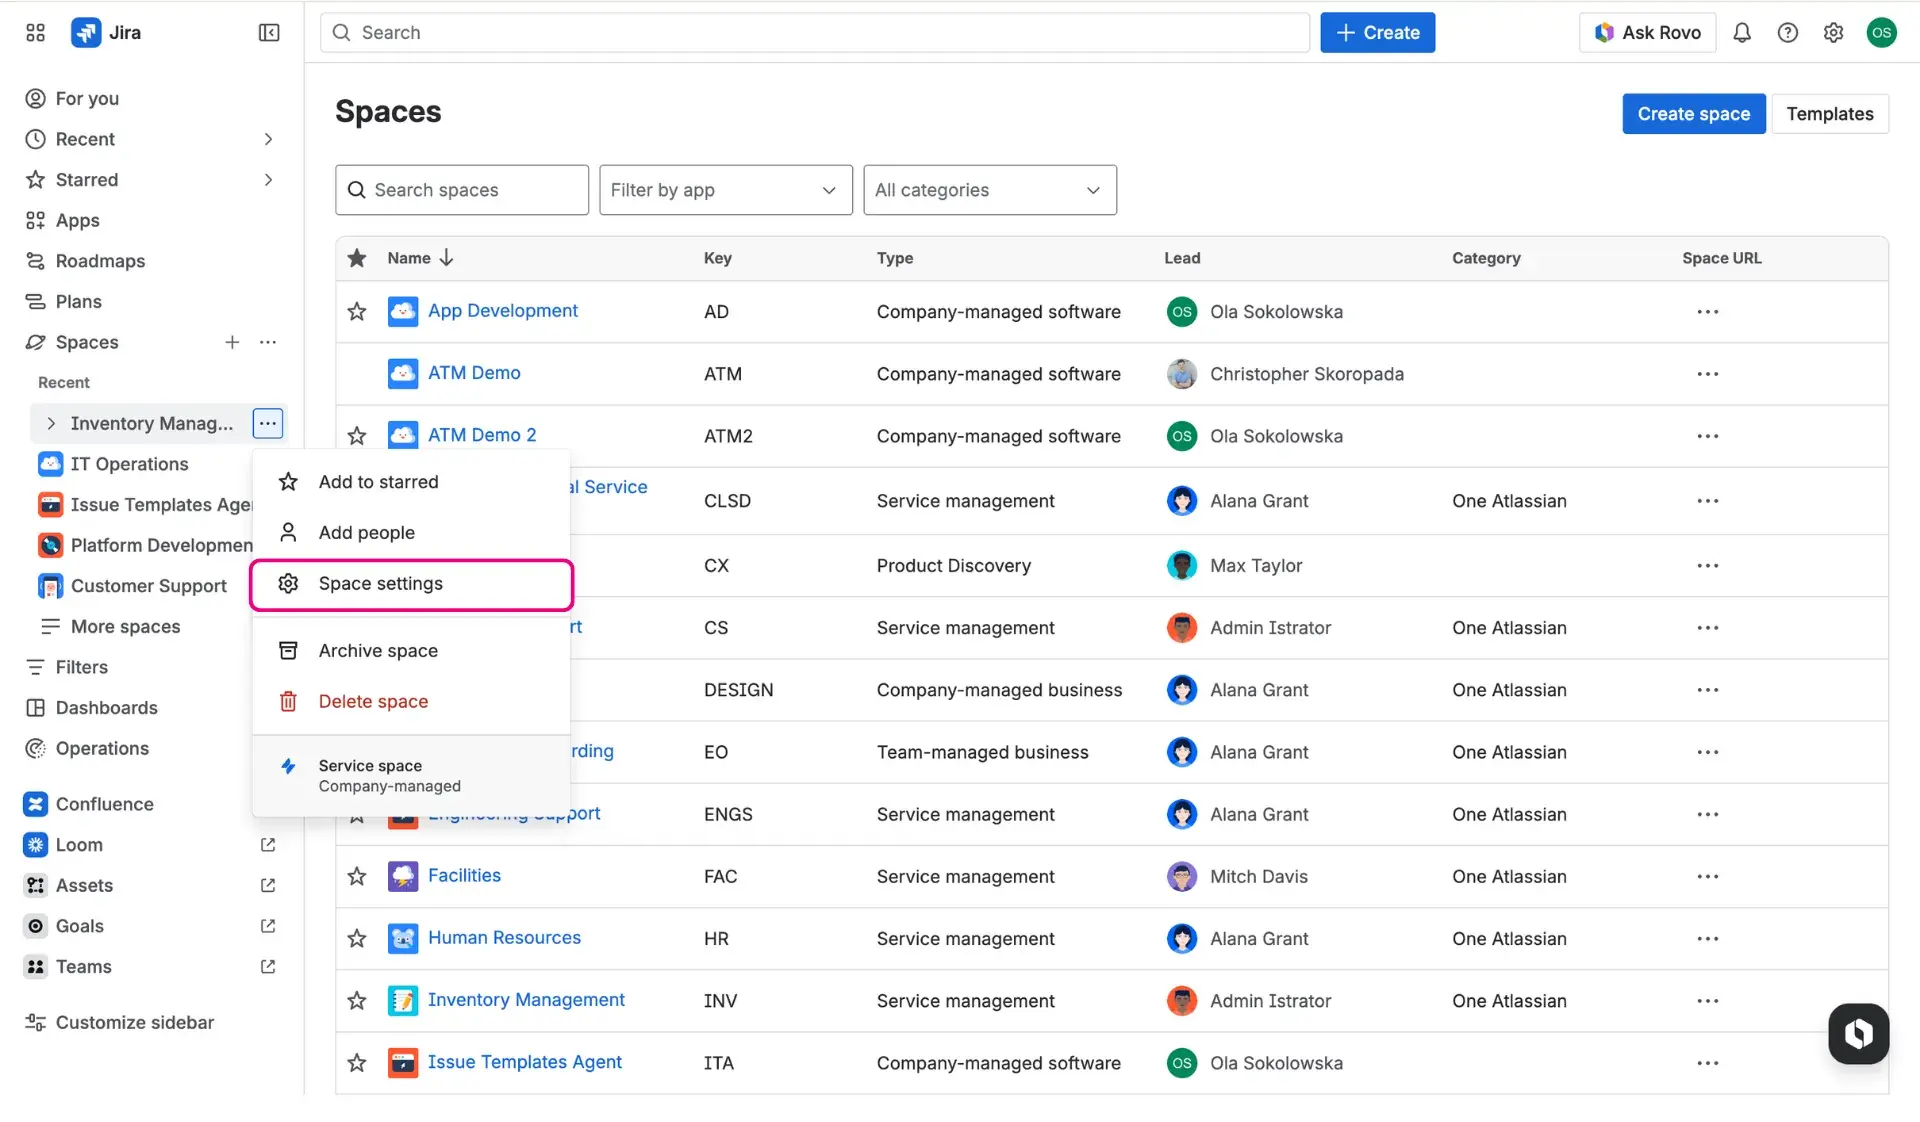
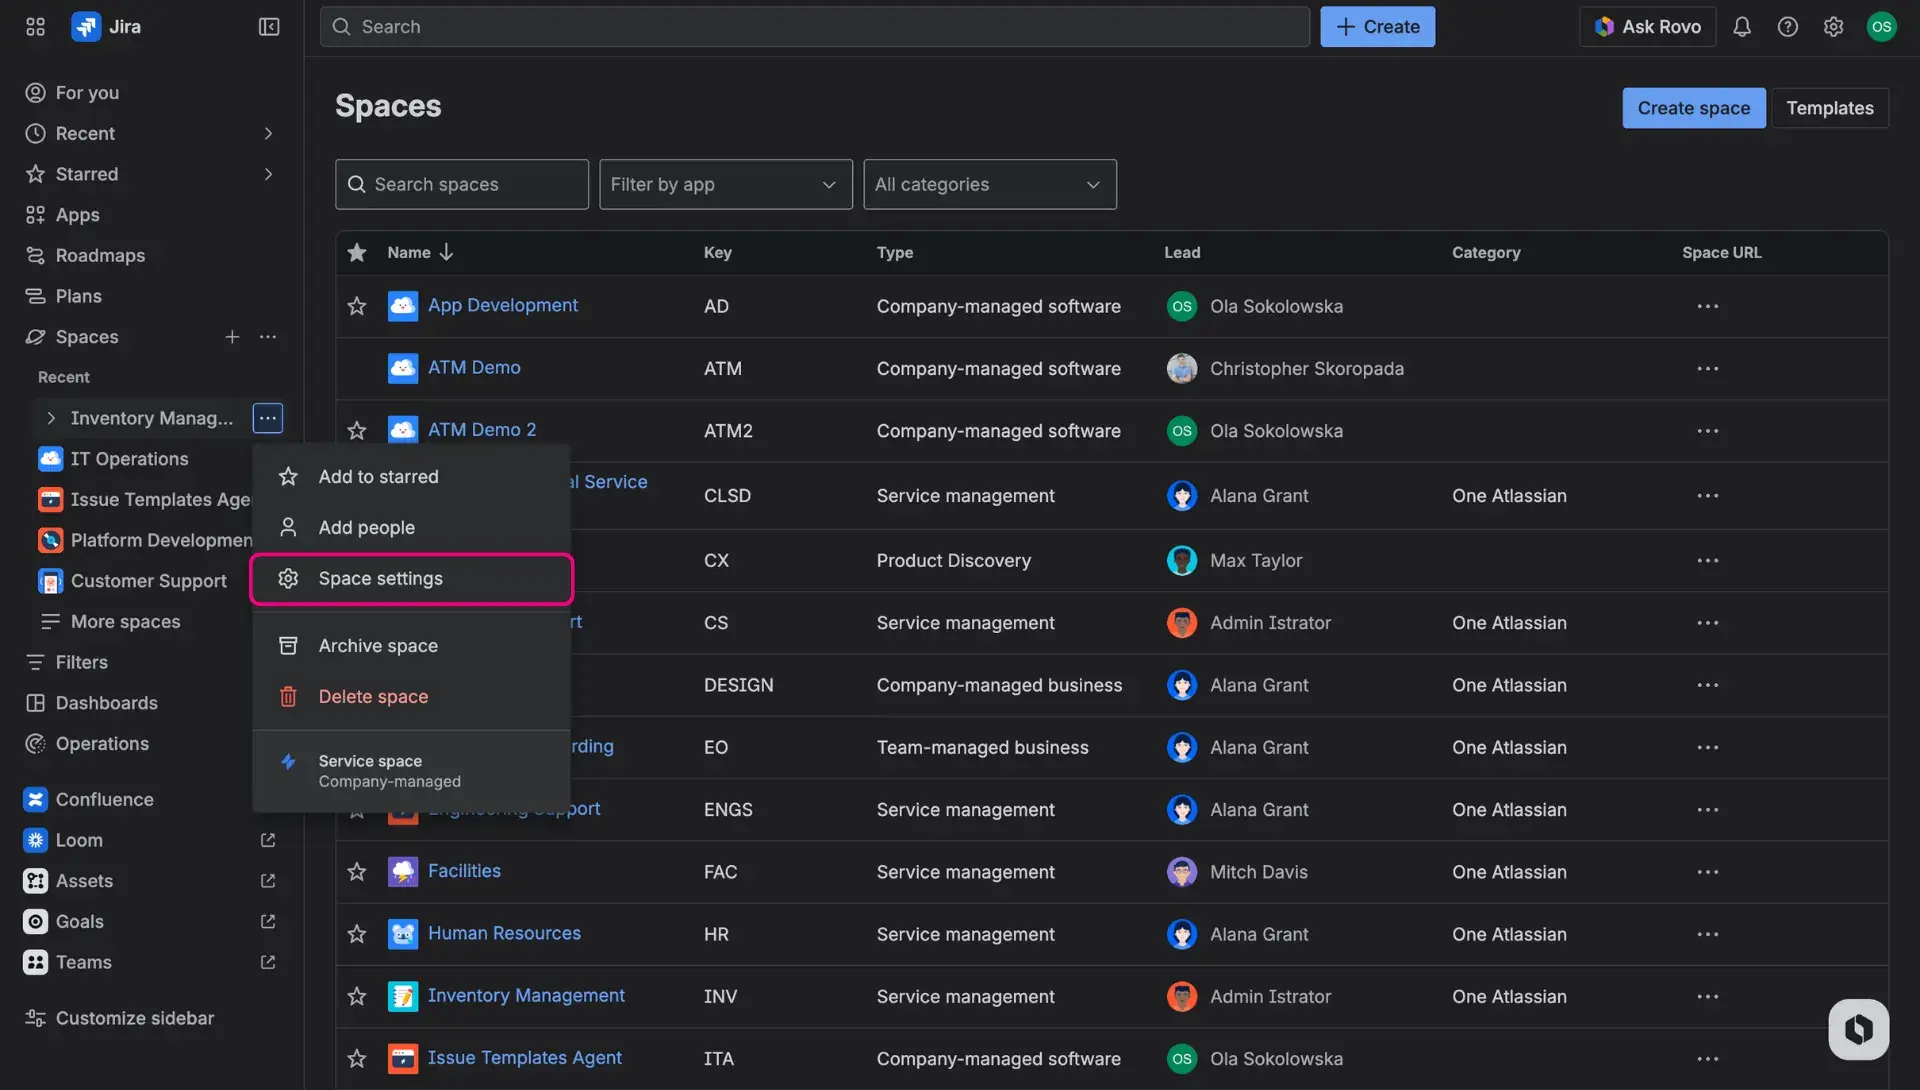
- Find the Apps section and click Customer Actions.

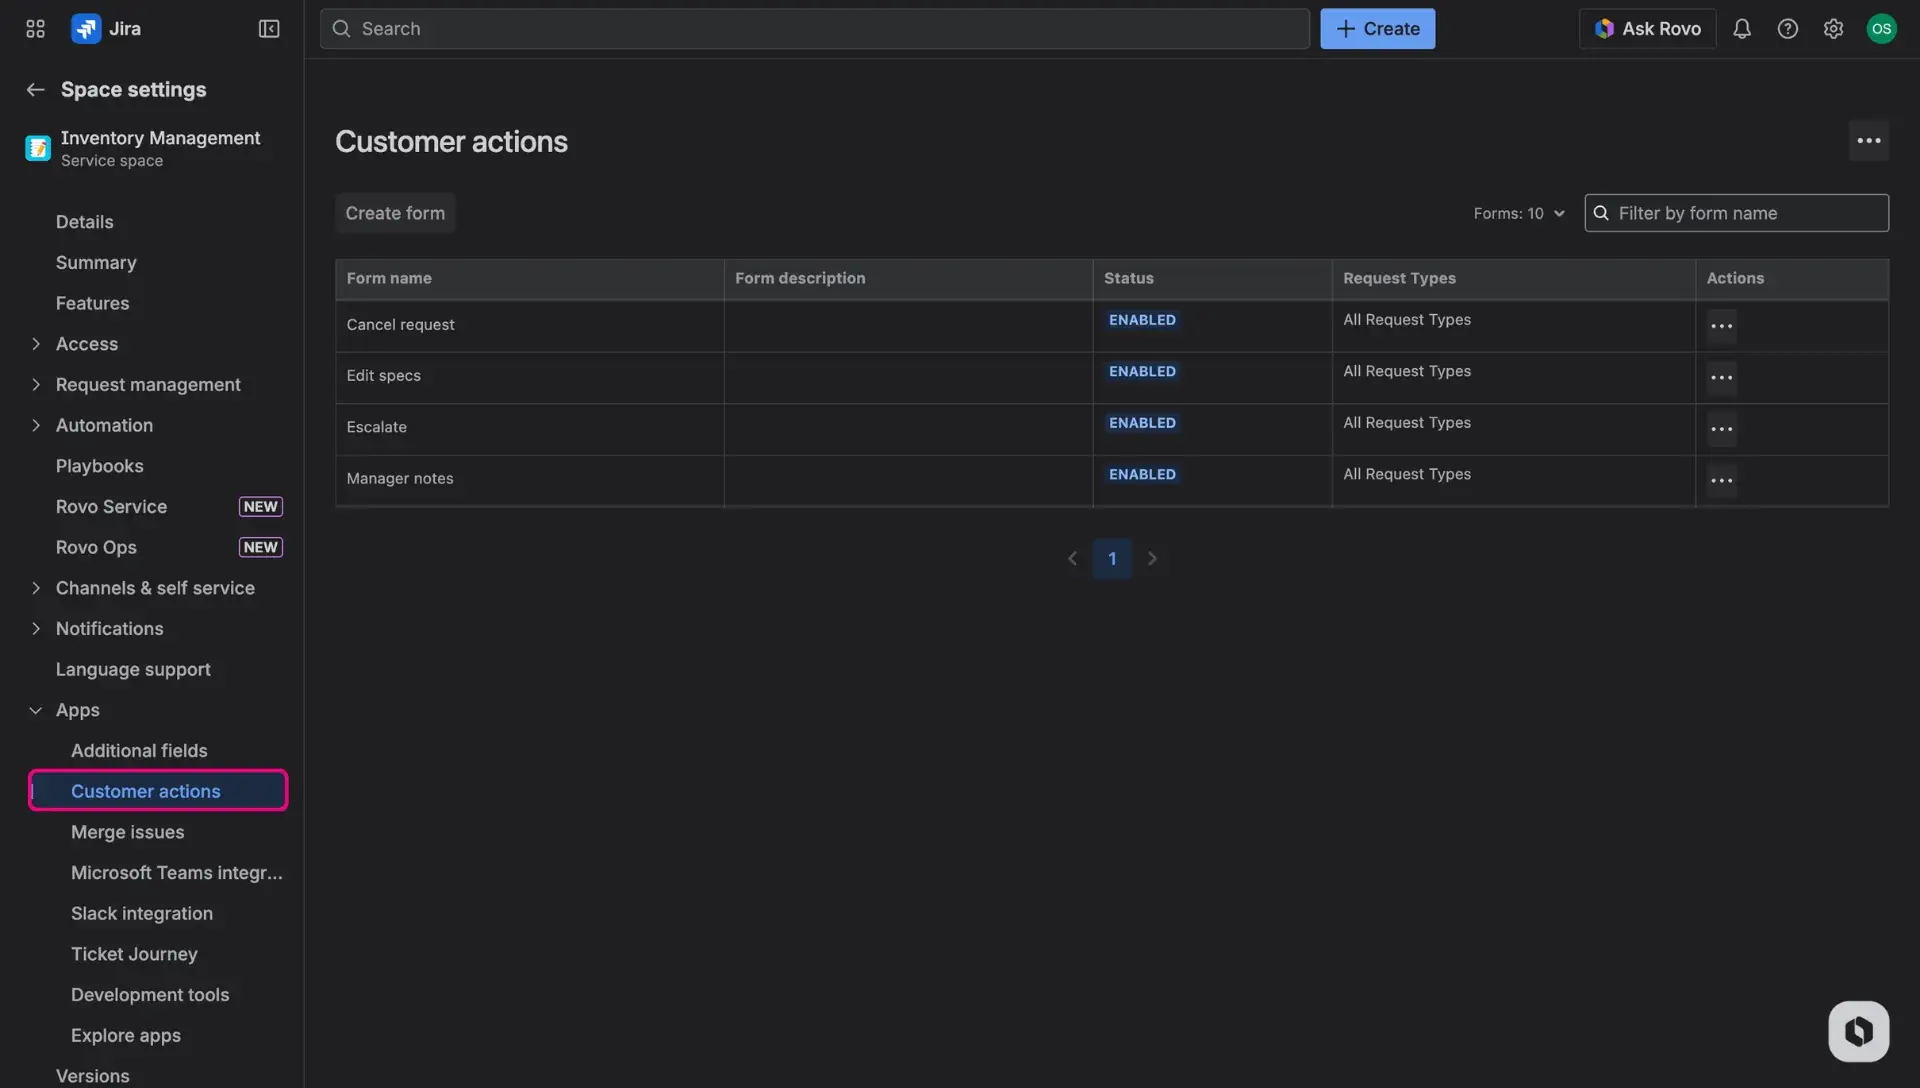
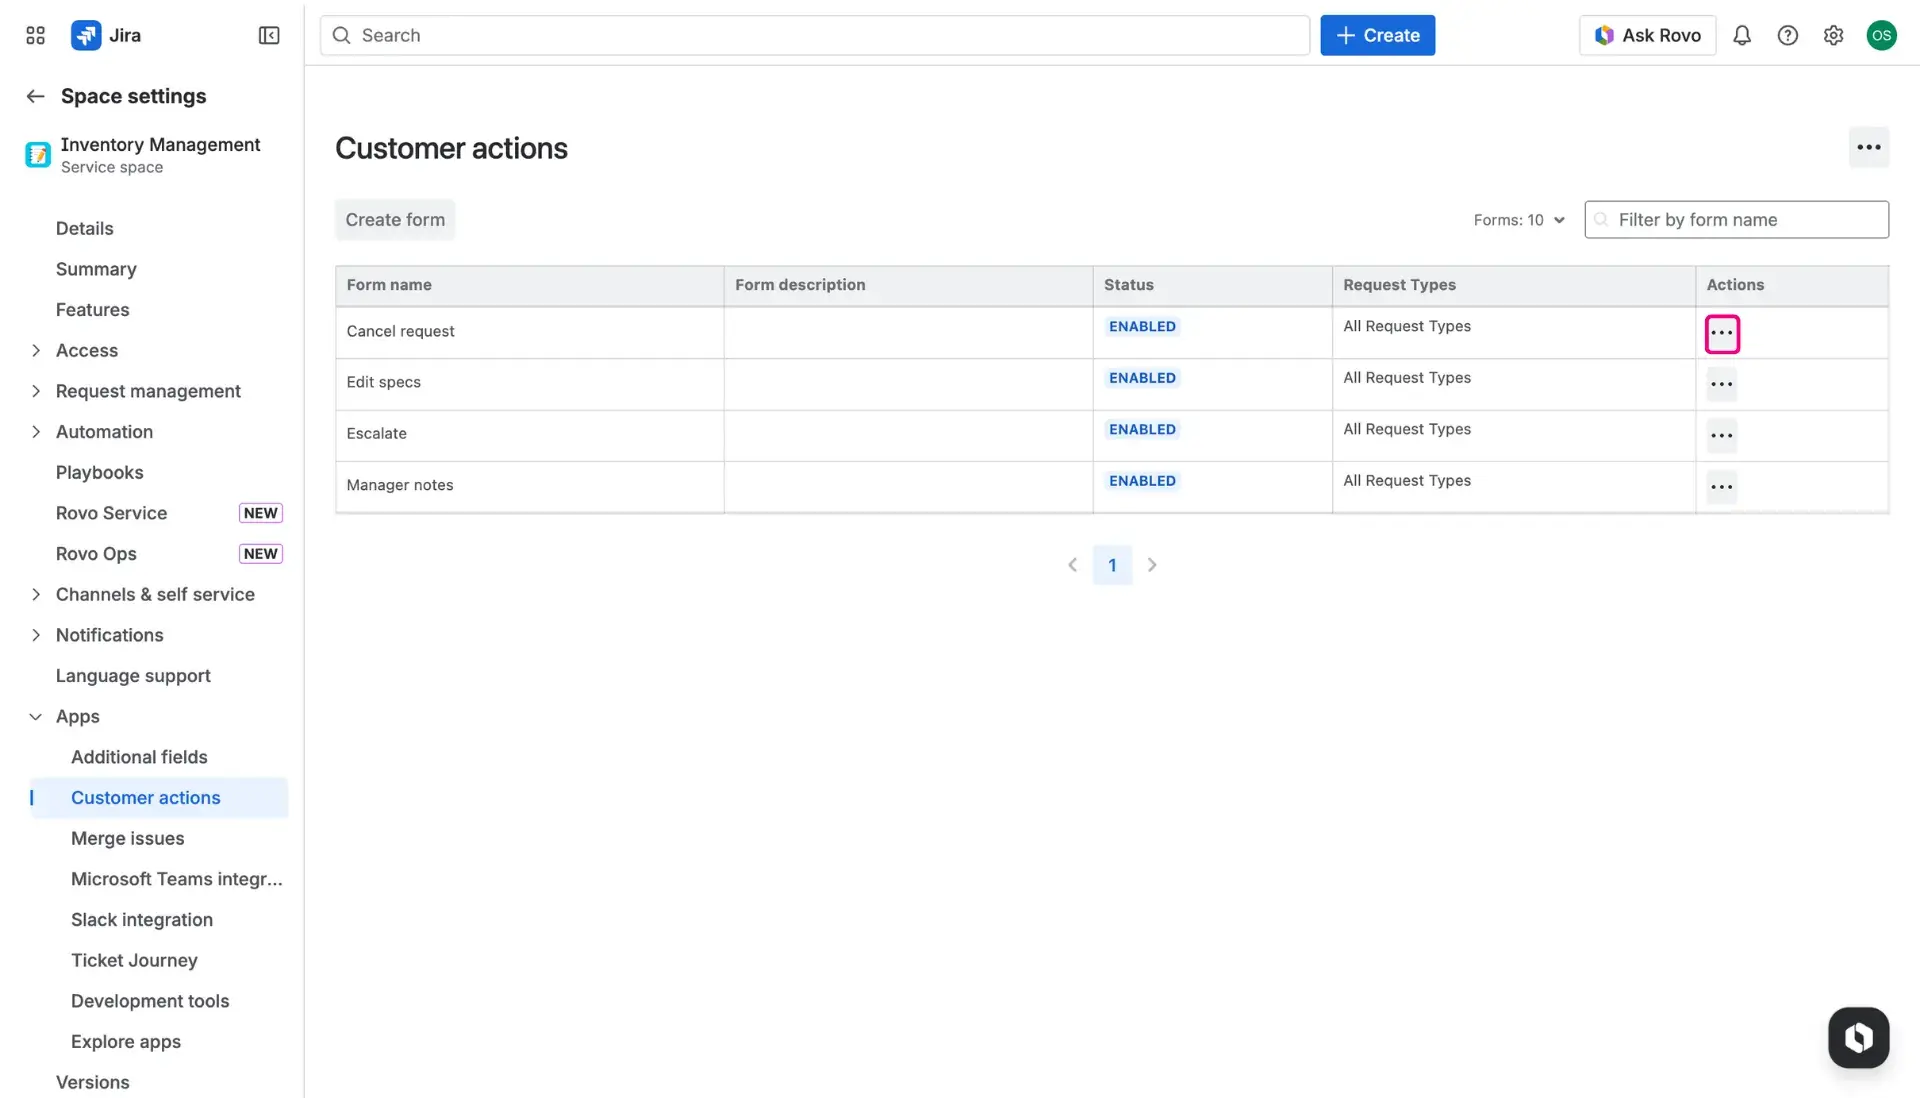
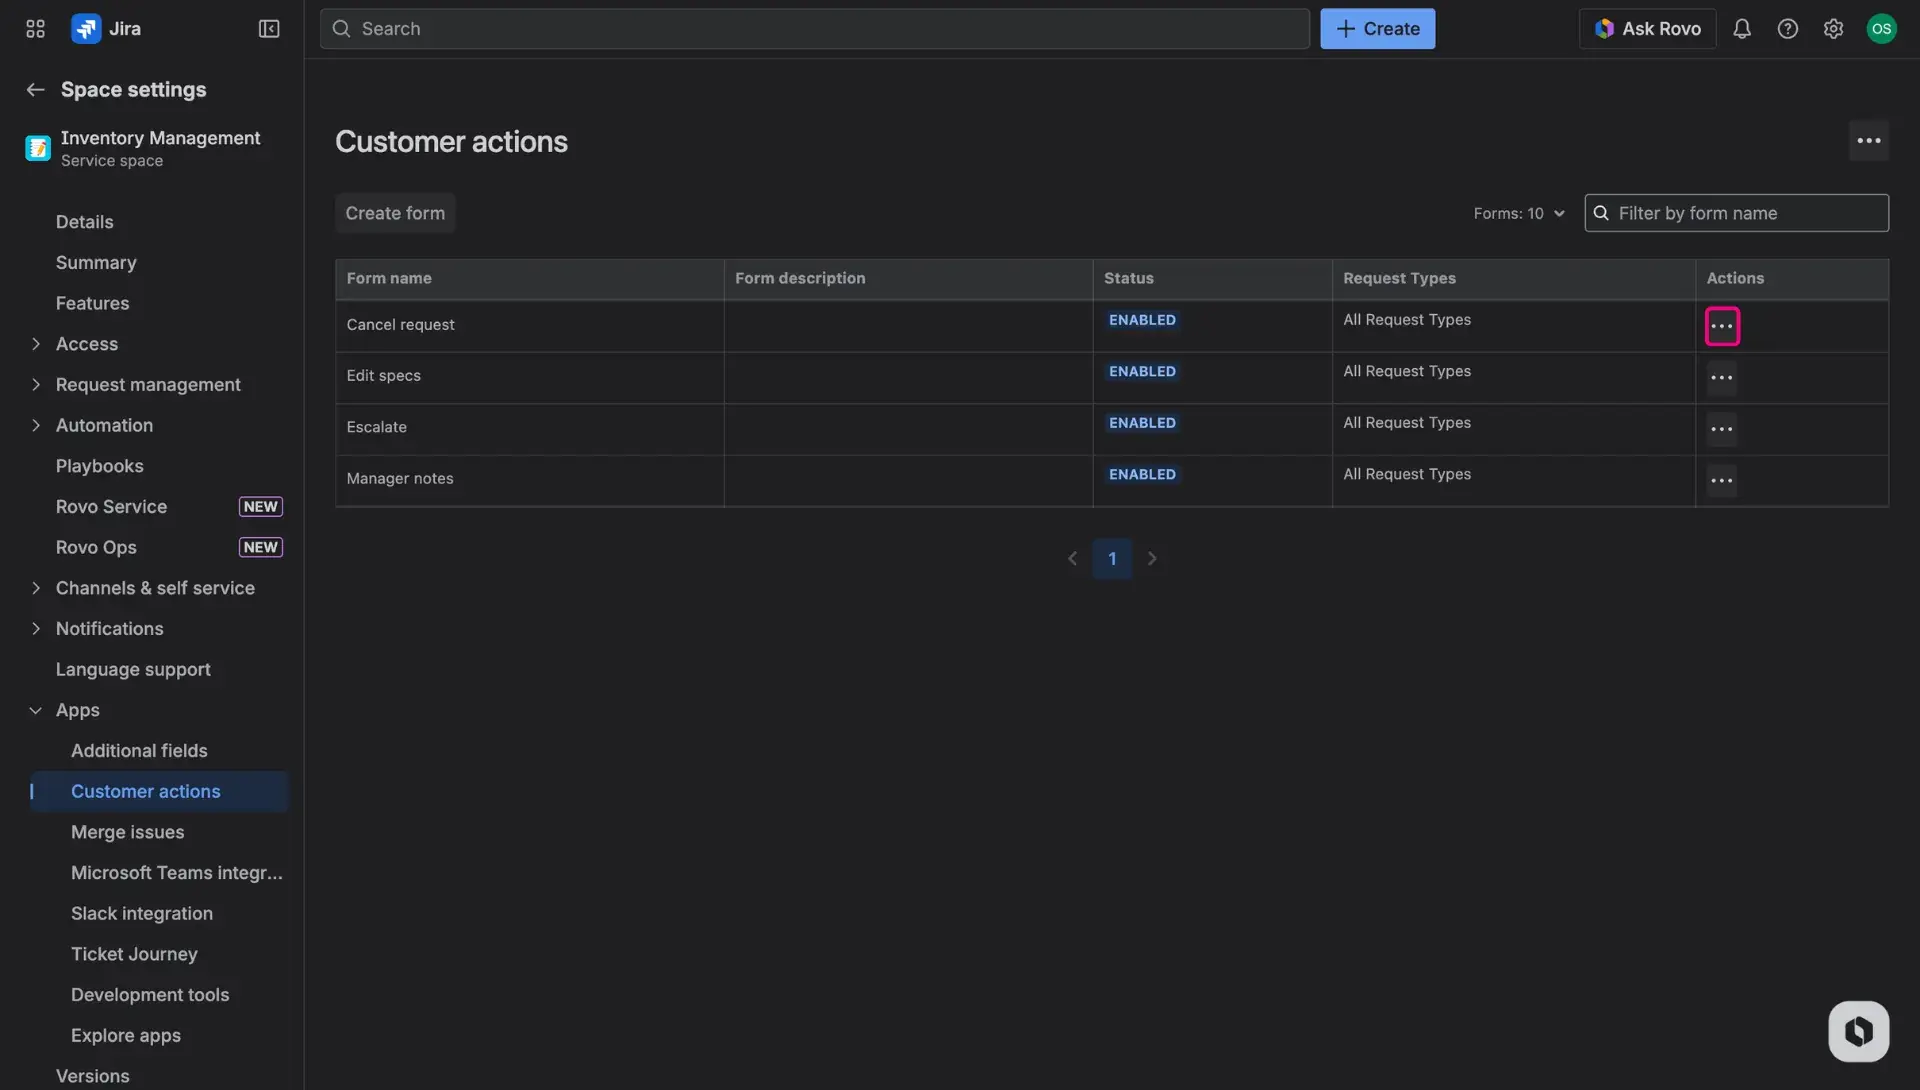
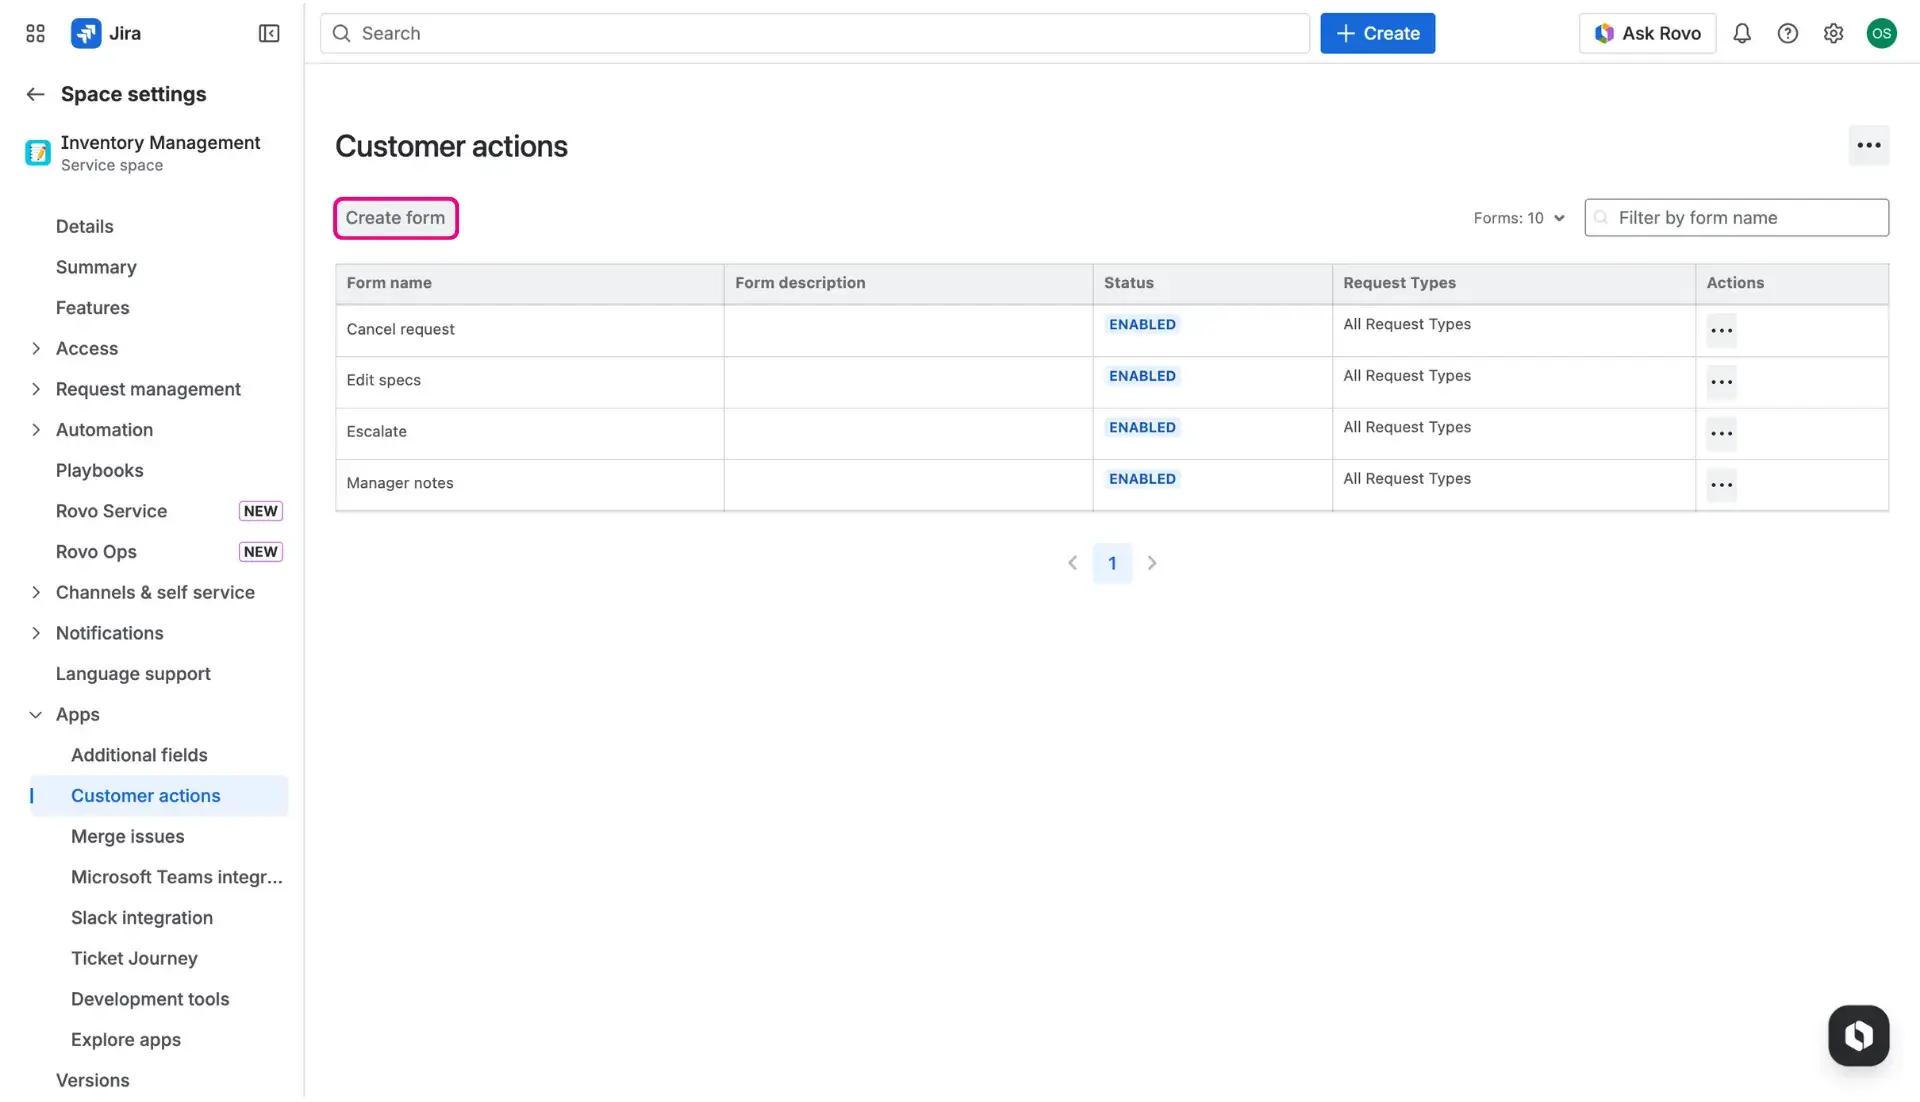
The main dashboard displays all current forms. This is where to modify them or toggle visibility to hide them from the portal.
Hit the Create form button to start building a new interaction.
Note on terminology
Atlassian now often refers to issues as work items, and projects as spaces. This documentation uses both terms interchangeably.
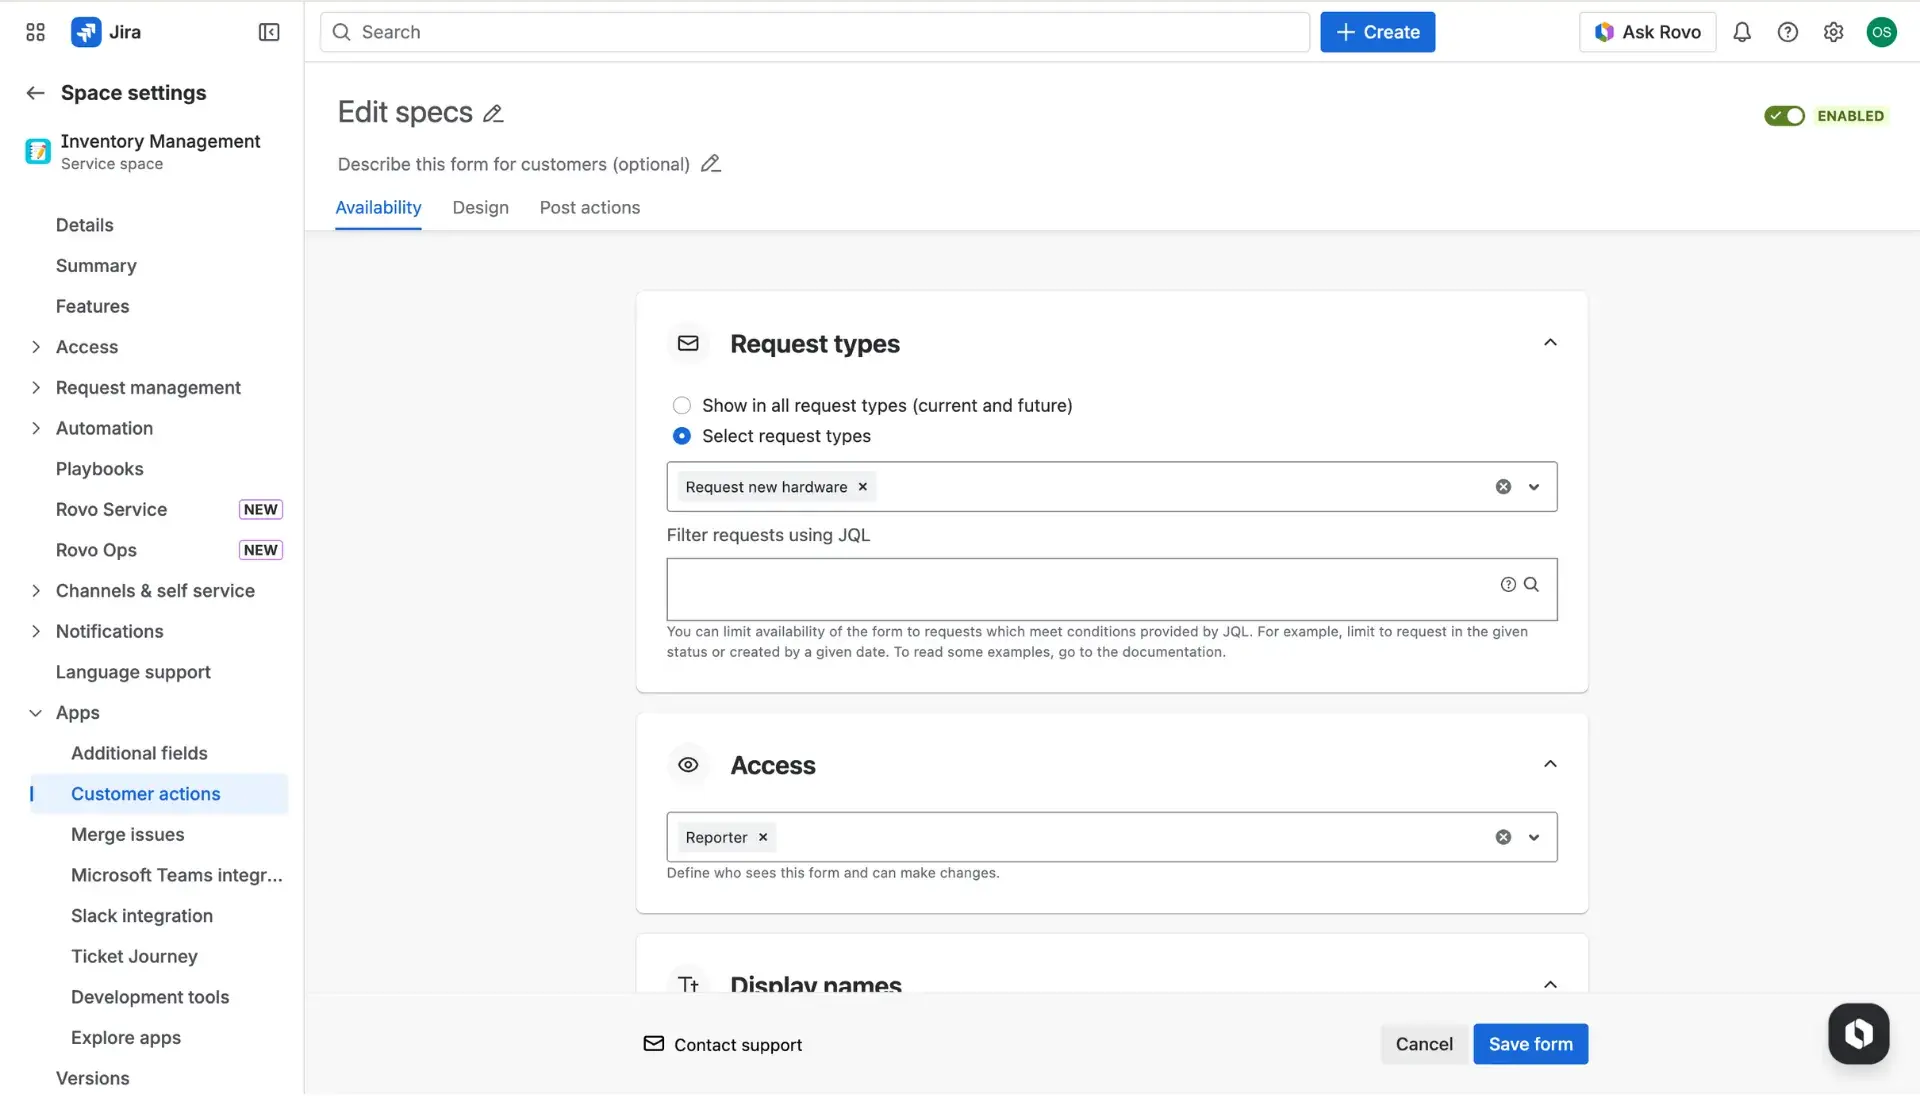
Configuration
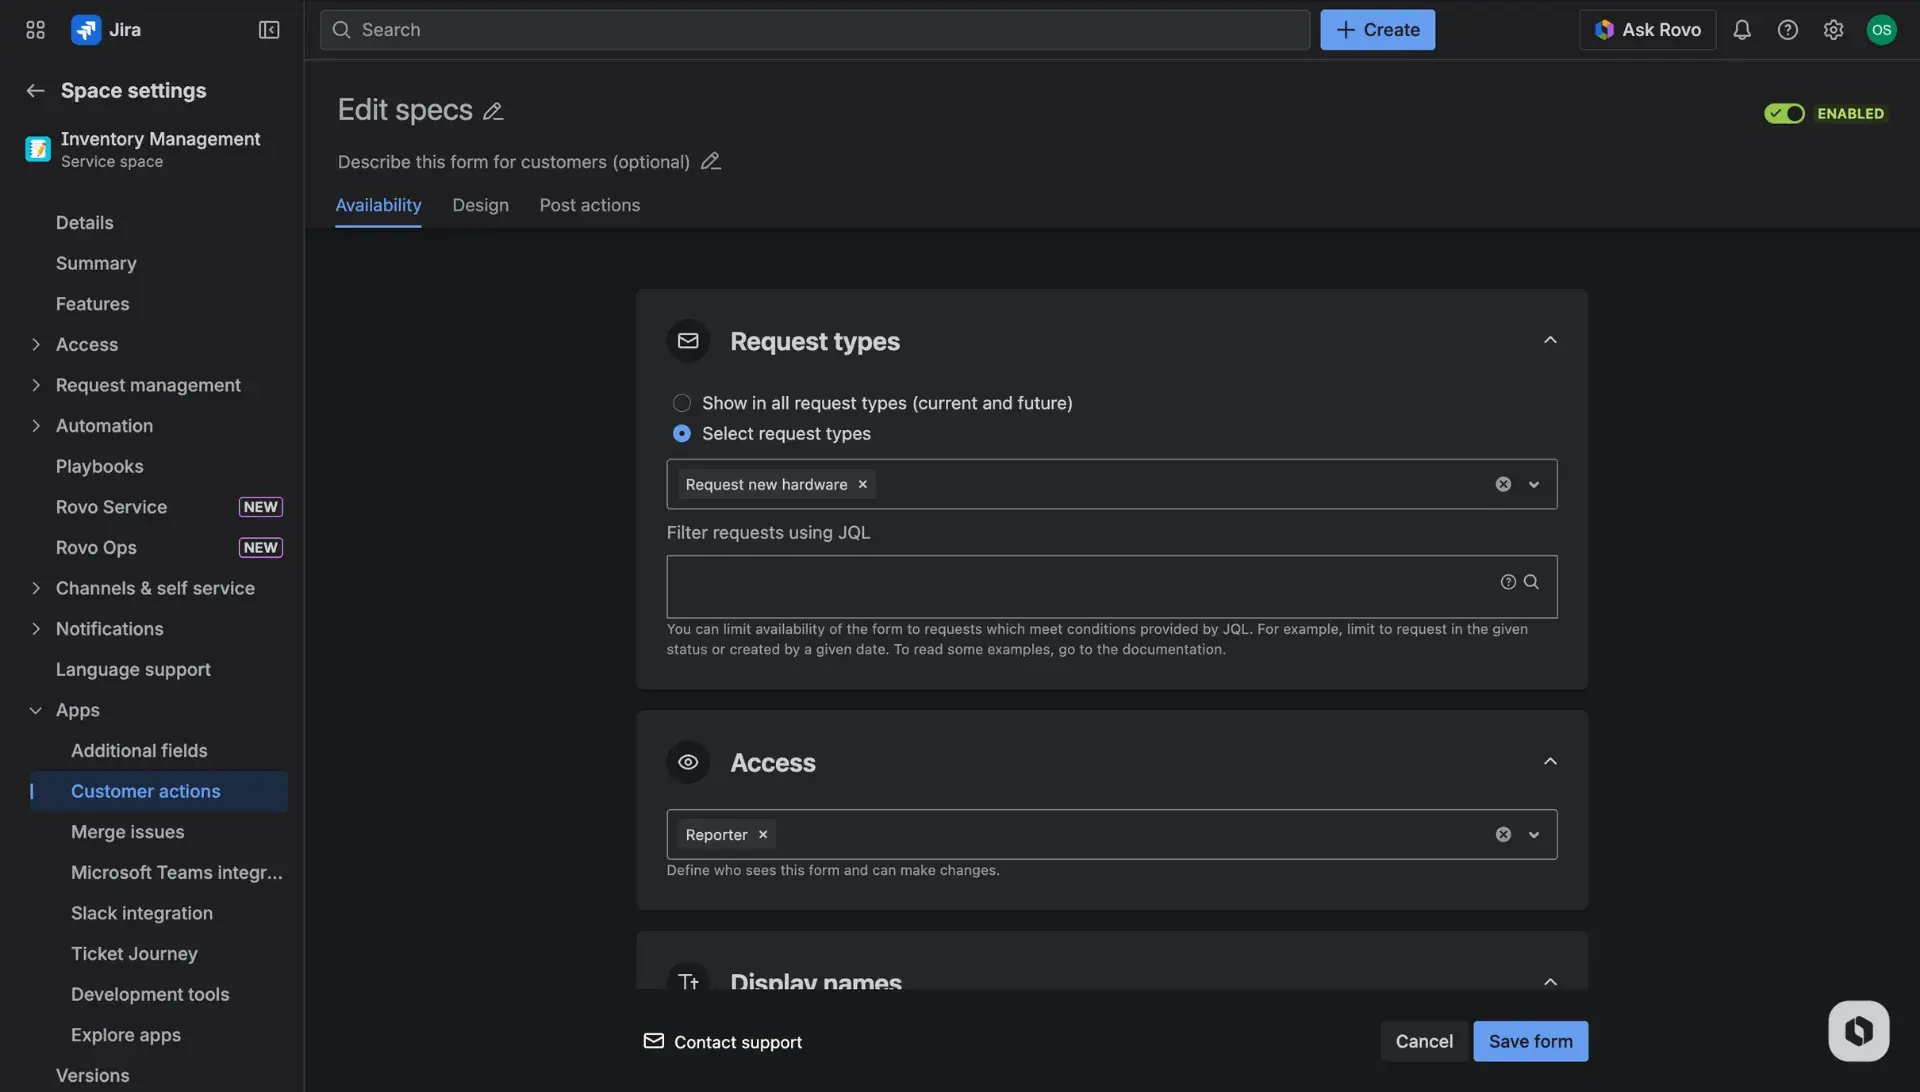
Building an action in a service project (space) is broken down into three simple tabs. These give full control over how the form works on the Jira portal:
Availability: This tab handles the “who” and “when” - pick the request types, user groups, or ticket statuses that trigger the action.
Design: Add the necessary fields and decide which information is mandatory.
Post-actions: Decide what happens after the Submit button is clicked. By enabling the toggle, user can trigger adding comments automatically.
This setup makes the service desk feel much more intuitive, giving users a smooth path to resolve their own issues.
Real-world inspiration
Check out how other teams use these actions to speed up approvals, manage transitions, and improve incident management in Jira.
Manage forms
The main dashboard allows for easy organization of all formms. To prioritize information, they are ordered in a table, which contains following details:
- Form name
- Form description
- Status: informs whether the form is active on the customer portal or not; can be enabled or disabled
- Request types: displays where the form is enabled
- Actions: More actions menu which allows to manage the form.
The More actions (three dots) menu allows users to edit, delete or enable/disable a selected custom form. Disabling the form doesnt’t delete the whole configuration - it only removes the access from the customer portal.