Announcement banners
Effective communication keeps a Jira portal running smoothly without much effort. Instead of watching ticket queues grow during maintenance or outages, a Jira service desk banner gets the word out instantly. It is a simple way to make any customer portal feel more proactive and reliable.
Watch a tutorial
Check out our tutorial and learn in seconds how to style and deploy banners across different portals to match a brand’s look and feel.
Configure banners
Remember
For all procedures described on the following pages, you must be logged in as a user with the Jira Administrator’s global permission.
To start creating alerts, navigate through the Jira administration settings:
- Open the Jira instance and select Settings (the cog icon ⚙️) > Apps.
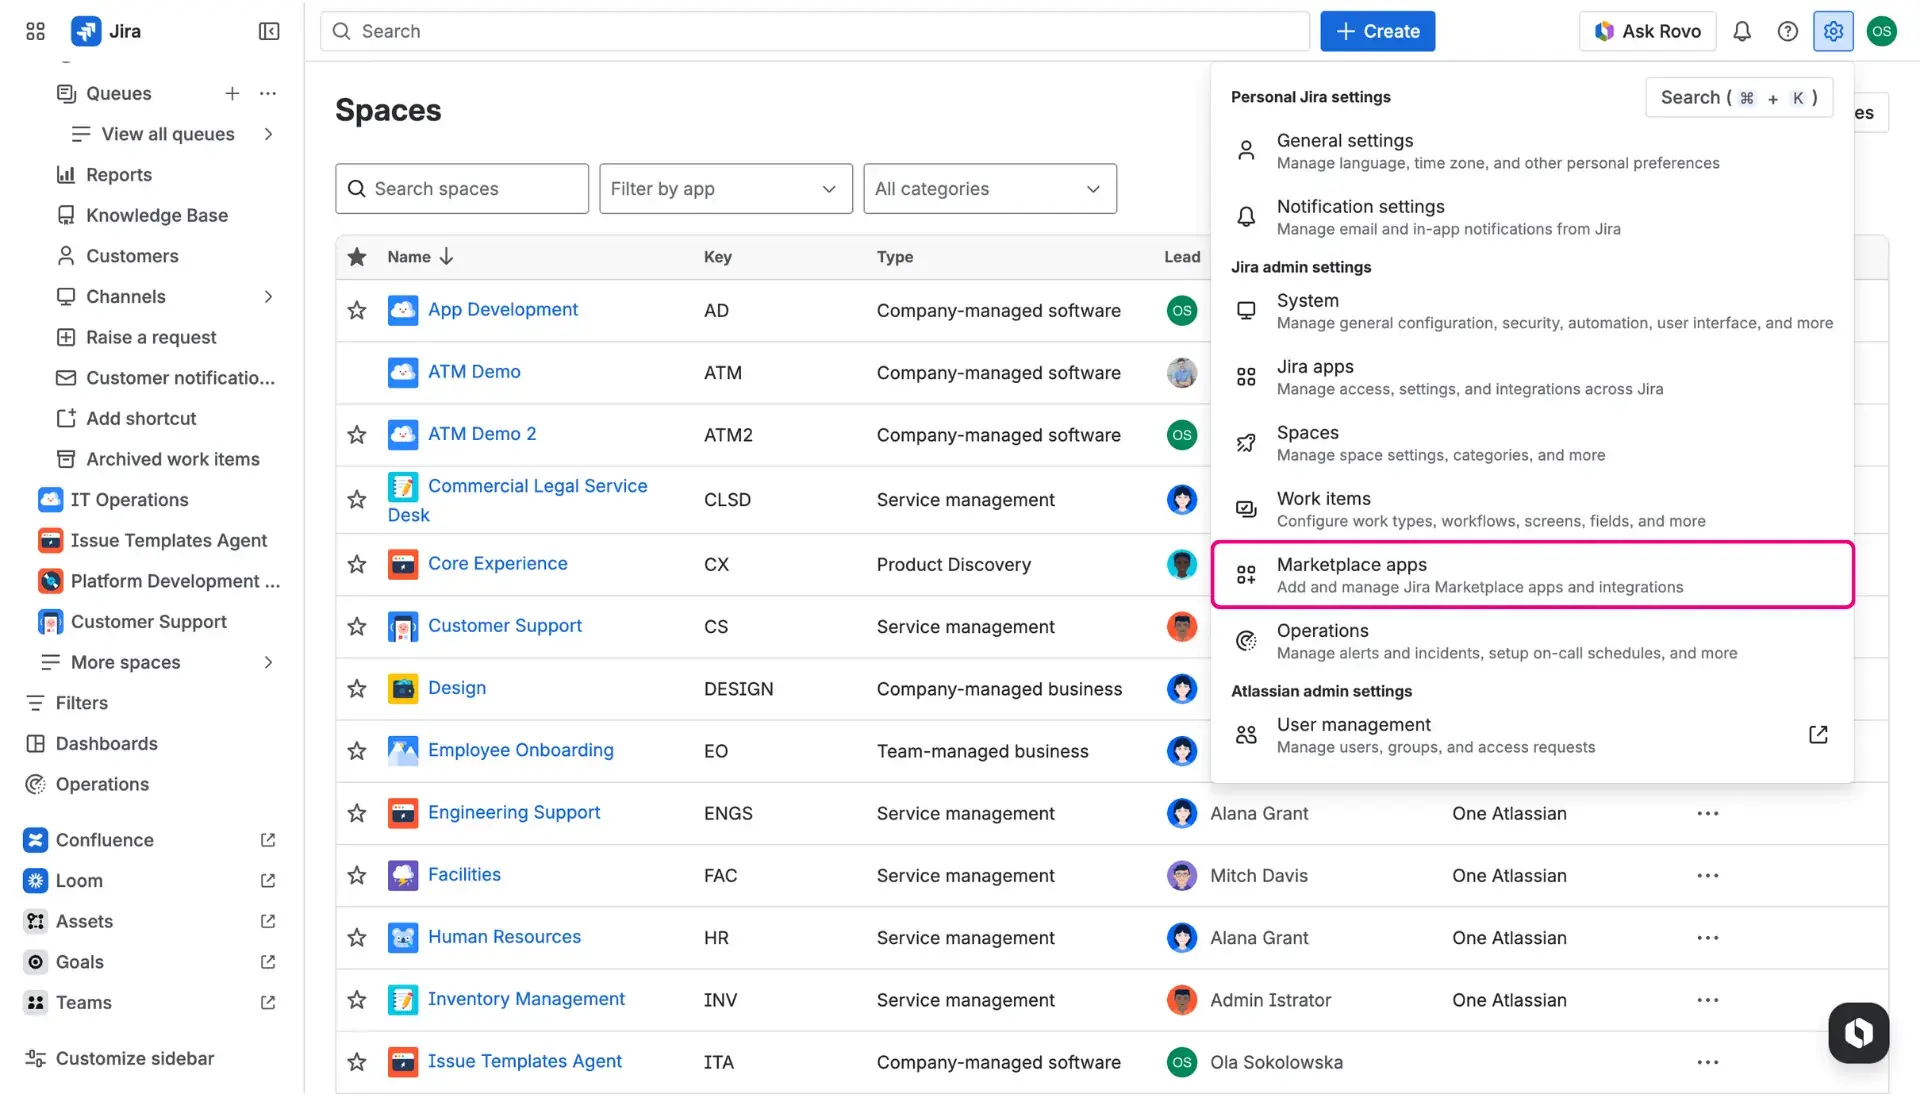
- From the sidebar, choose Feature Bundle > Banners.
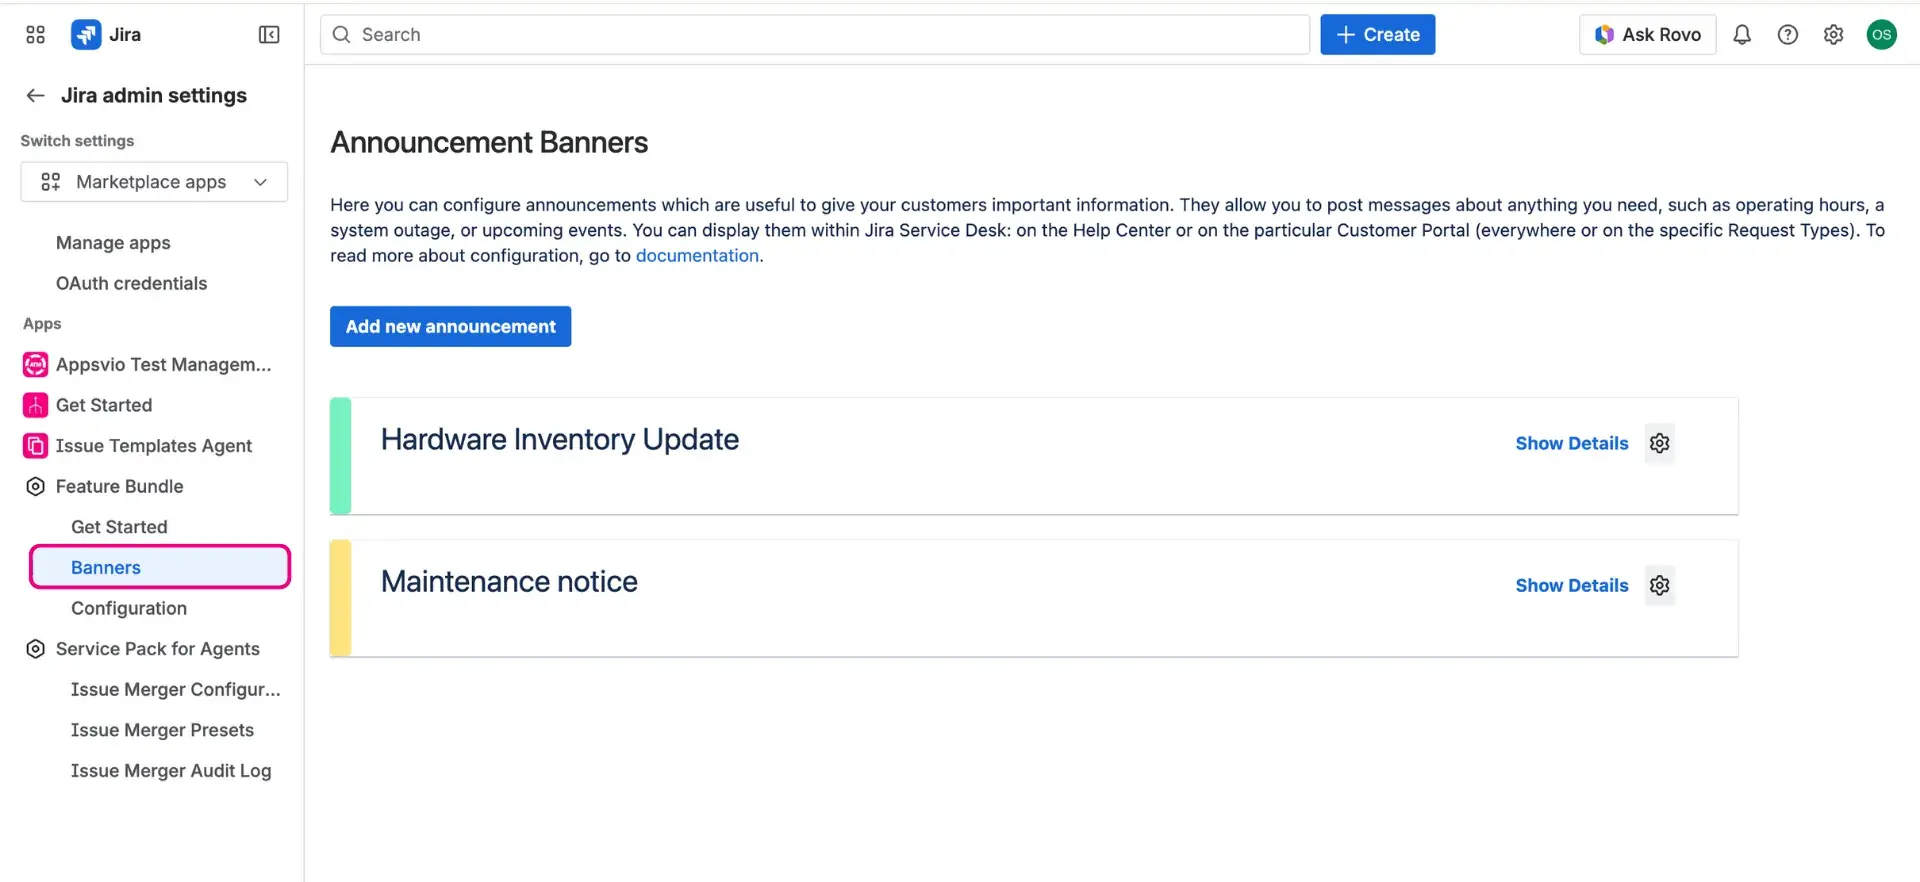
- Click Add new announcement to open the configuration screen.
The configuration process allows for precise control over how and where messages appear on the self service customer portal:
Locate: Choose the best placement for the announcement. Options include the Help center, User profile, Requests page, Approvals page and Request details view.
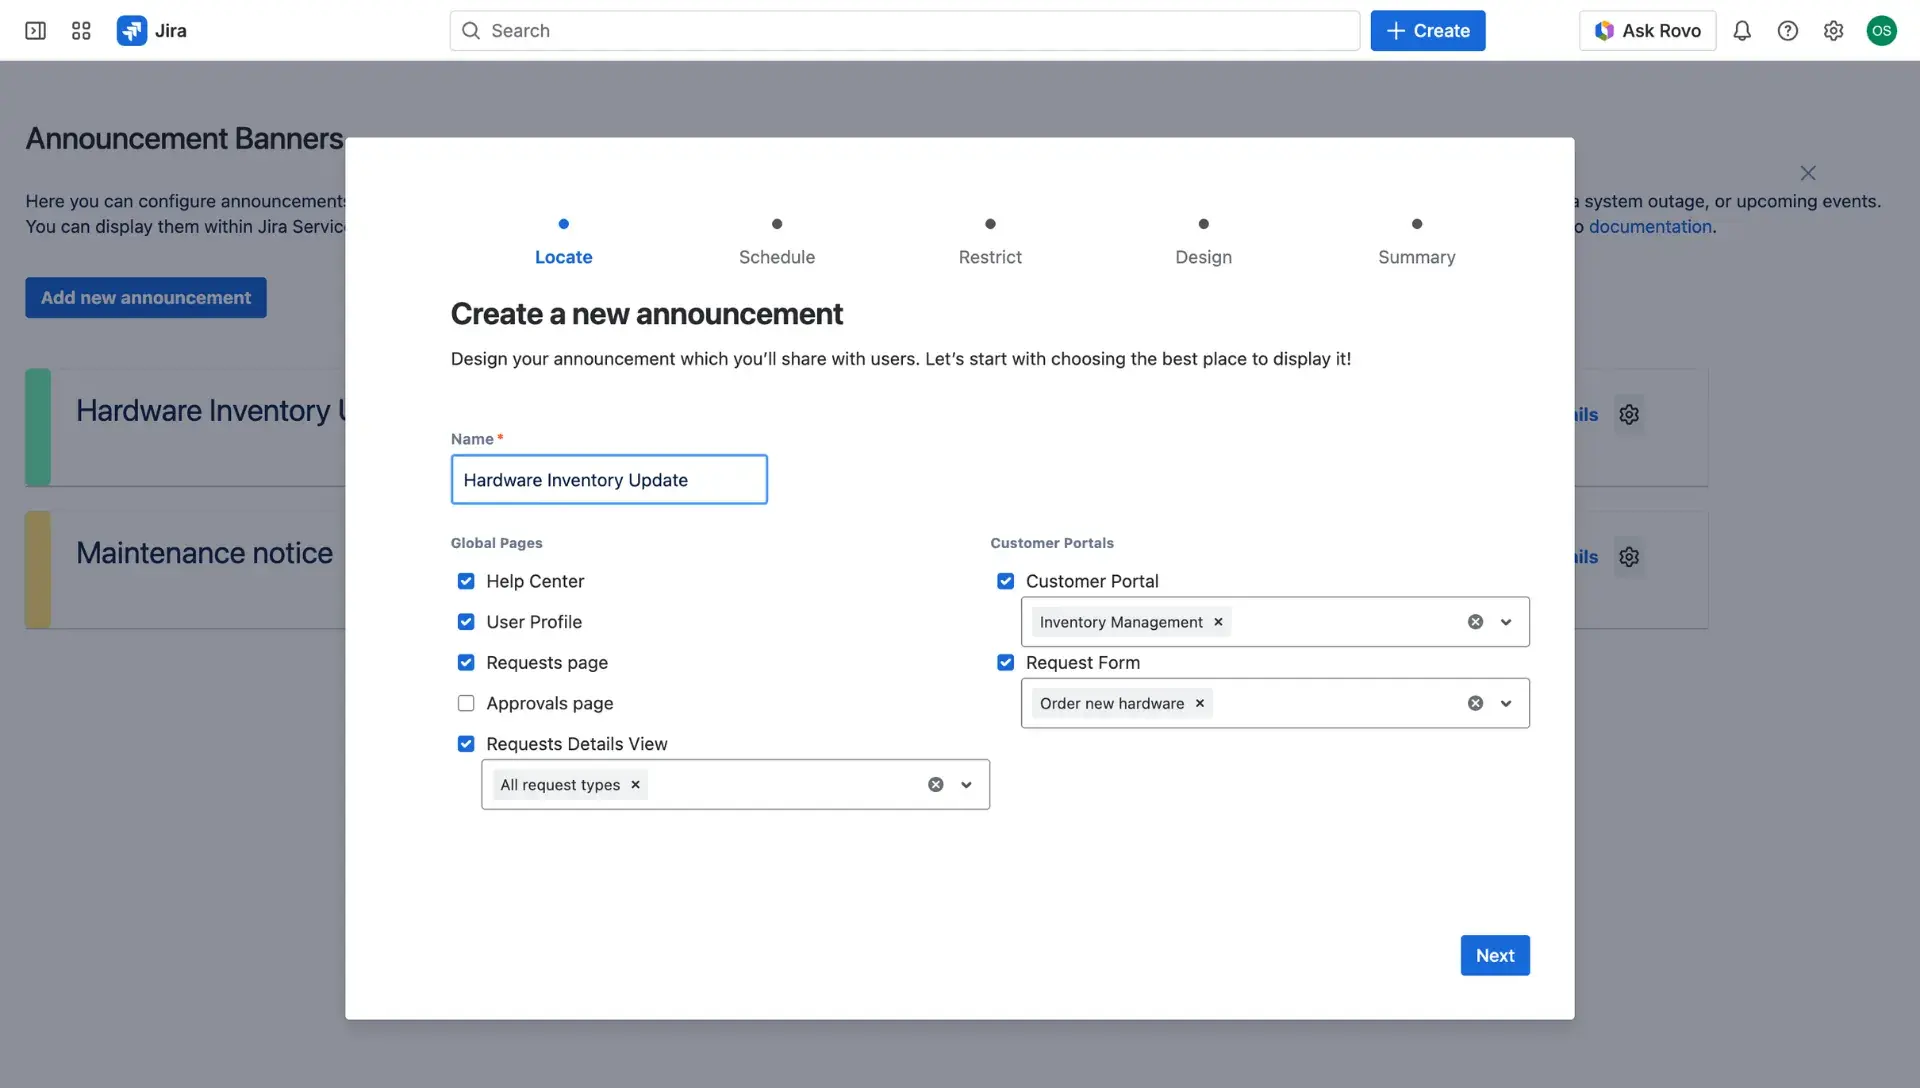
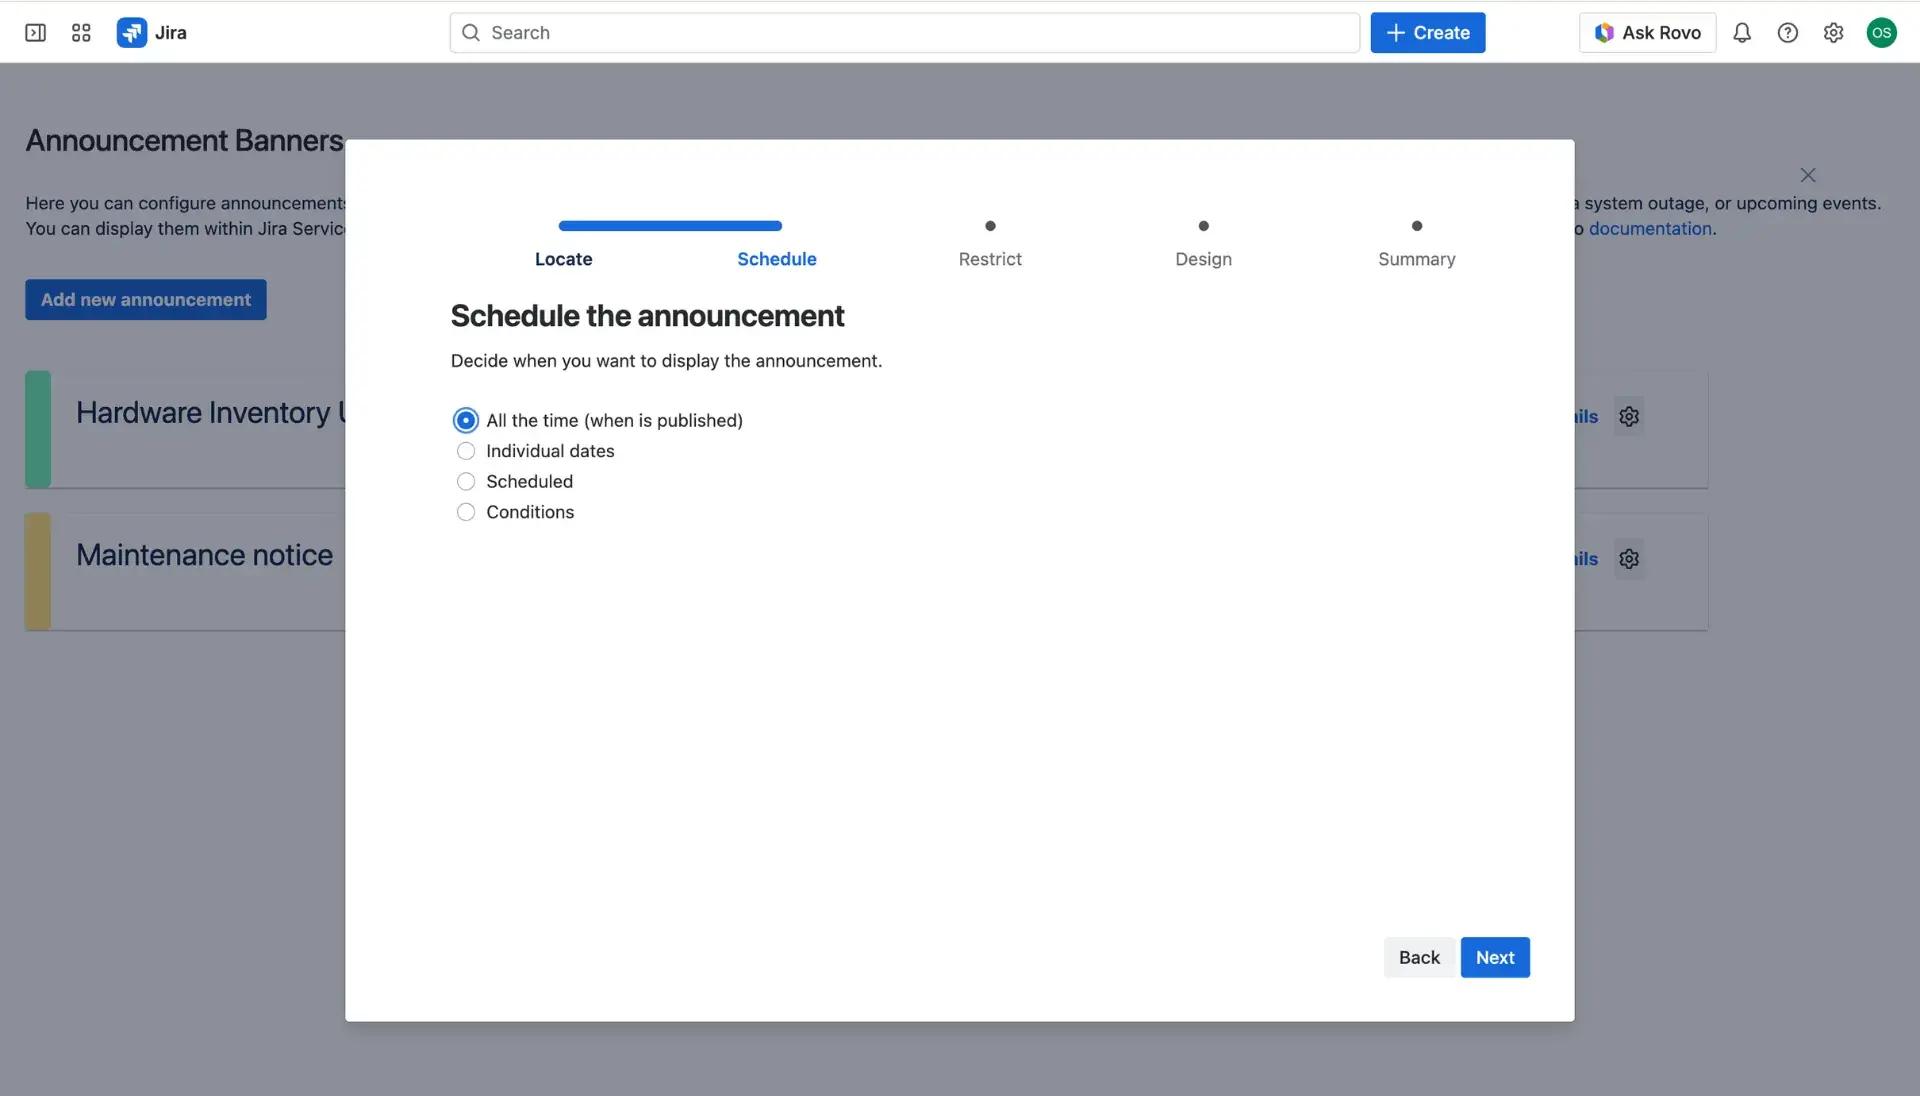
Schedule: Define the visibility window. This includes selecting specific dates and times or setting conditions based on issue statuses - for instance, automatically disabling a banner when a request is moved to ‘Done’.
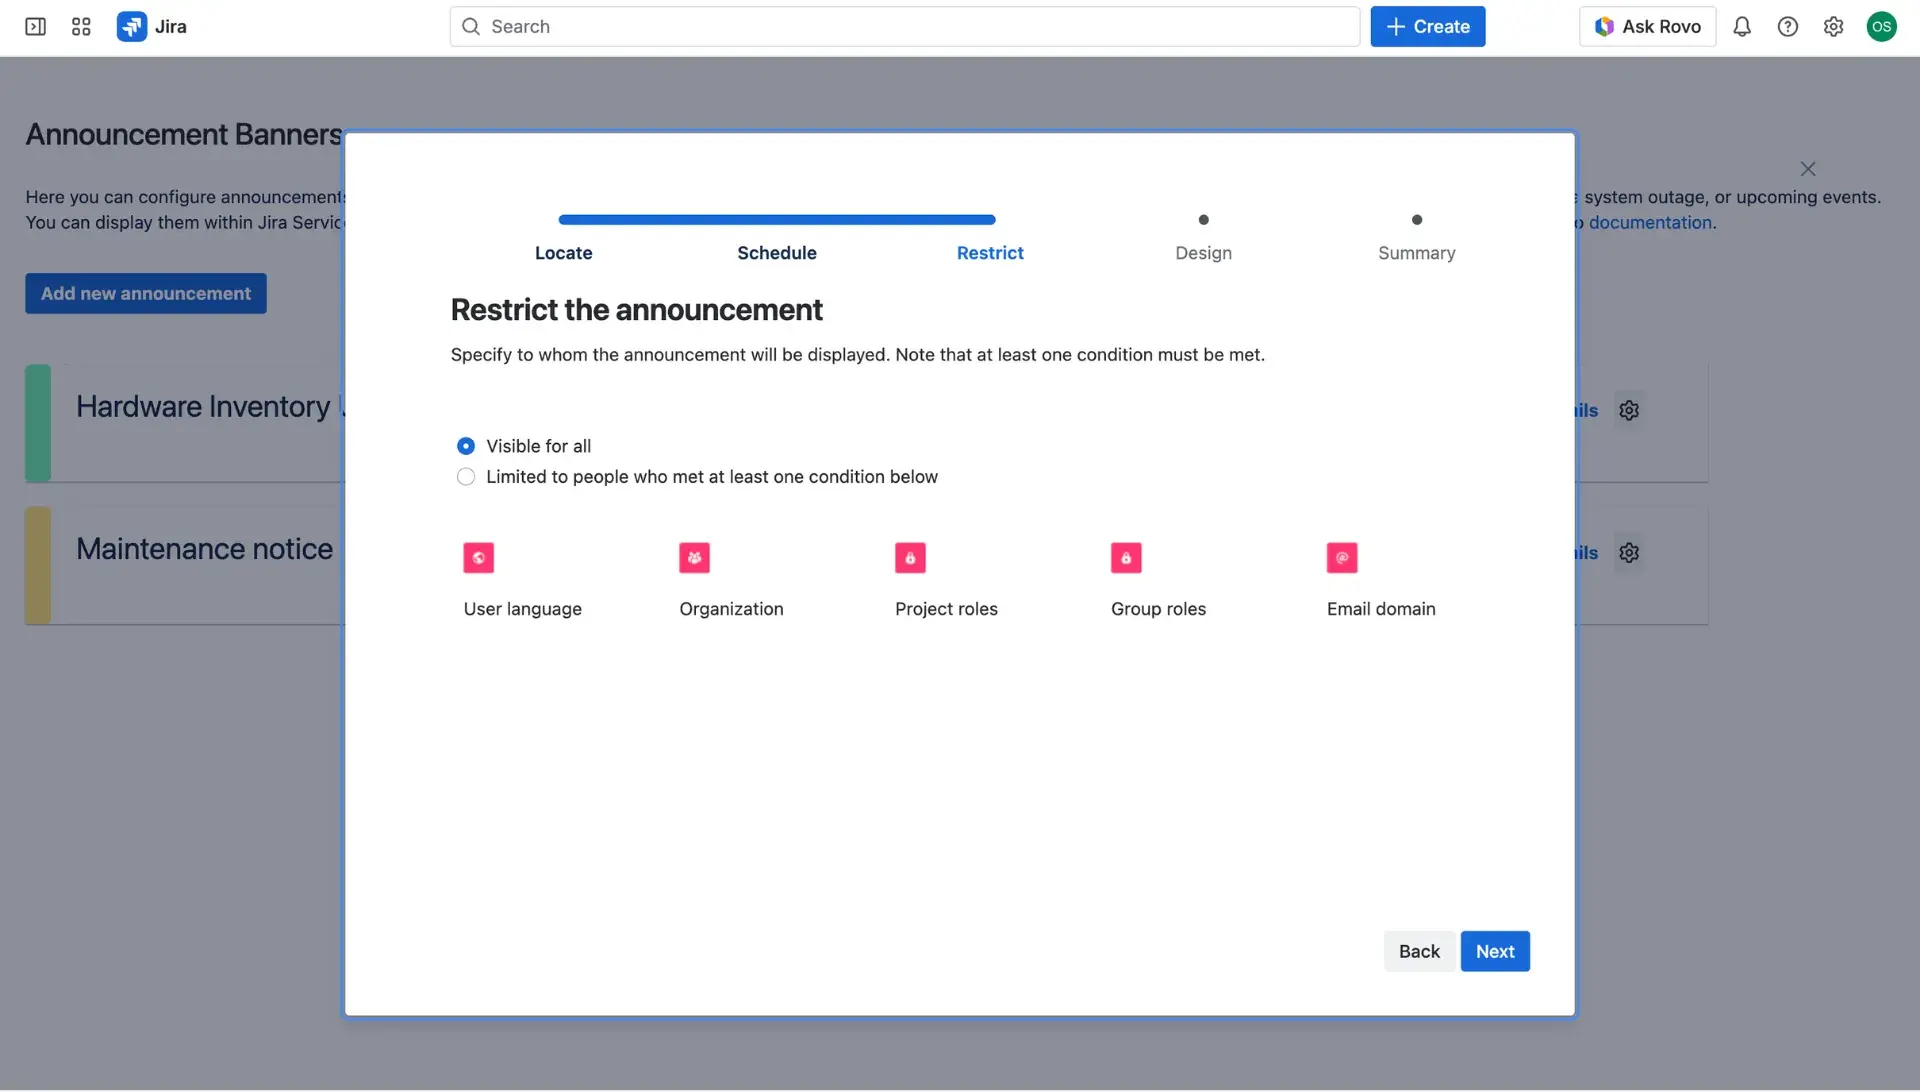
Restrict: Limit the audience to ensure relevance. Visibility is manageable based on languages, organizations, Jira groups, project roles, or specific email domains.
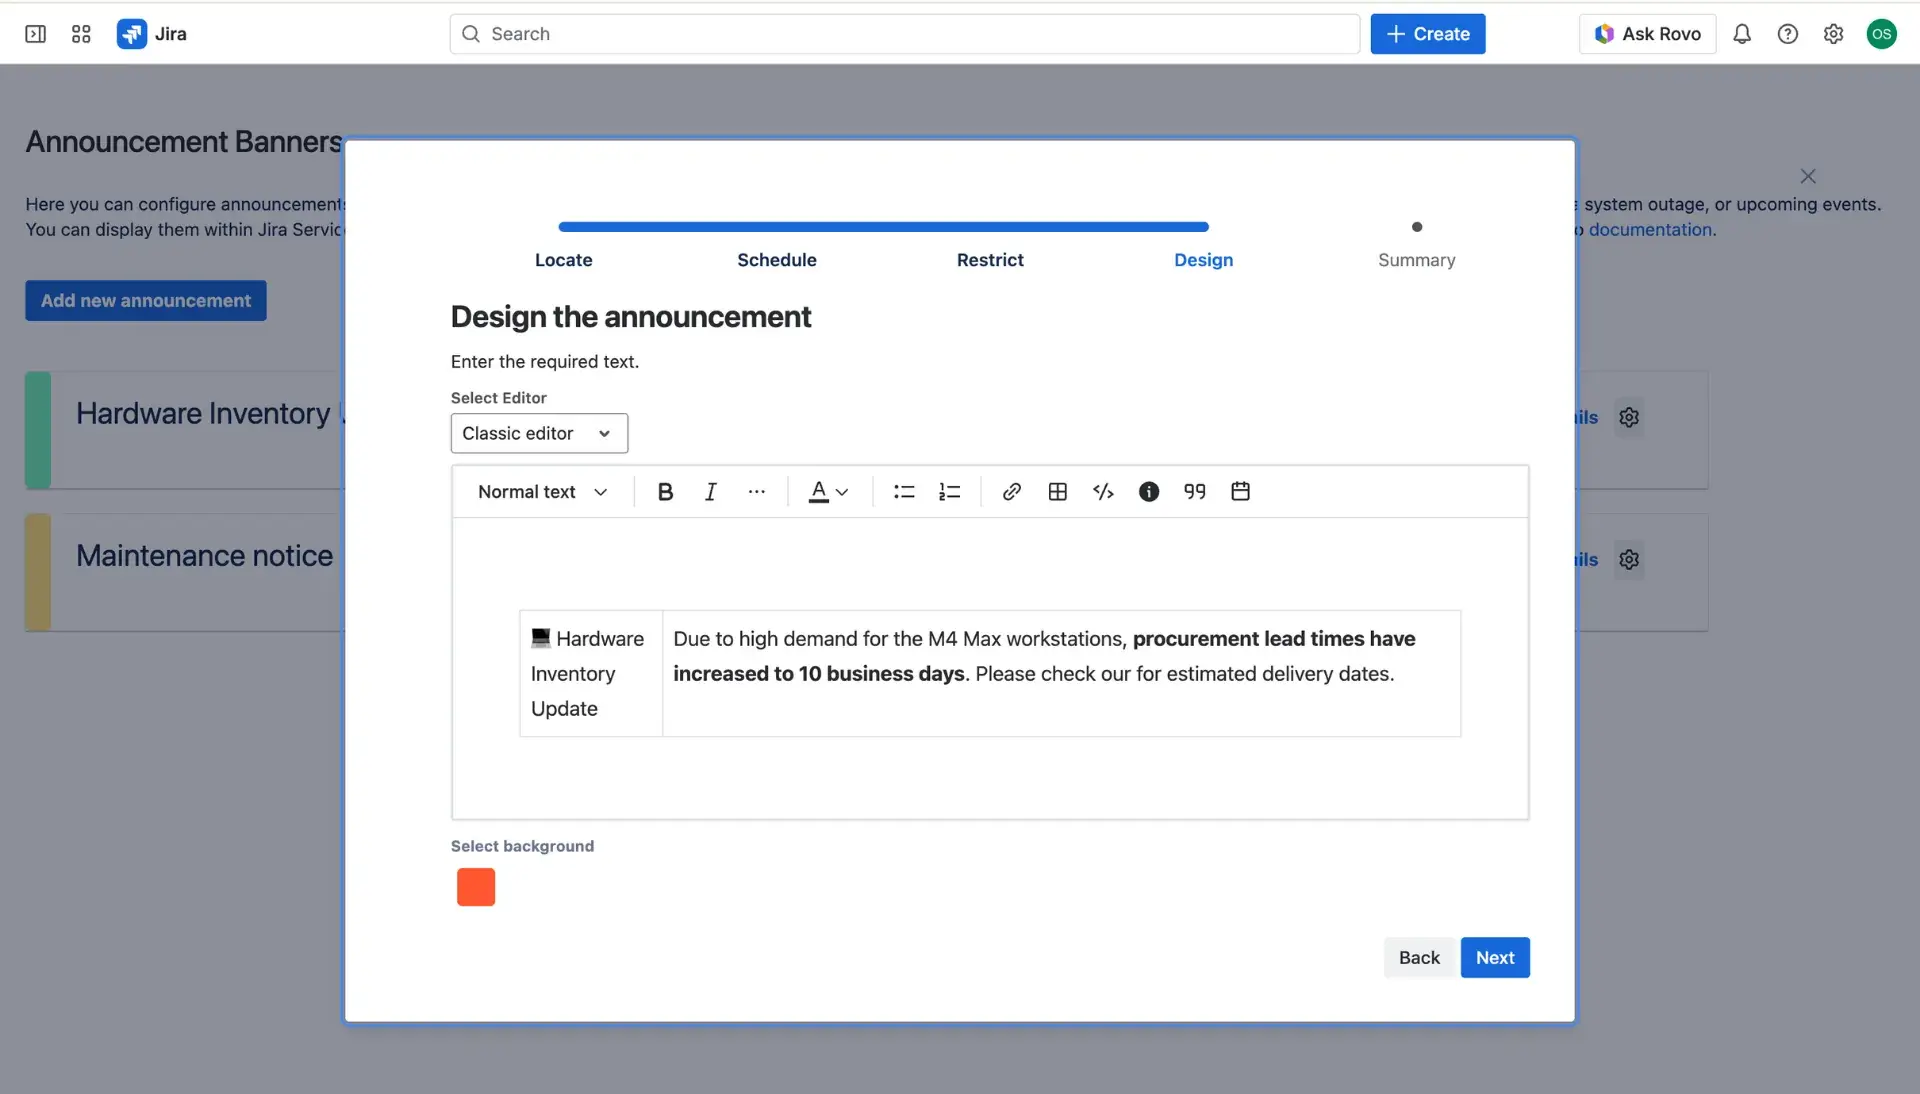
Design: Build the banner content using either the Rich Text Editor for quick updates or HTML for more advanced styling.
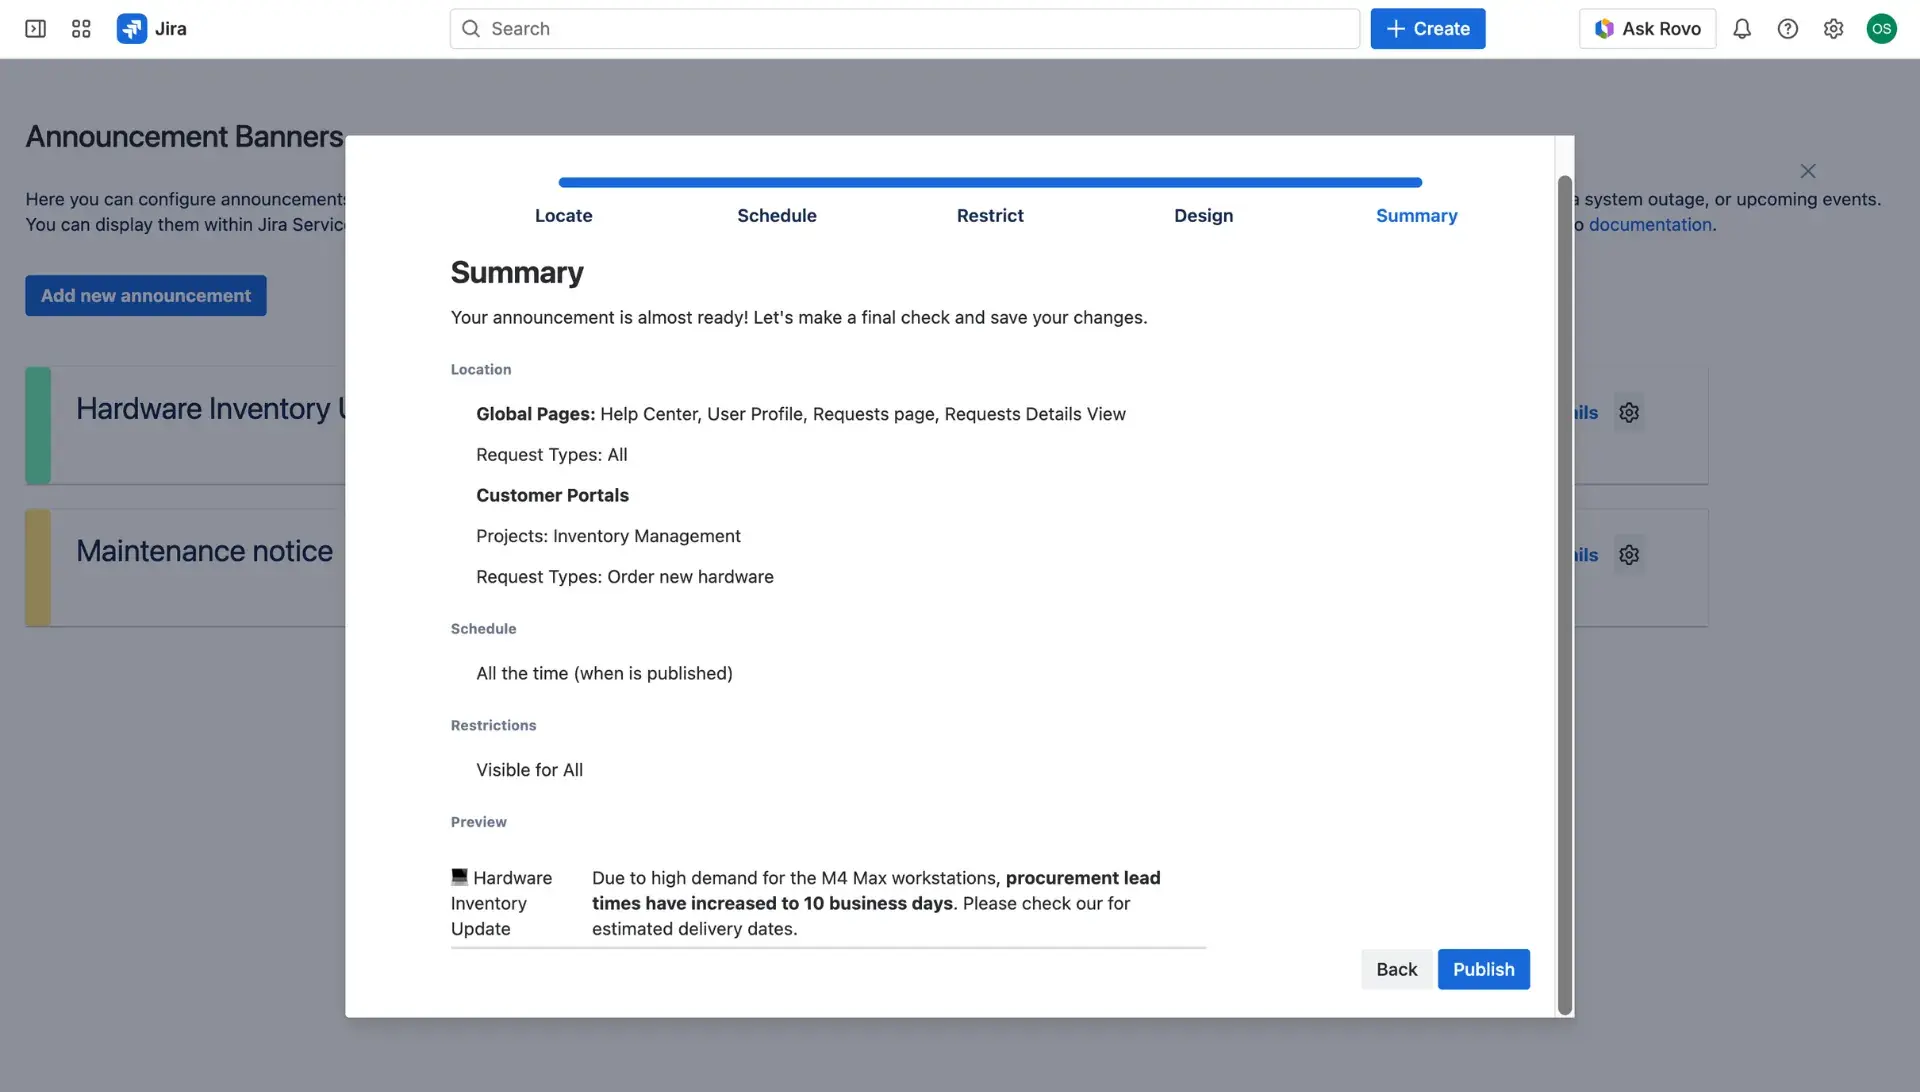
Summary: Compare the final preview with the selected settings to ensure everything looks correct before going live.
Adding links to a banner
Banners can often serve as a gateway to external documentation or status pages. To ensure a smooth experience on the customer portal, links can be configured to open in a new browser tab automatically.
Once the initial banner configuration is complete, follow these steps to modify link behavior:
Switch the editor mode from Classic to _HTML within the design settings.
Locate the anchor tag
<a>for the specific link.Add the
target="_blank"attribute inside the tag (for example:<a href="url" target="_blank">Link Text</a>).Save the changes and verify the link behavior on the help center.
Manage banners
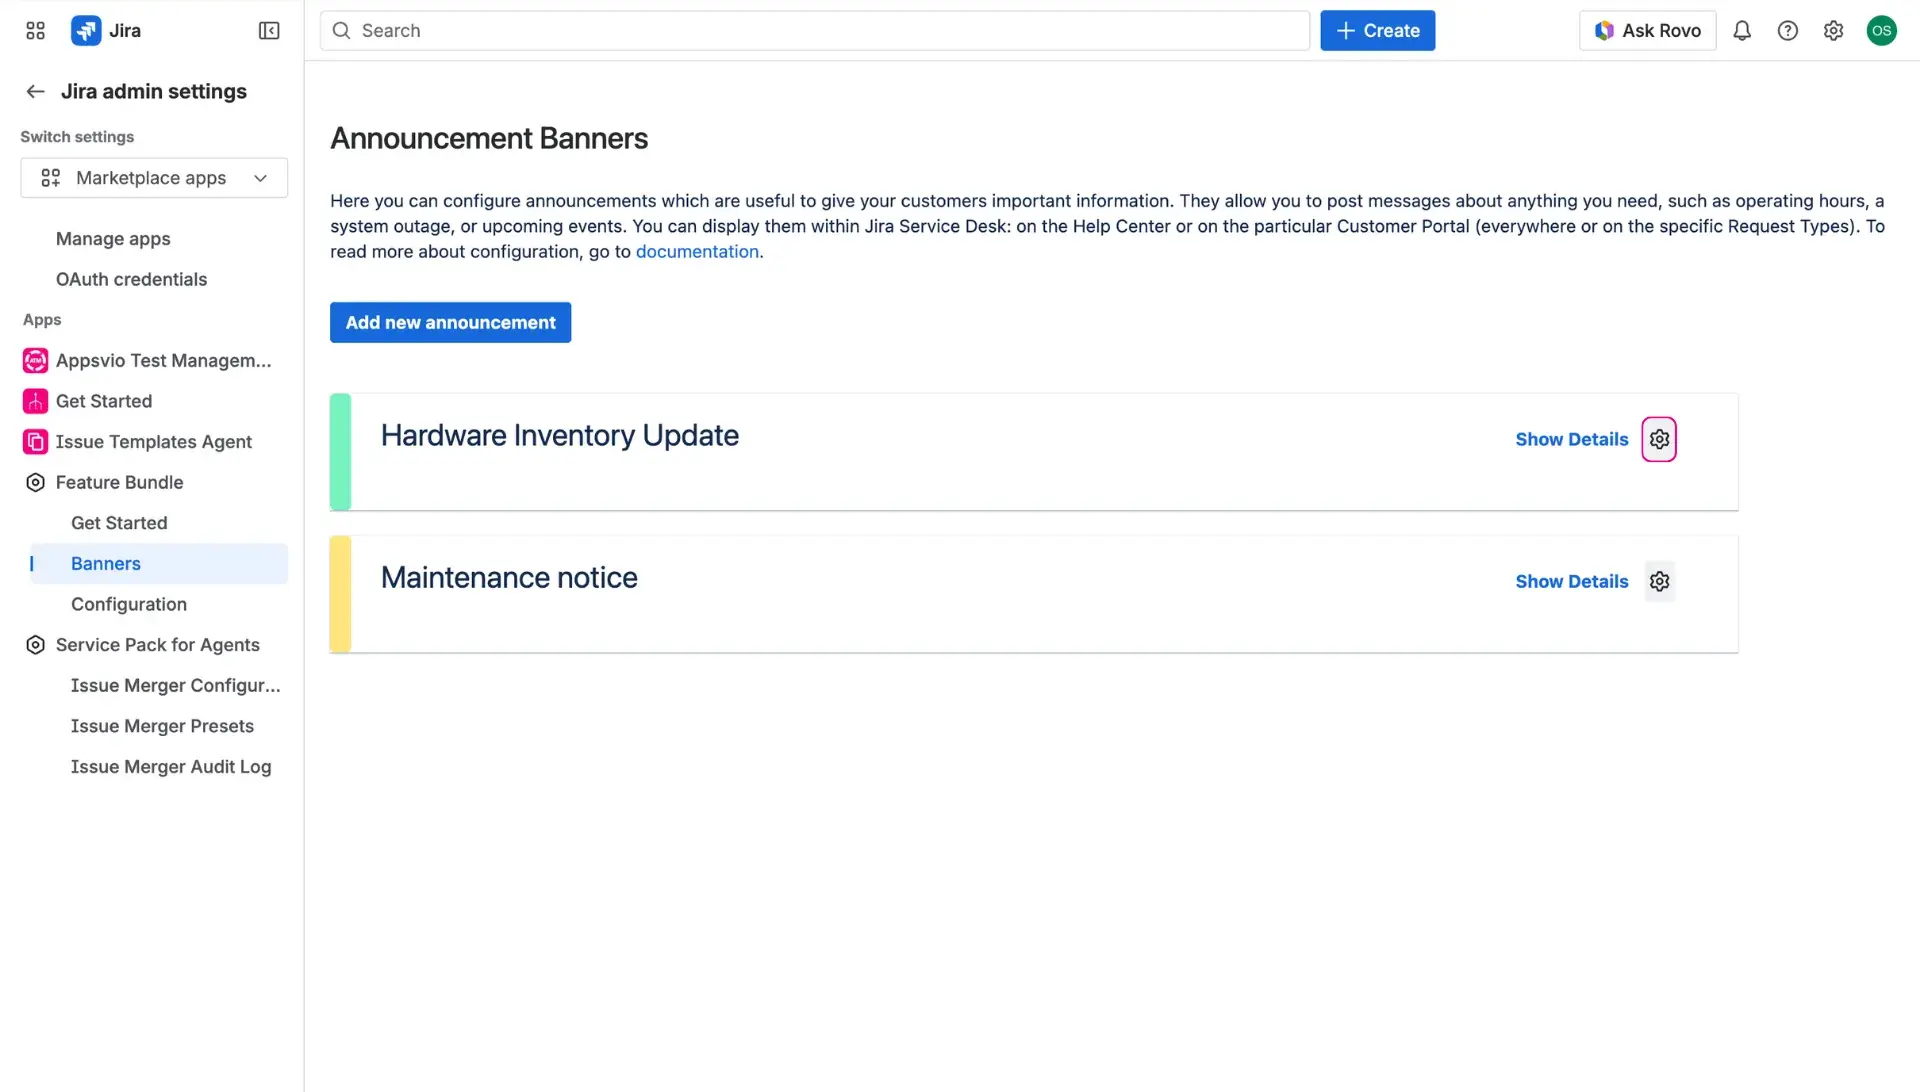
Users can manage banners by clicking the cog icon available at every created banner and selecting what needs to be done. There, they can edit, disable/enable, delete and archive banners - all of the options allow to maintain transparency and clarity on customer portal.
Deleting and unarchiving
The option to delete a banner only becomes available once it has been moved to the Archived section. Deletion is permanent and cannot be reversed. If a message is needed again, the Unarchive action returns the banner to a Disabled state, where it can be edited or reactivated.
Banner statuses and lifecycle
The app uses a color-coded system to manage the lifecycle of each Jira service desk banner:
🟢 Active (Green): After saving, a banner is published by default. This status confirms it is currently live and visible to the intended audience.
🟡 Disabled (Yellow): If a banner reaches its expiration date or is manually deactivated via the Active switch, the status changes to Disabled. This hides the message without removing the configuration.
⚫ Archived (Grey): Banners that are no longer needed can be moved to the Archived section. This keeps the primary management list clean while preserving the banner for future use.