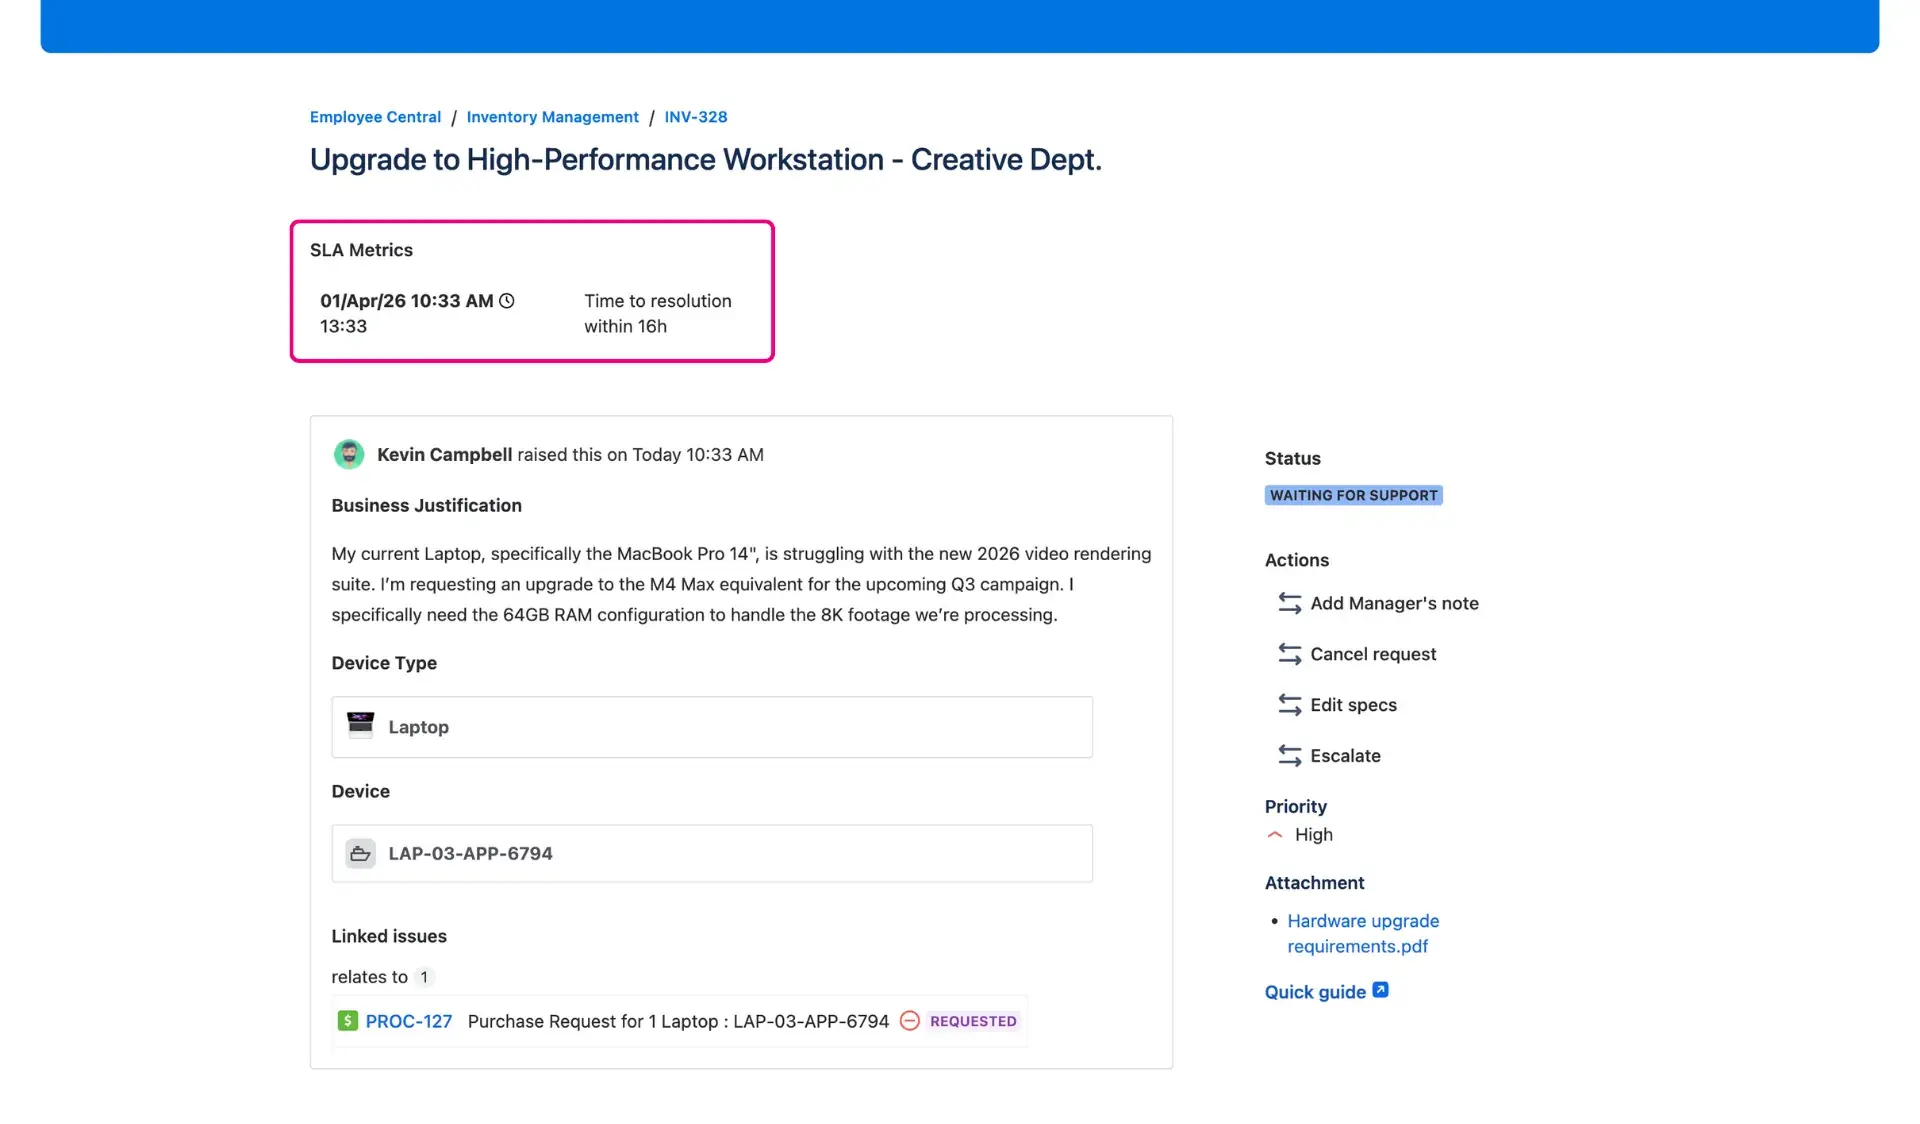
SLA metrics for customer
Nothing builds confidence like a deadline you can see. Surfacing SLA metrics on the customer portal tells your customers exactly when they can expect a response or a resolution. It moves the conversation from “When will this be done?” to “I see we’re on track for the 4-hour resolution goal.”
Why it’s a win-win
For customers: It provides a “live” countdown. Seeing a metric like “Time to first response” with a clear deadline (e.g., “2 hours remaining”) eliminates the anxiety of waiting.
For agents: It fosters accountability. When both the customer and the agent see the same clock, it ensures everyone is aligned on priorities and service standards.
How to configure it
Advanced edition
This field is available in the Advanced edition of Feature Bundle. For more details about app editions, visit this page.
In the Additional fields panel settings, look for SLA metrics field and use the multi-picker field to select which metrics to display.
Choose from a list of available timers. The list available is a result of the service project configuration. Here are example of metrics that can be displayed:
- Time to close after resolution
- Time to first response
- Time to resolution
- Time to review emergency change
- Time to review normal change
The portal will display the deadlines a date format along with a brief explanation of how much time falls into the specific response.
Placement tips
Place this at the top, above the submitted request. It’s the first thing the user should see to feel reassured.
Why it works in practice
By placing the SLA at the top of the self service customer portal, a professional tone is set from the start. For an “Emergency Change,” seeing the “Time to review” timer active shows the user that the process is moving and that the service desk team is meeting its commitments.