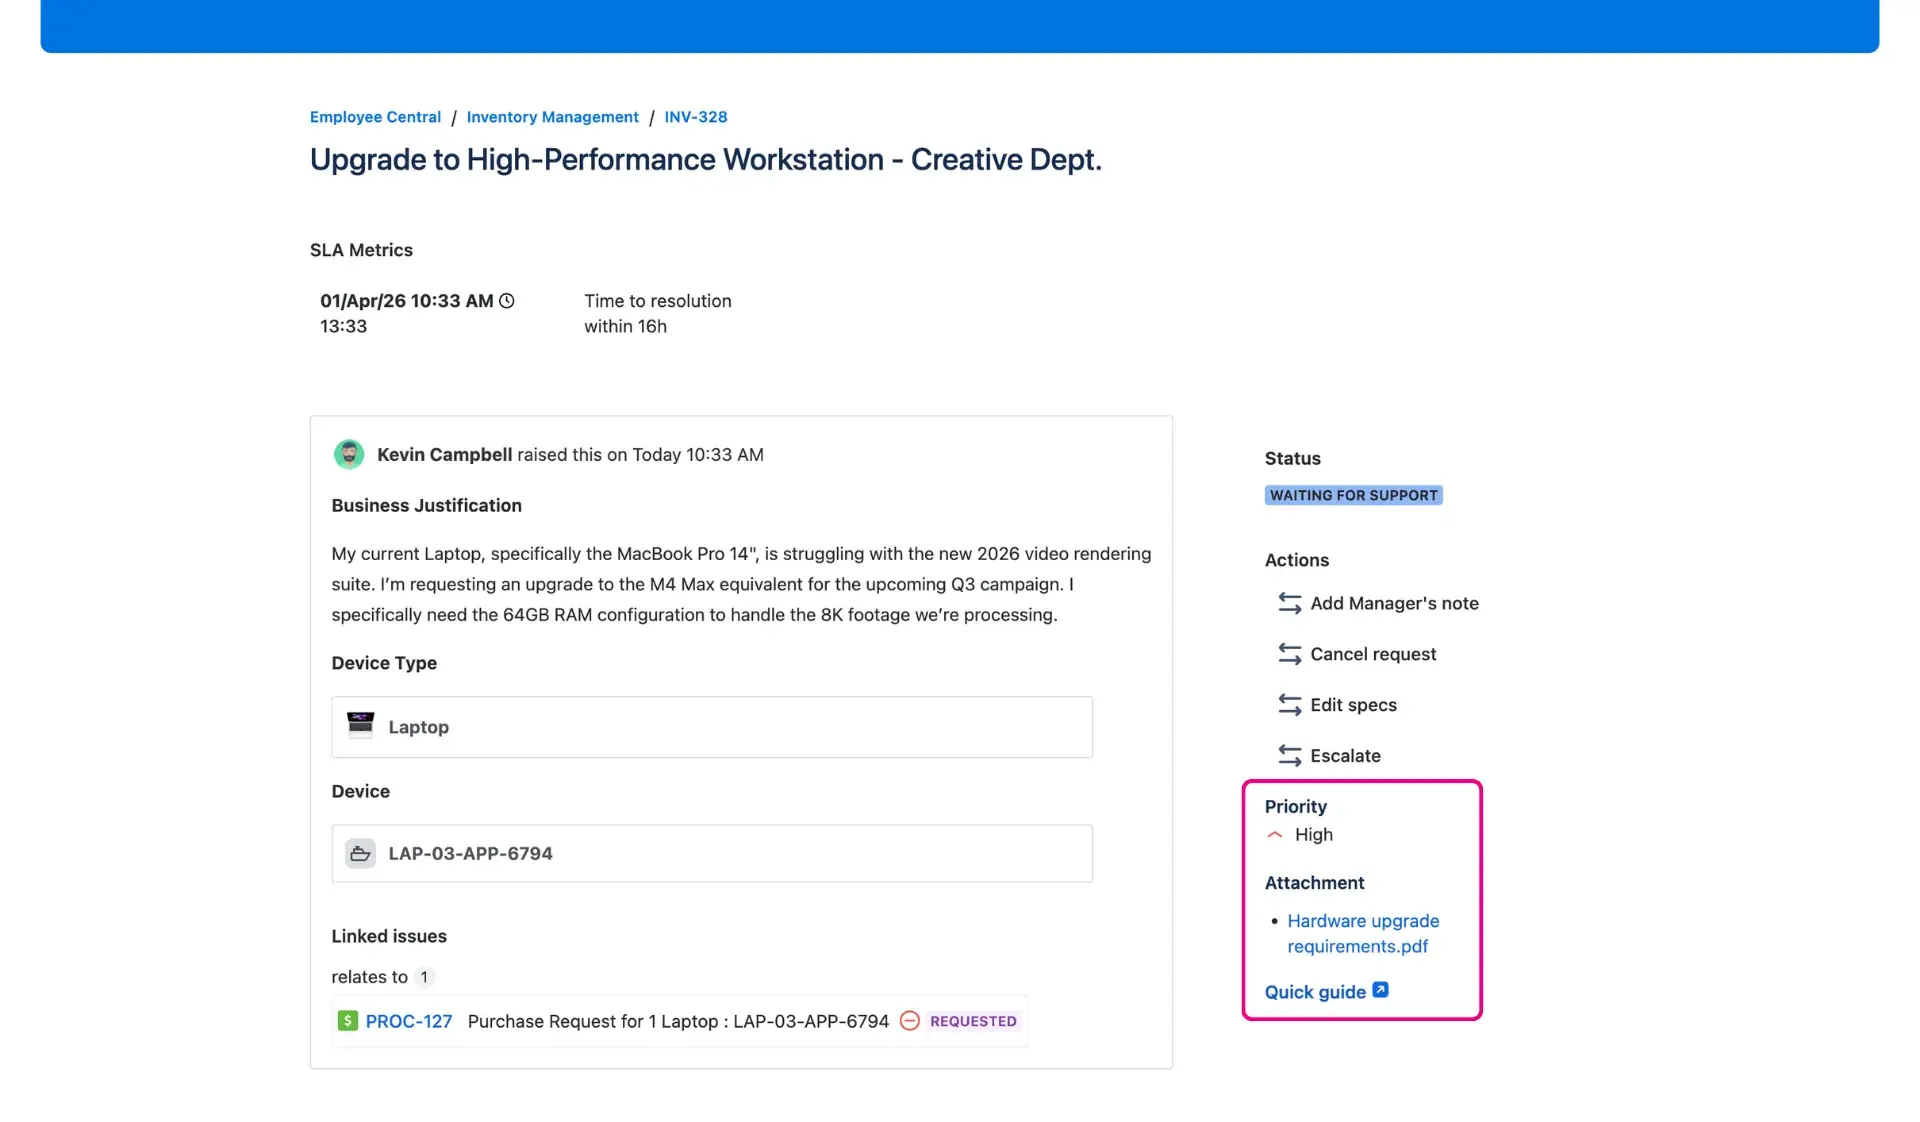
Additional fields
Providing extra context within a request view helps users stay informed without needing to reach out to agents. By displaying additional fields on the Jira portal, teams can surface critical data - such as SLA progress, linked issues, or specific asset details - directly on the request. This transparency transforms the customer self service portal into a comprehensive resource, making incident management in Jira much more efficient.
Access Additional fields
To manage and configure these panels, follow these steps within the specific service project:
- Open the desired Jira Service Management project and navigate to Project settings in the sidebar.
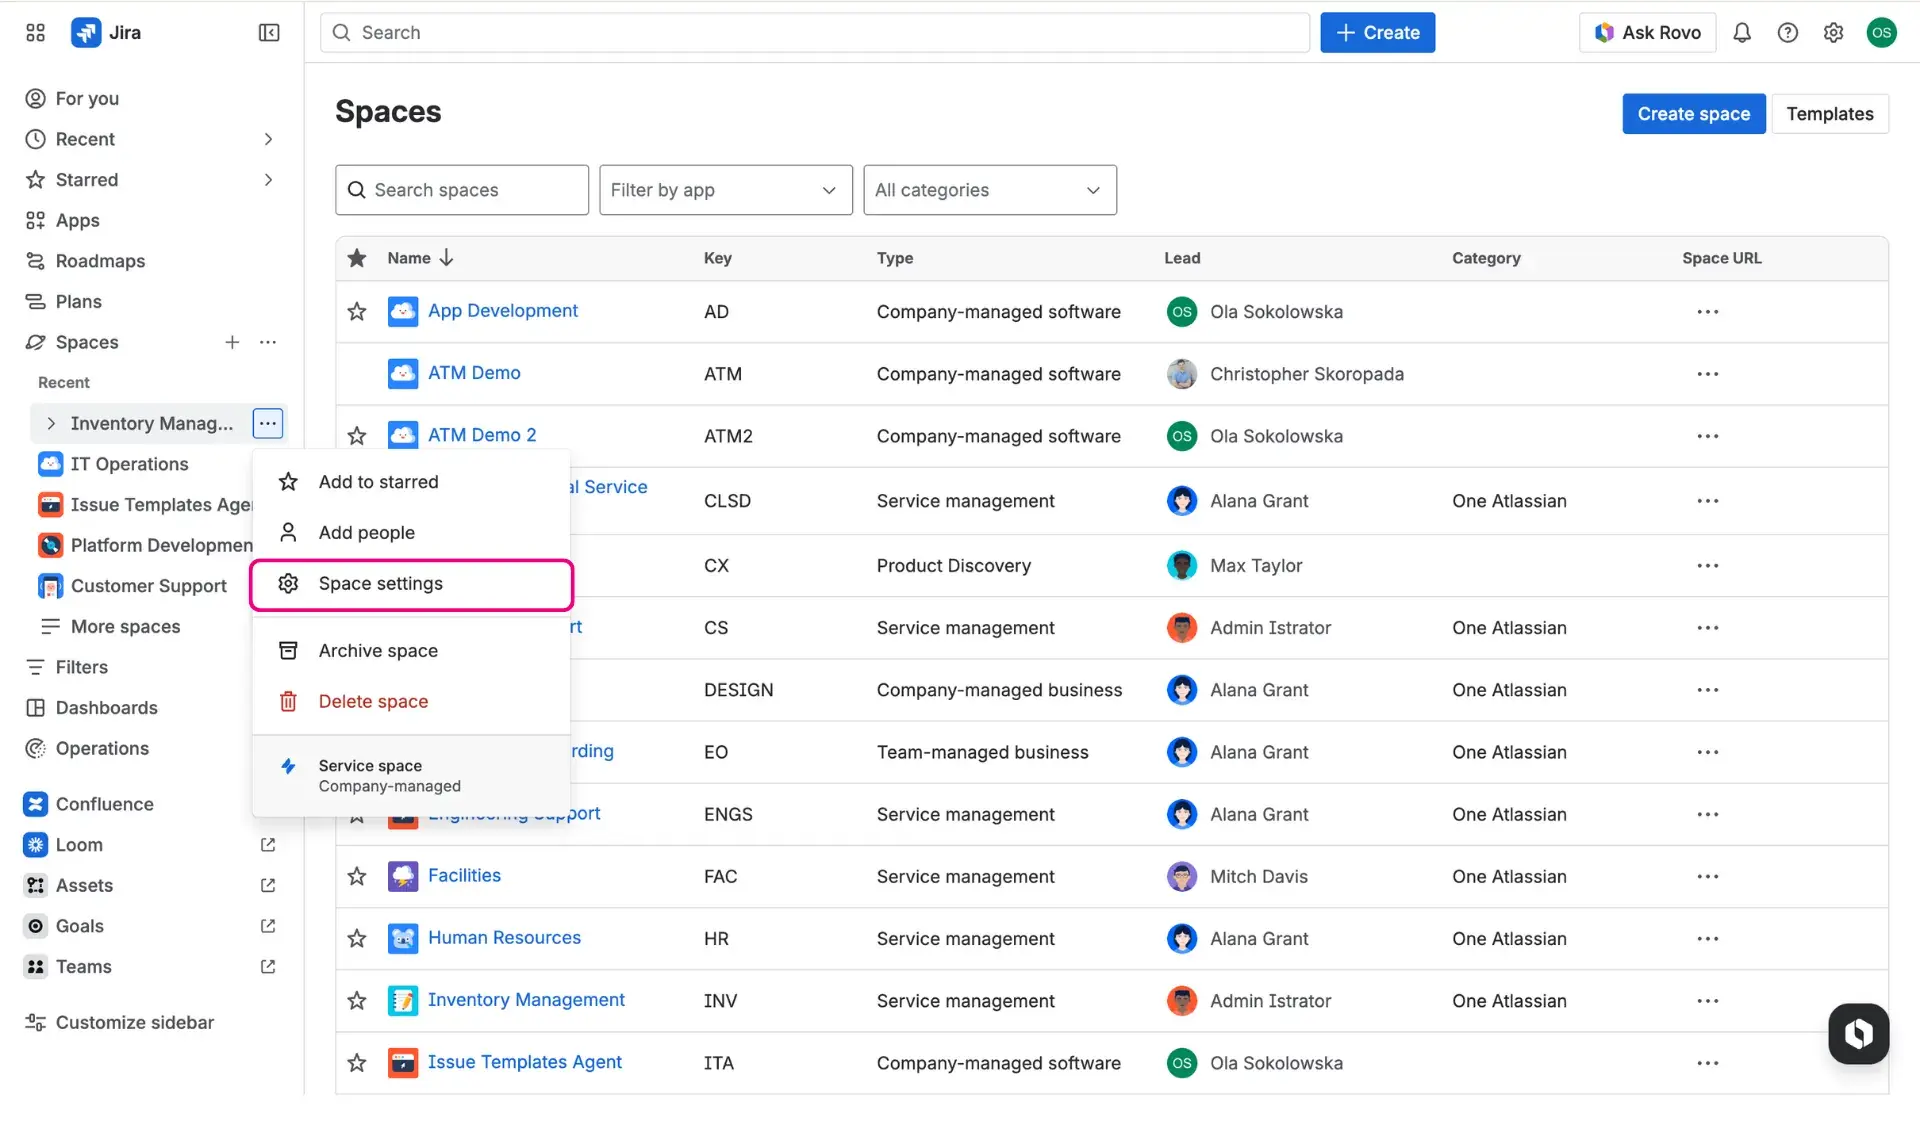
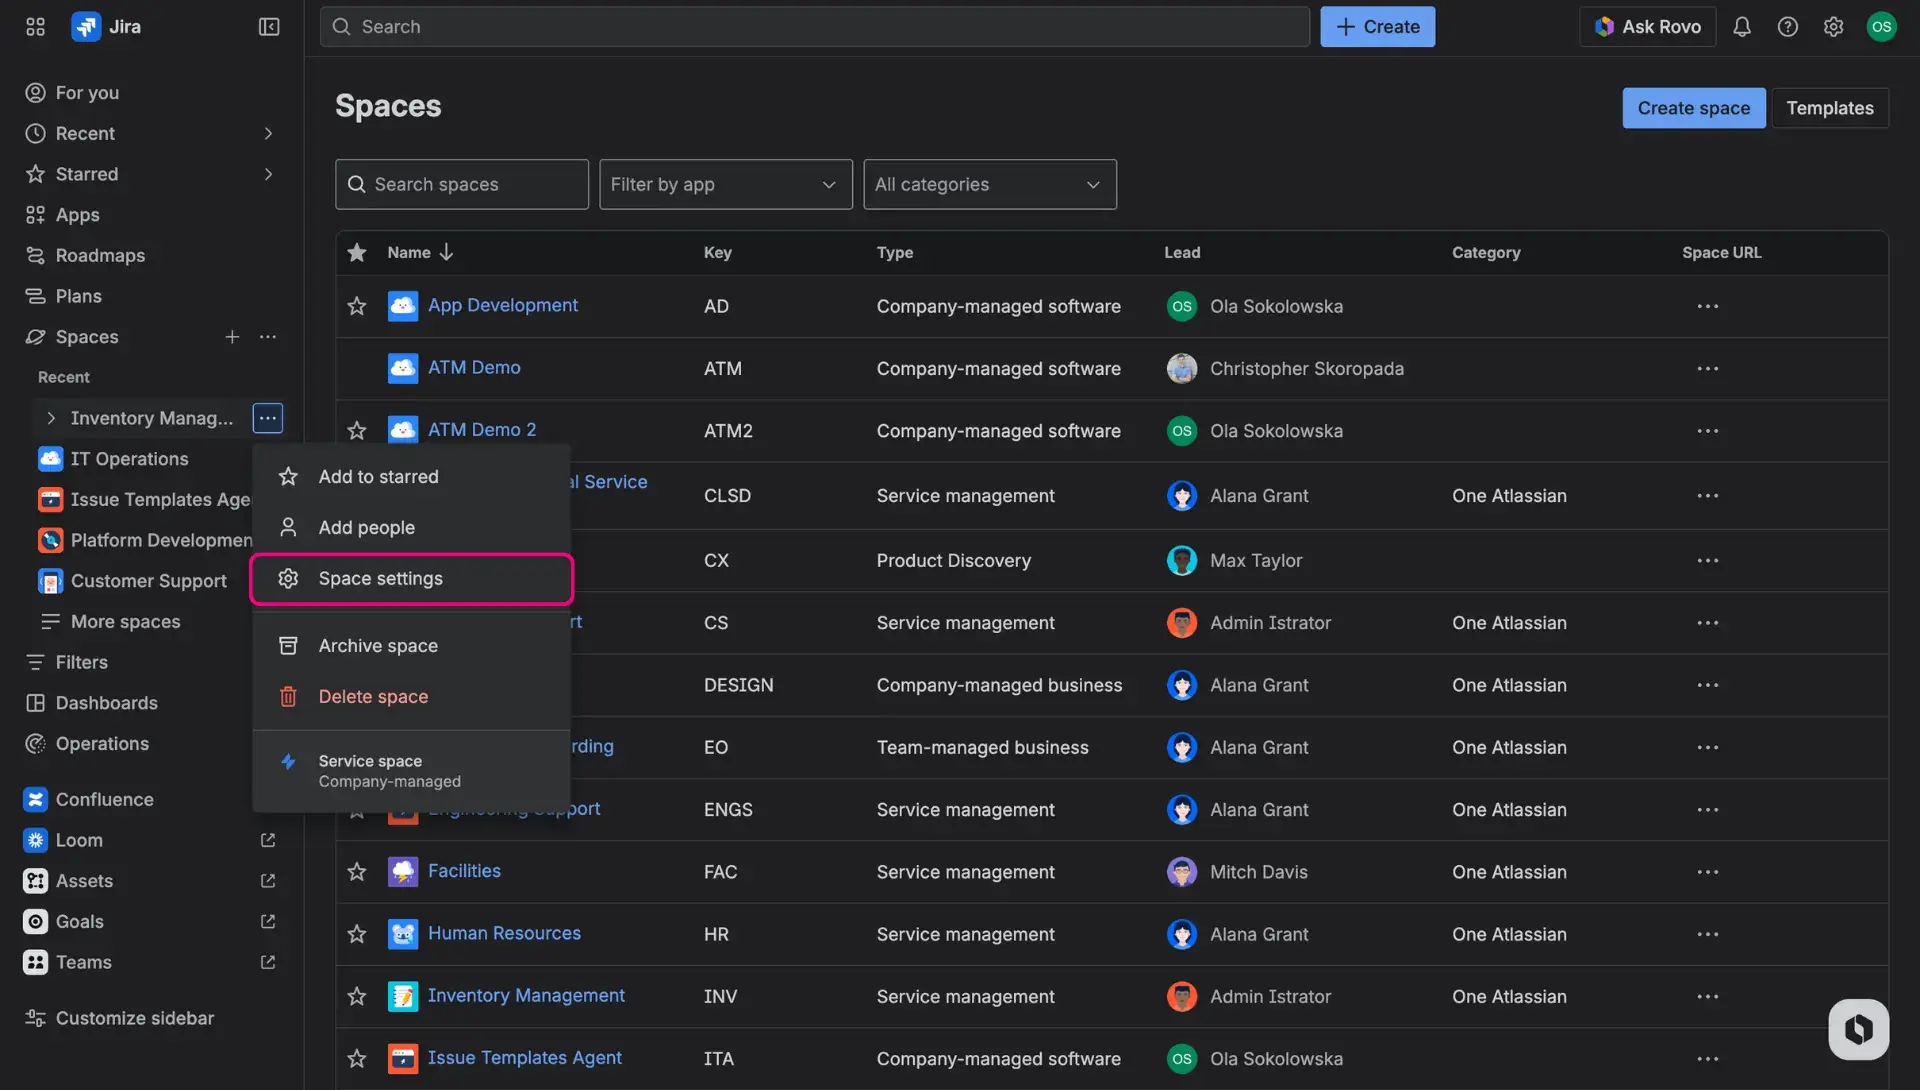
- In the Apps section, select Additional fields.
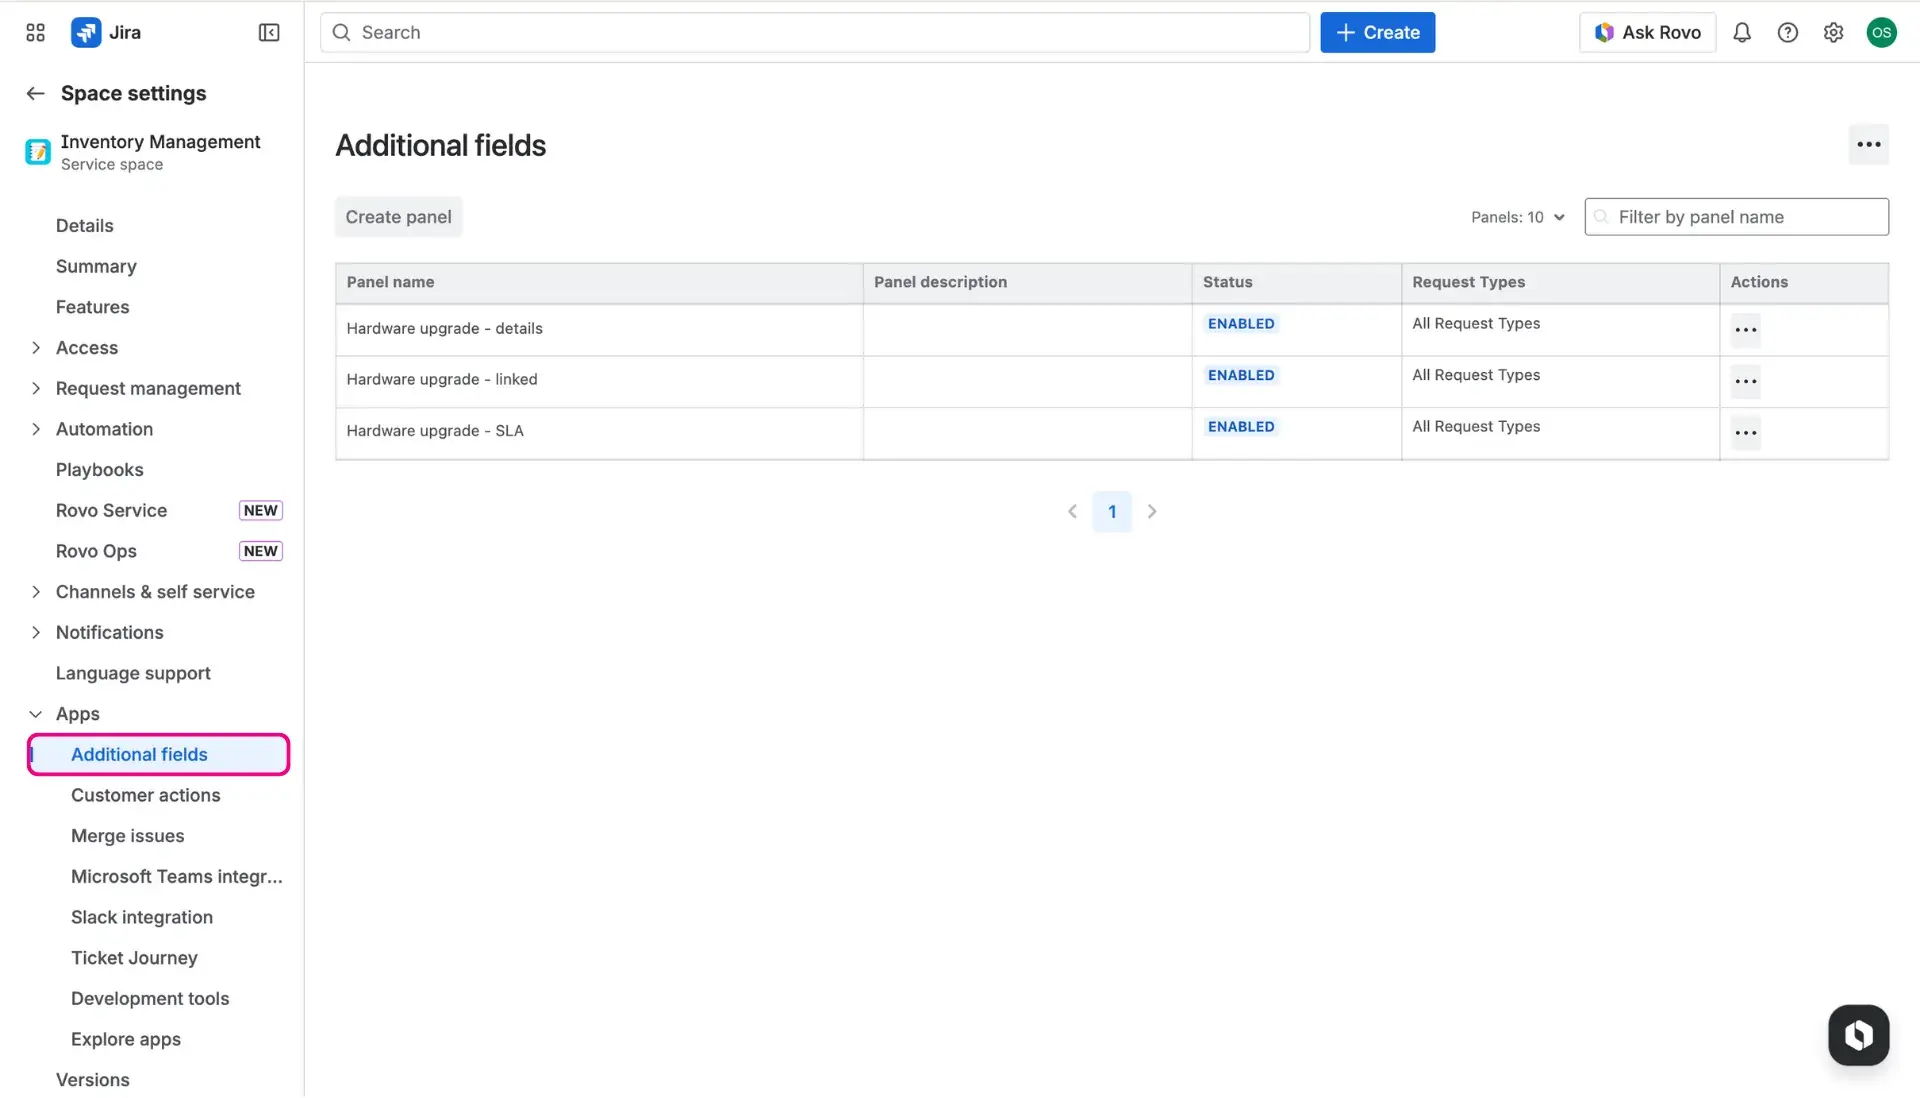
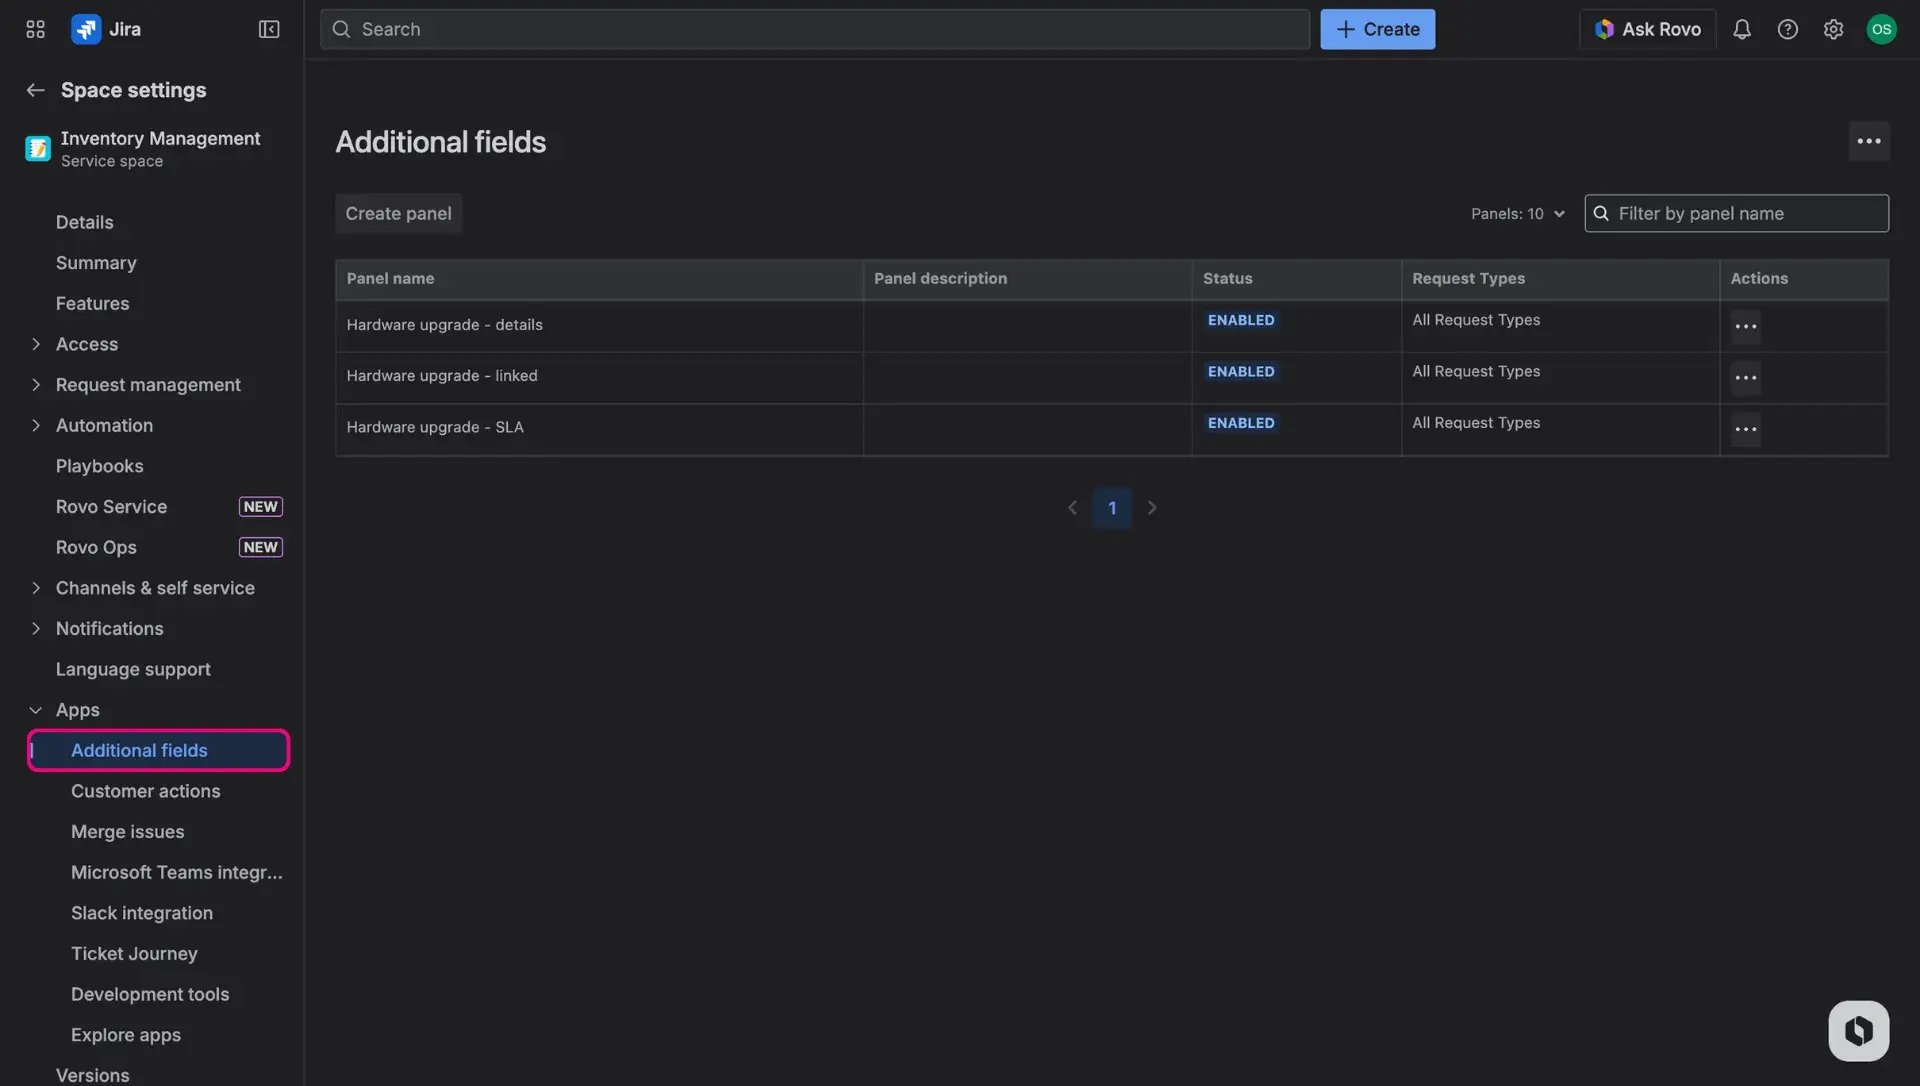
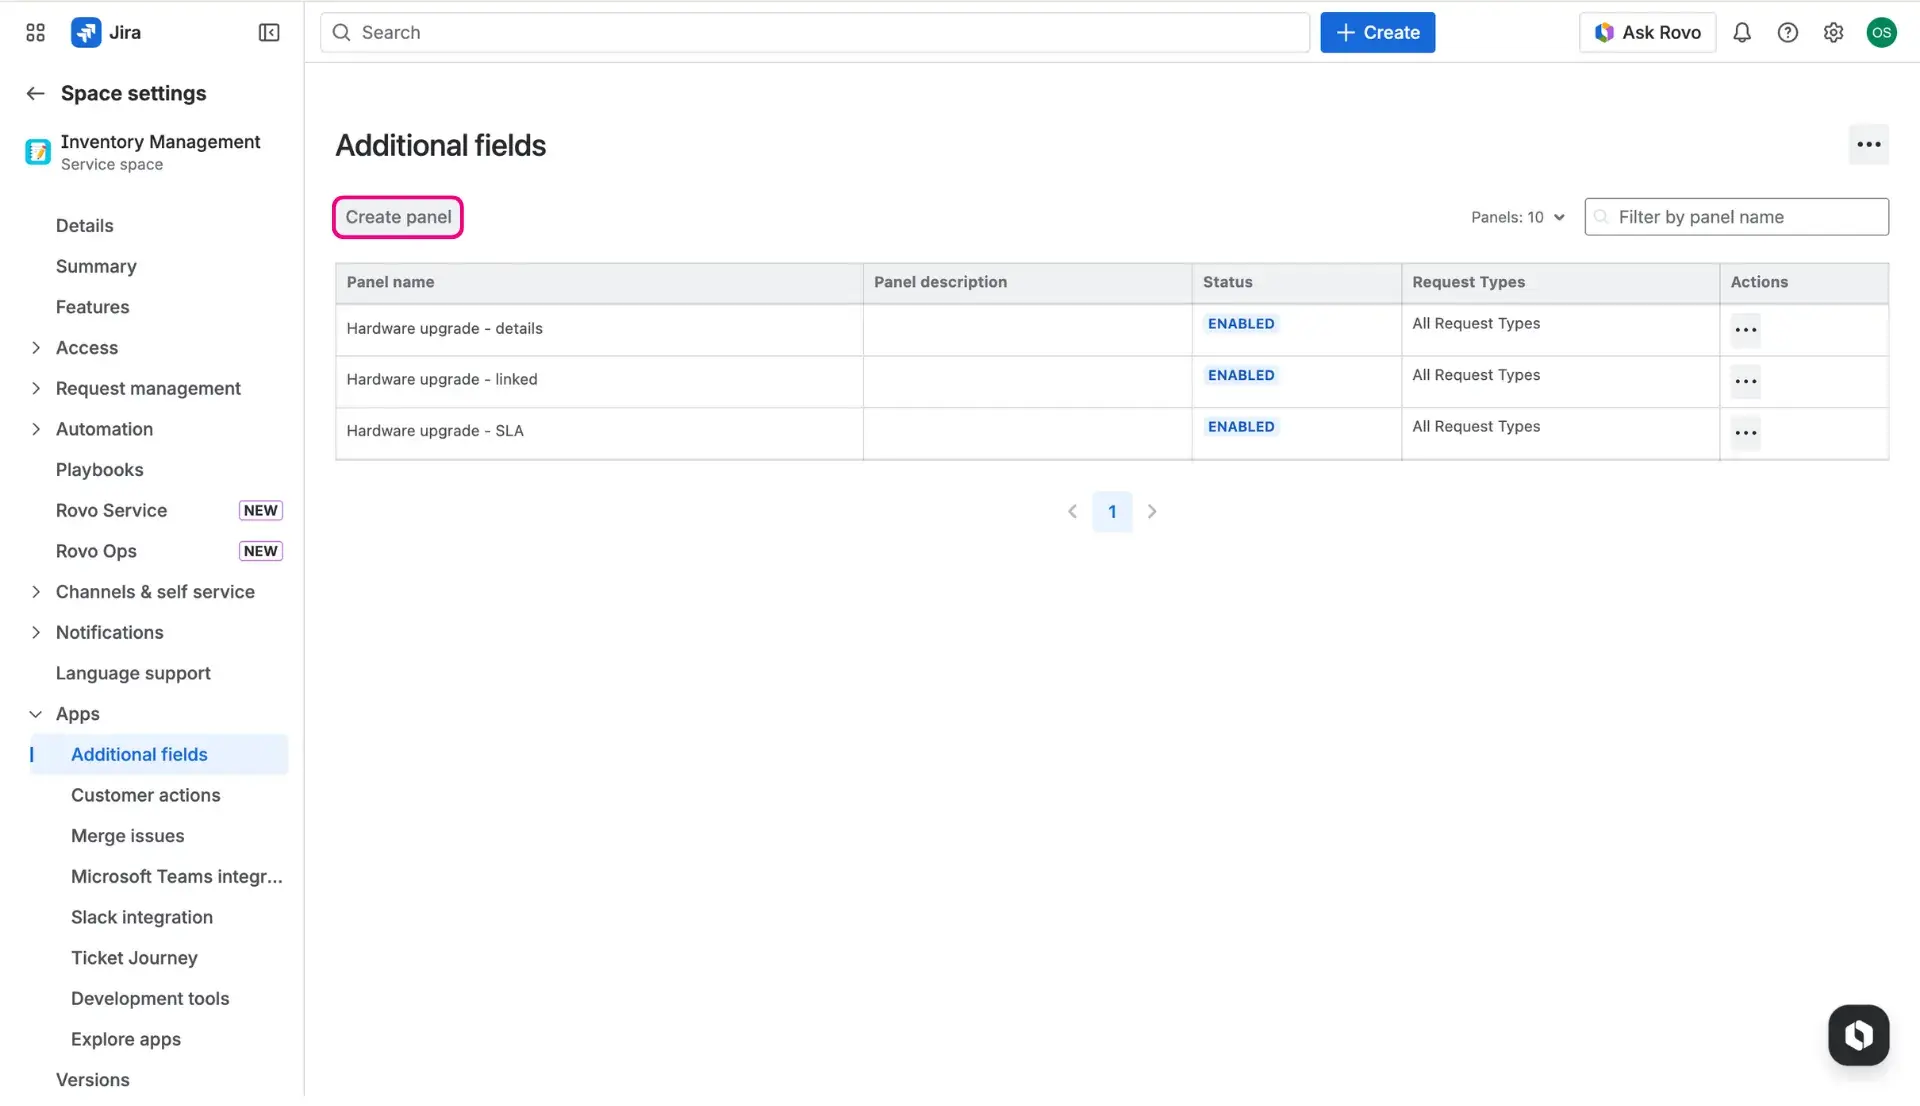
- The dashboard provides a list of all current forms. From here, forms can be modified, their visibility on the portal can be toggled, or a new one can be created using the Create panel button.

Note on terminology
Atlassian now often refers to issues as work items, and projects as spaces. This documentation uses both terms interchangeably.
Configuration
The setup process is divided into two areas to ensure the right information is displayed in the most effective way - Availability and Design.
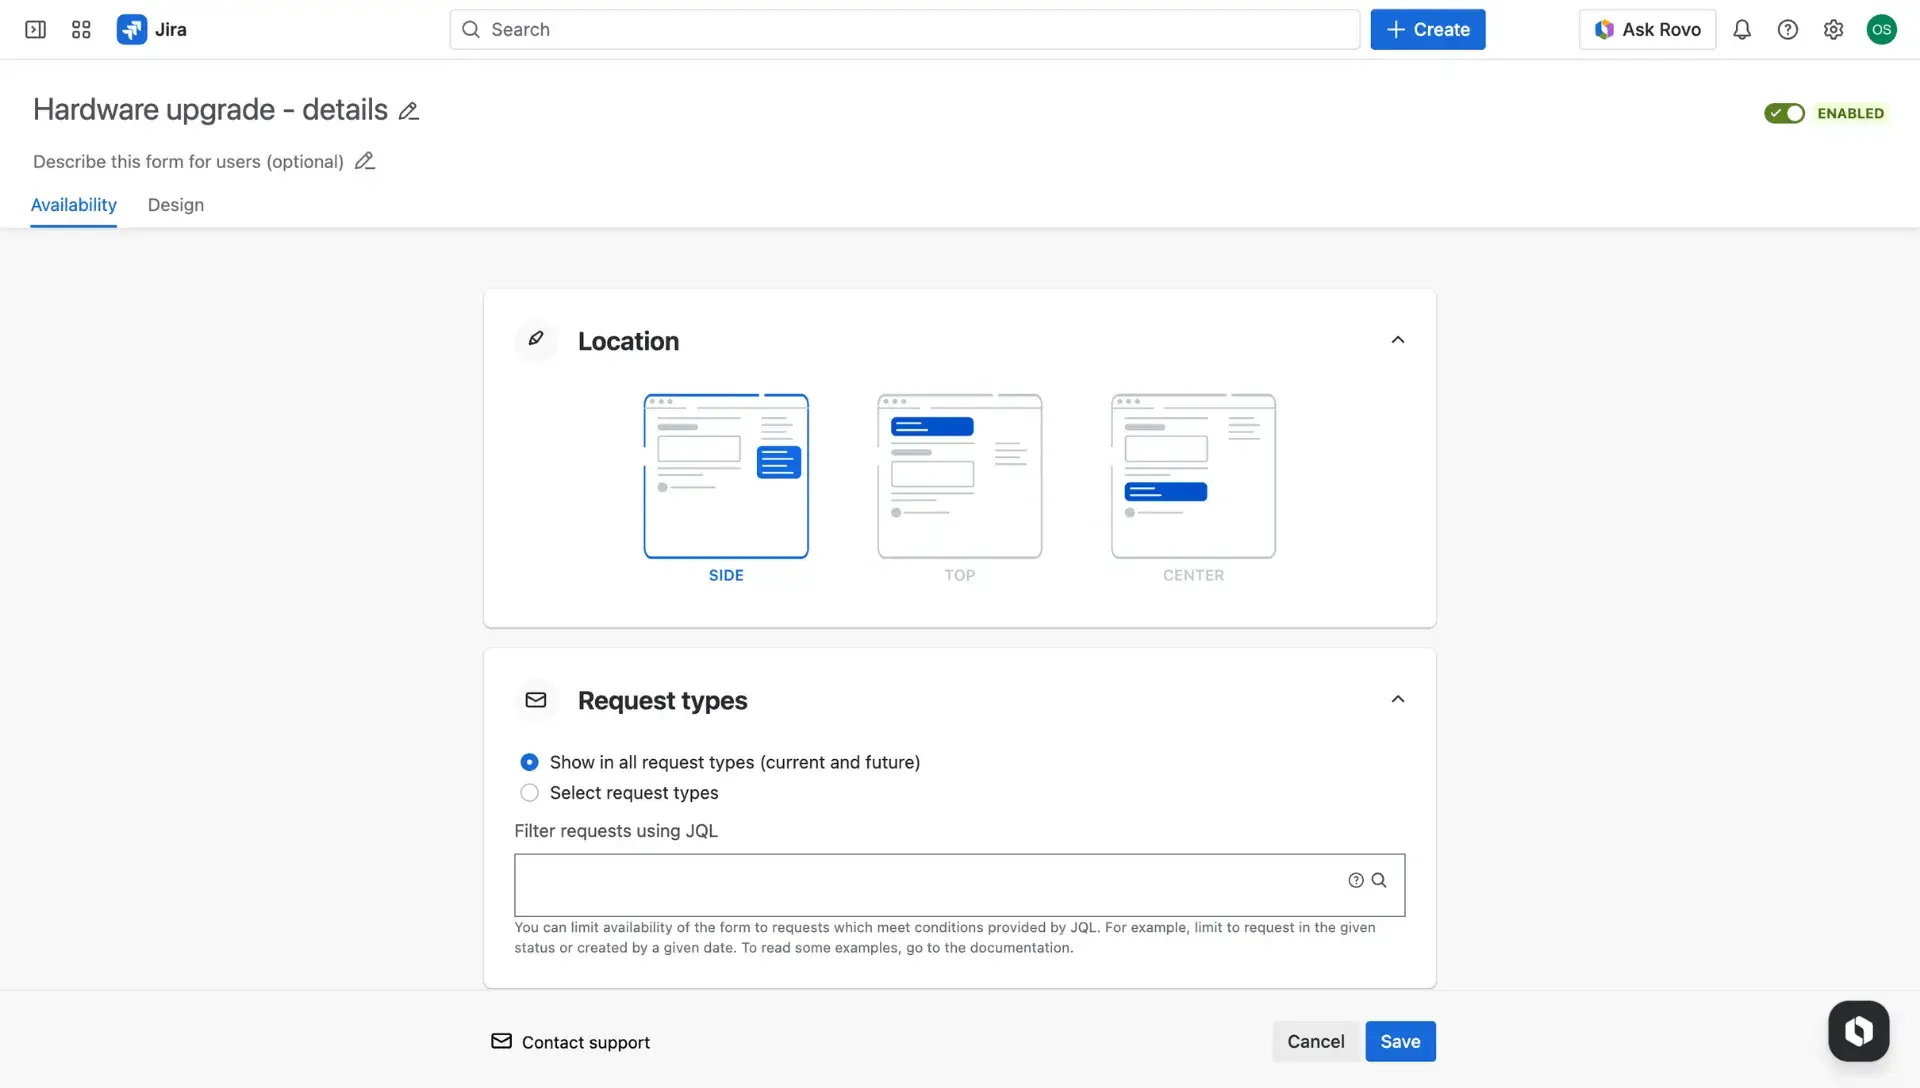
Availability
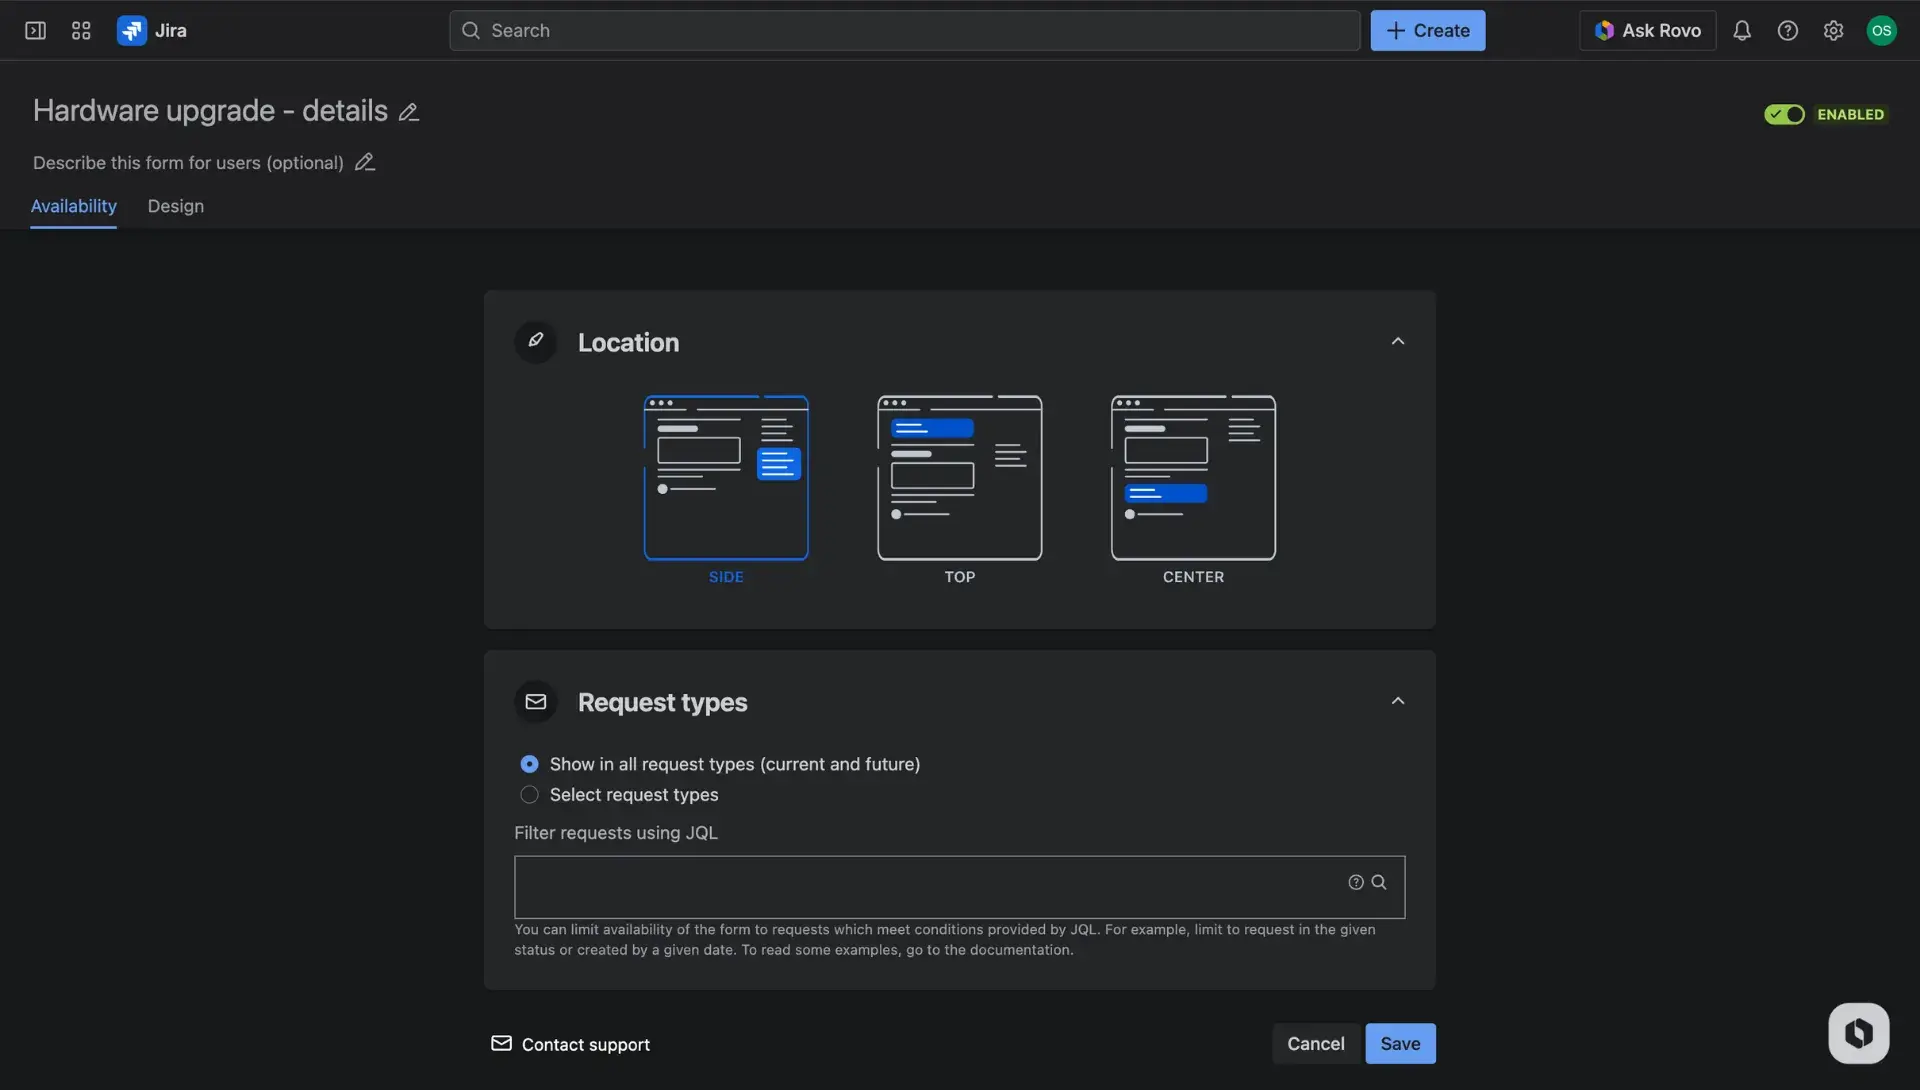
This tab controls the logic and placement of the information on the Jira customer portal:
Position: Choose where the panel appears on the request view—on the side, at the top, or at the bottom of the page.
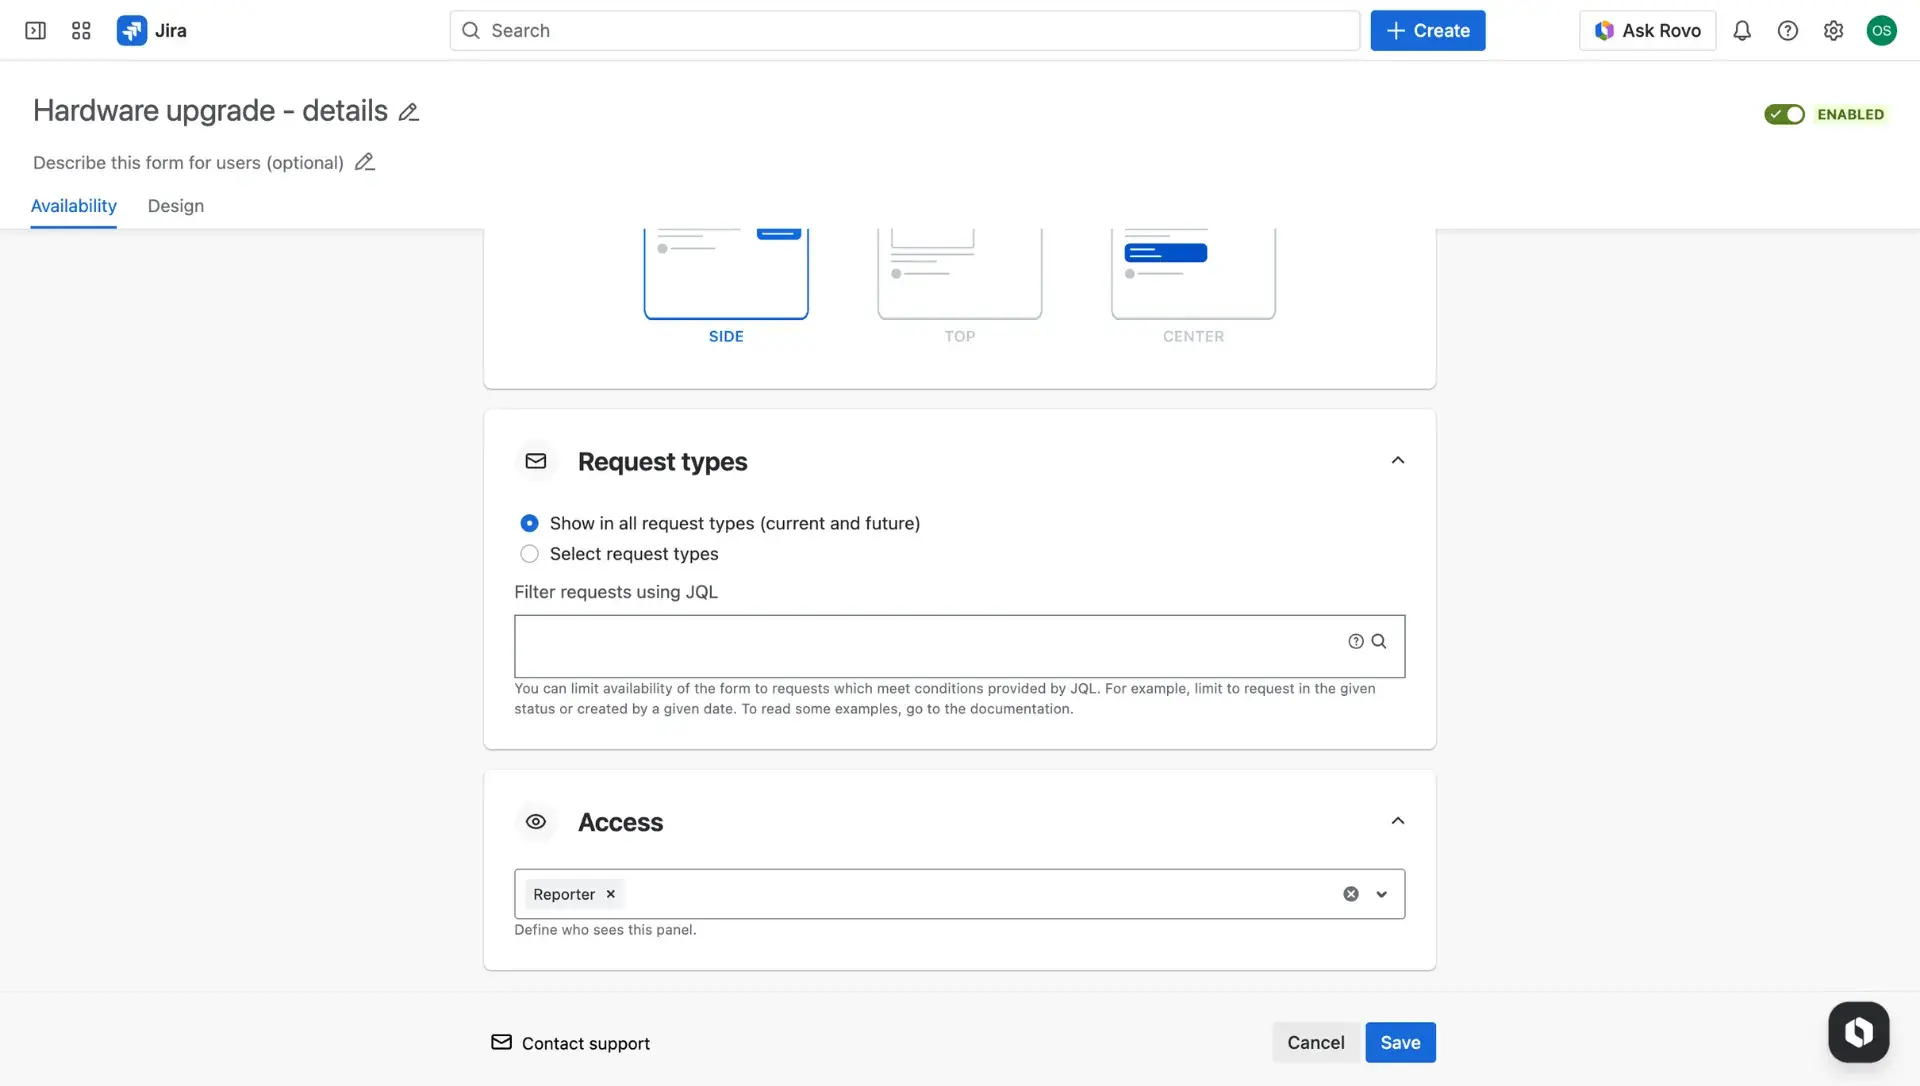
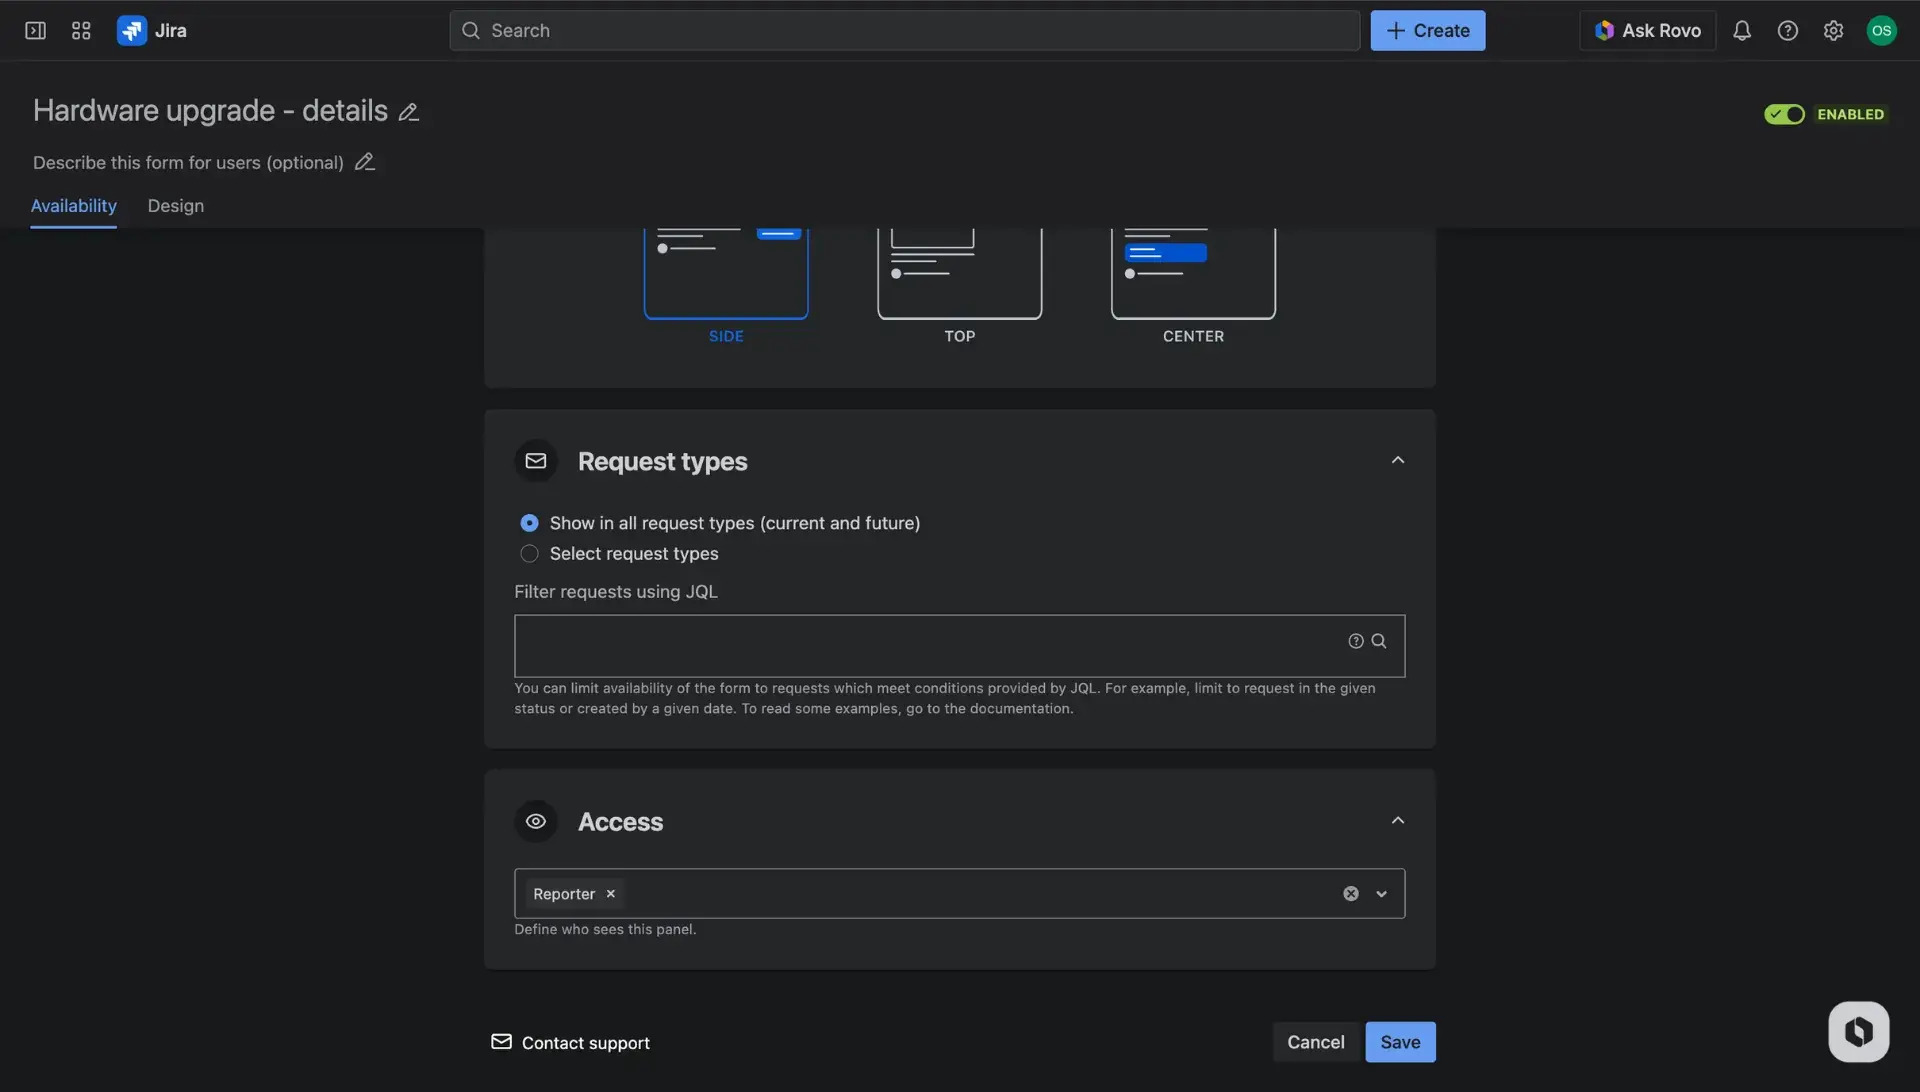
Request types: Determine if the form shows up for all request types or use JQL to limit it to select categories.
Access: Define who can view the panel. By default, the reporter is selected, but visibility can be adjusted for other participants.
Troubleshooting team-managed projects
If fields are not appearing correctly in a team-managed project, check Project settings > Fields. If a field used in the Jira Service Management app configuration has been deleted or renamed in the project settings, it may cause an error or prevent the panel from loading.
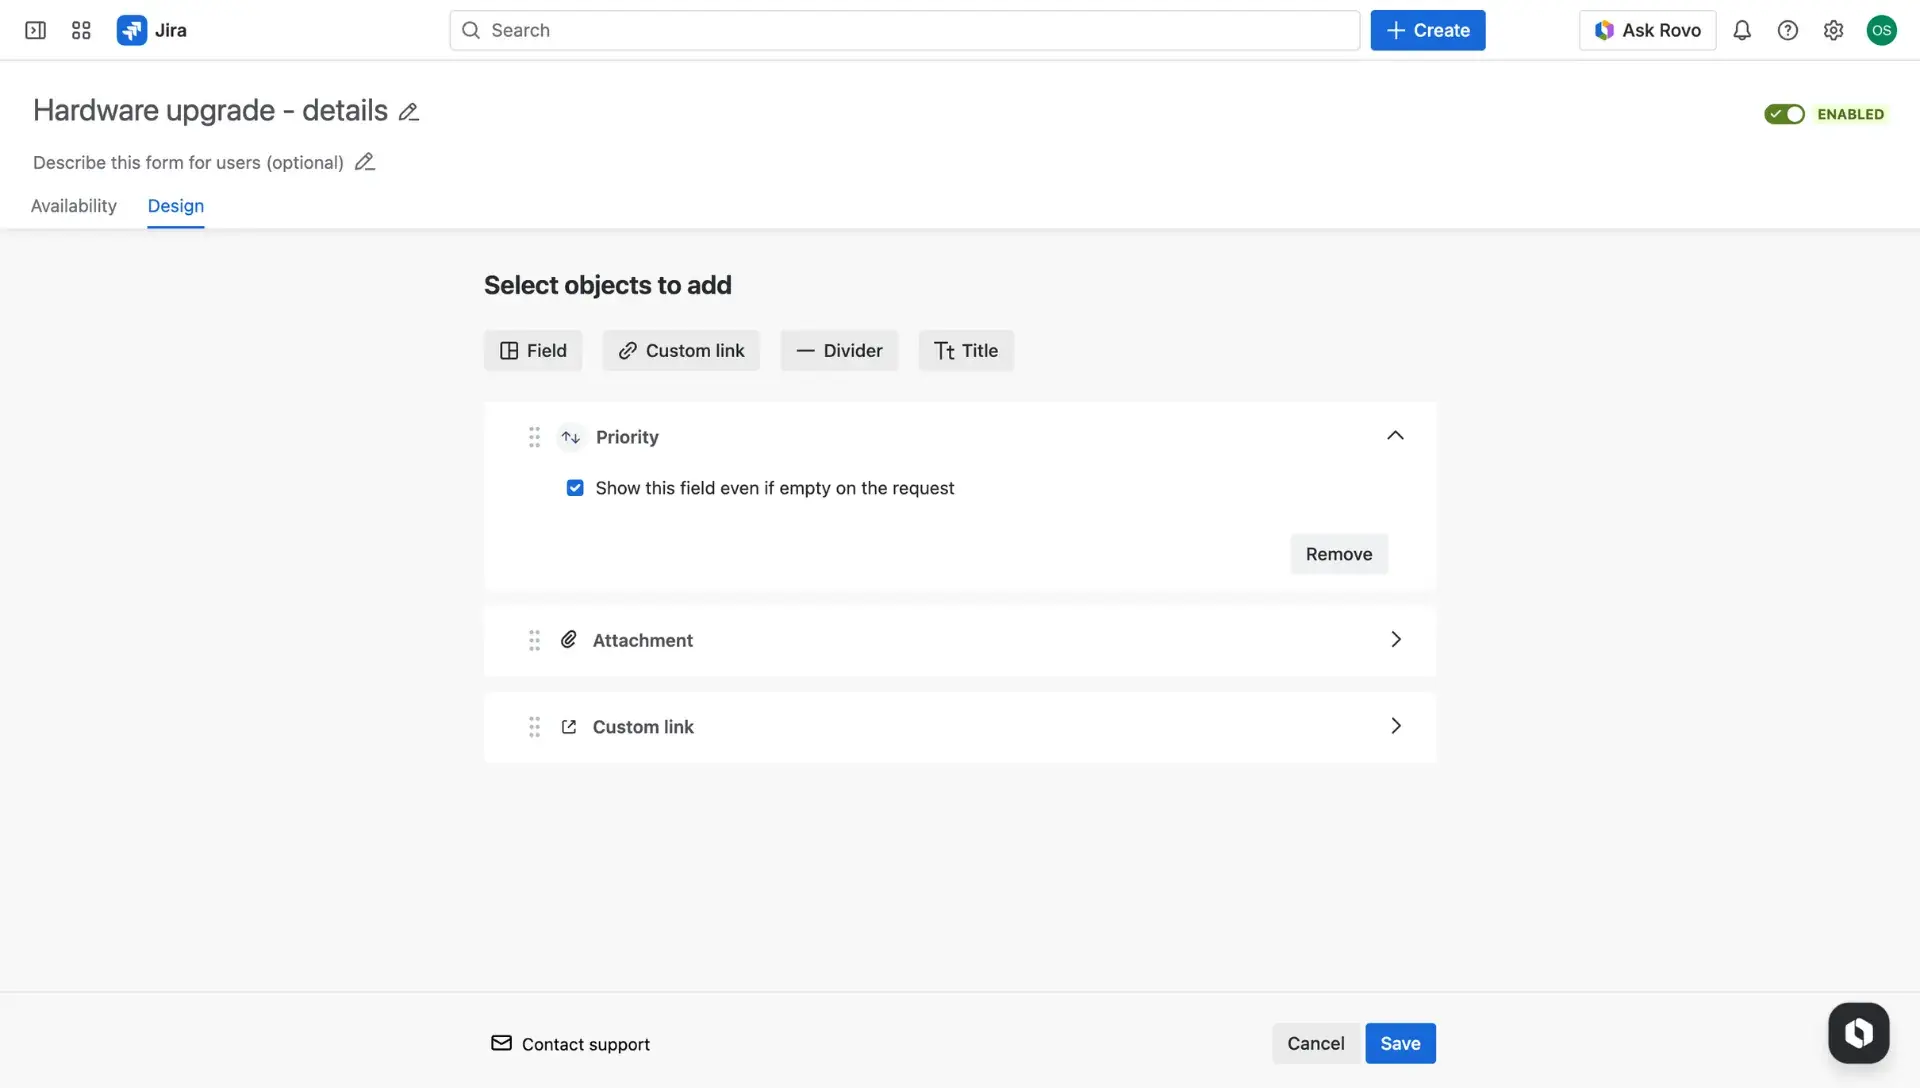
Design
The Design tab is used to build the content of the panel. Users do so by adding custom messages, selecting specific fields, and inserting helpful links. When the panel is complete, click the Save button to finish configuration.
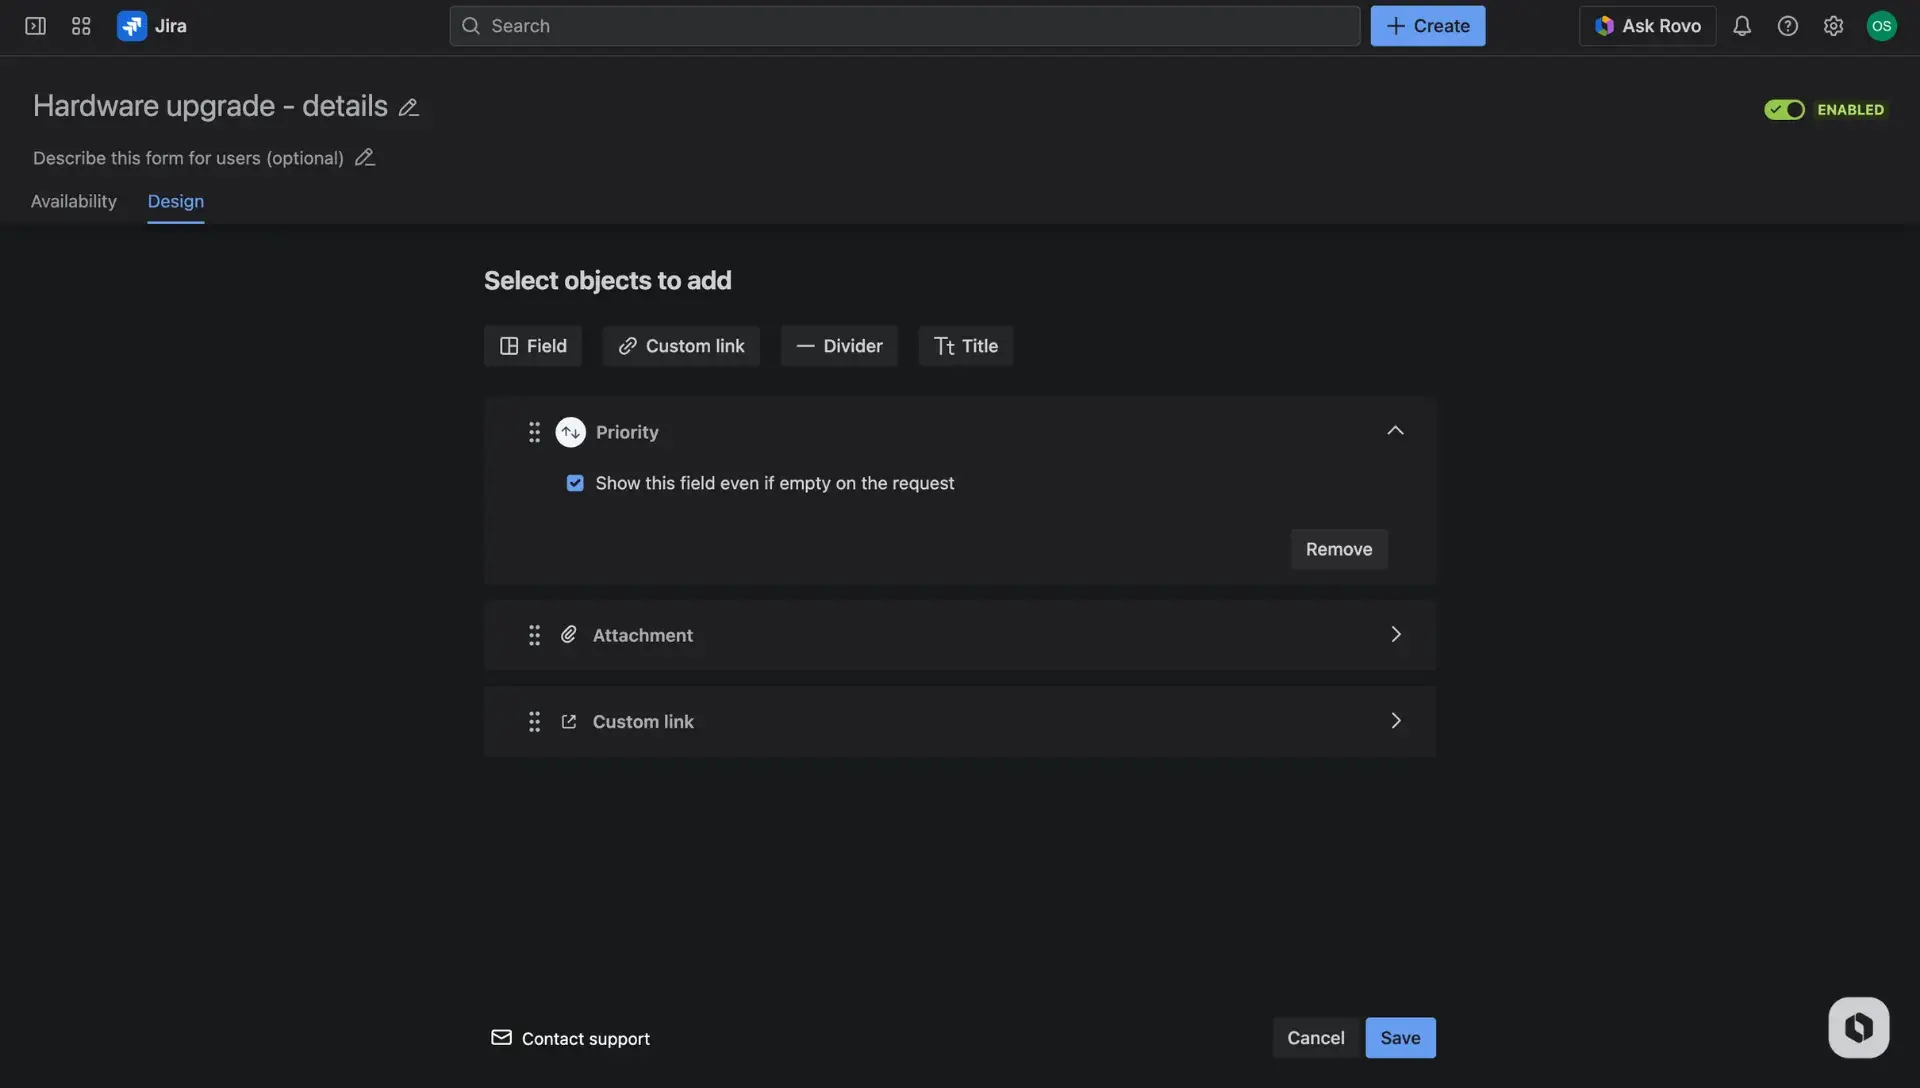
Field tips
For more details on how specific fields behave within these forms, visit the dedicated pages for supported fields and configuration tips.
Start with Attachments on portal.
Profile photo visibility
To display a service agent’s profile photo on the Jira portal, the account visibility setting must be set to “Anyone.” If it is restricted, the portal will show initials instead of an image. This is managed under Atlassian Account > Profile and Visibility by selecting Anyone next to the profile photo question. Read more about account settings in the Atlassian Documentation.
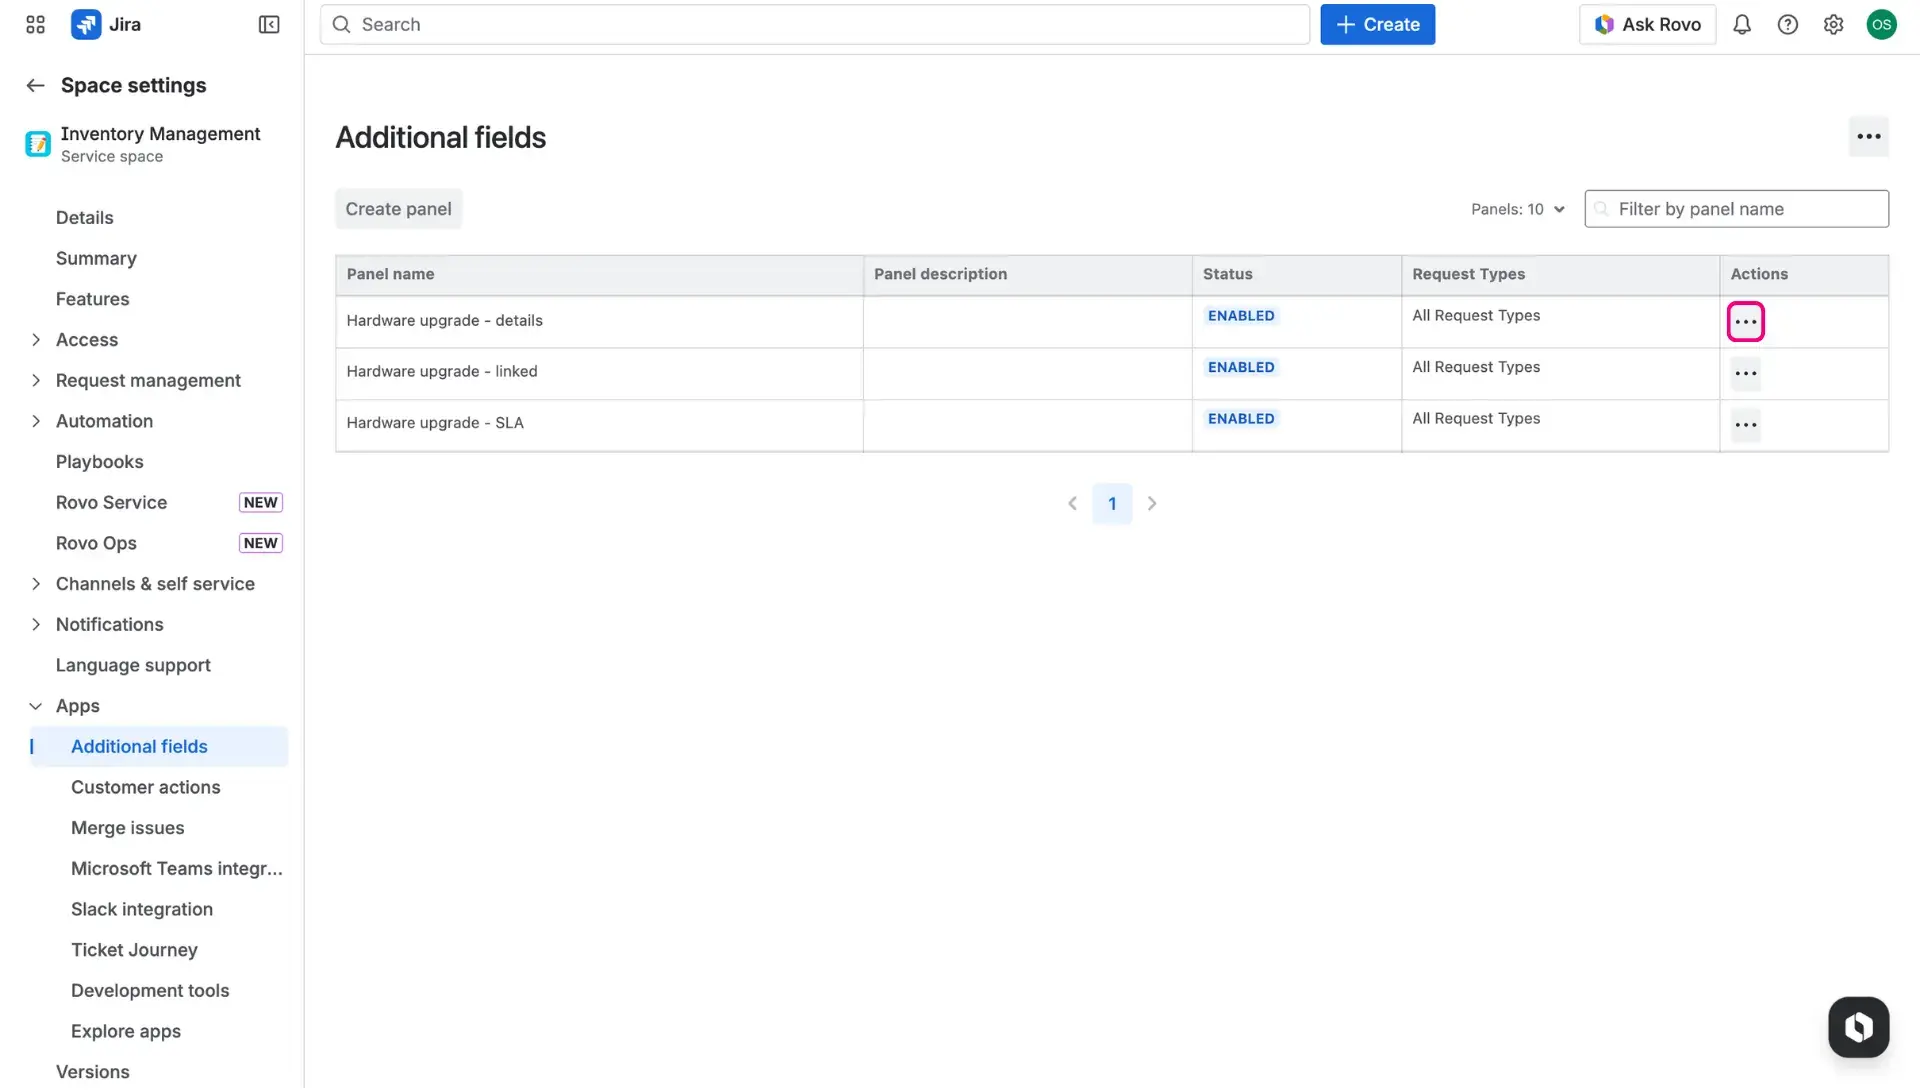
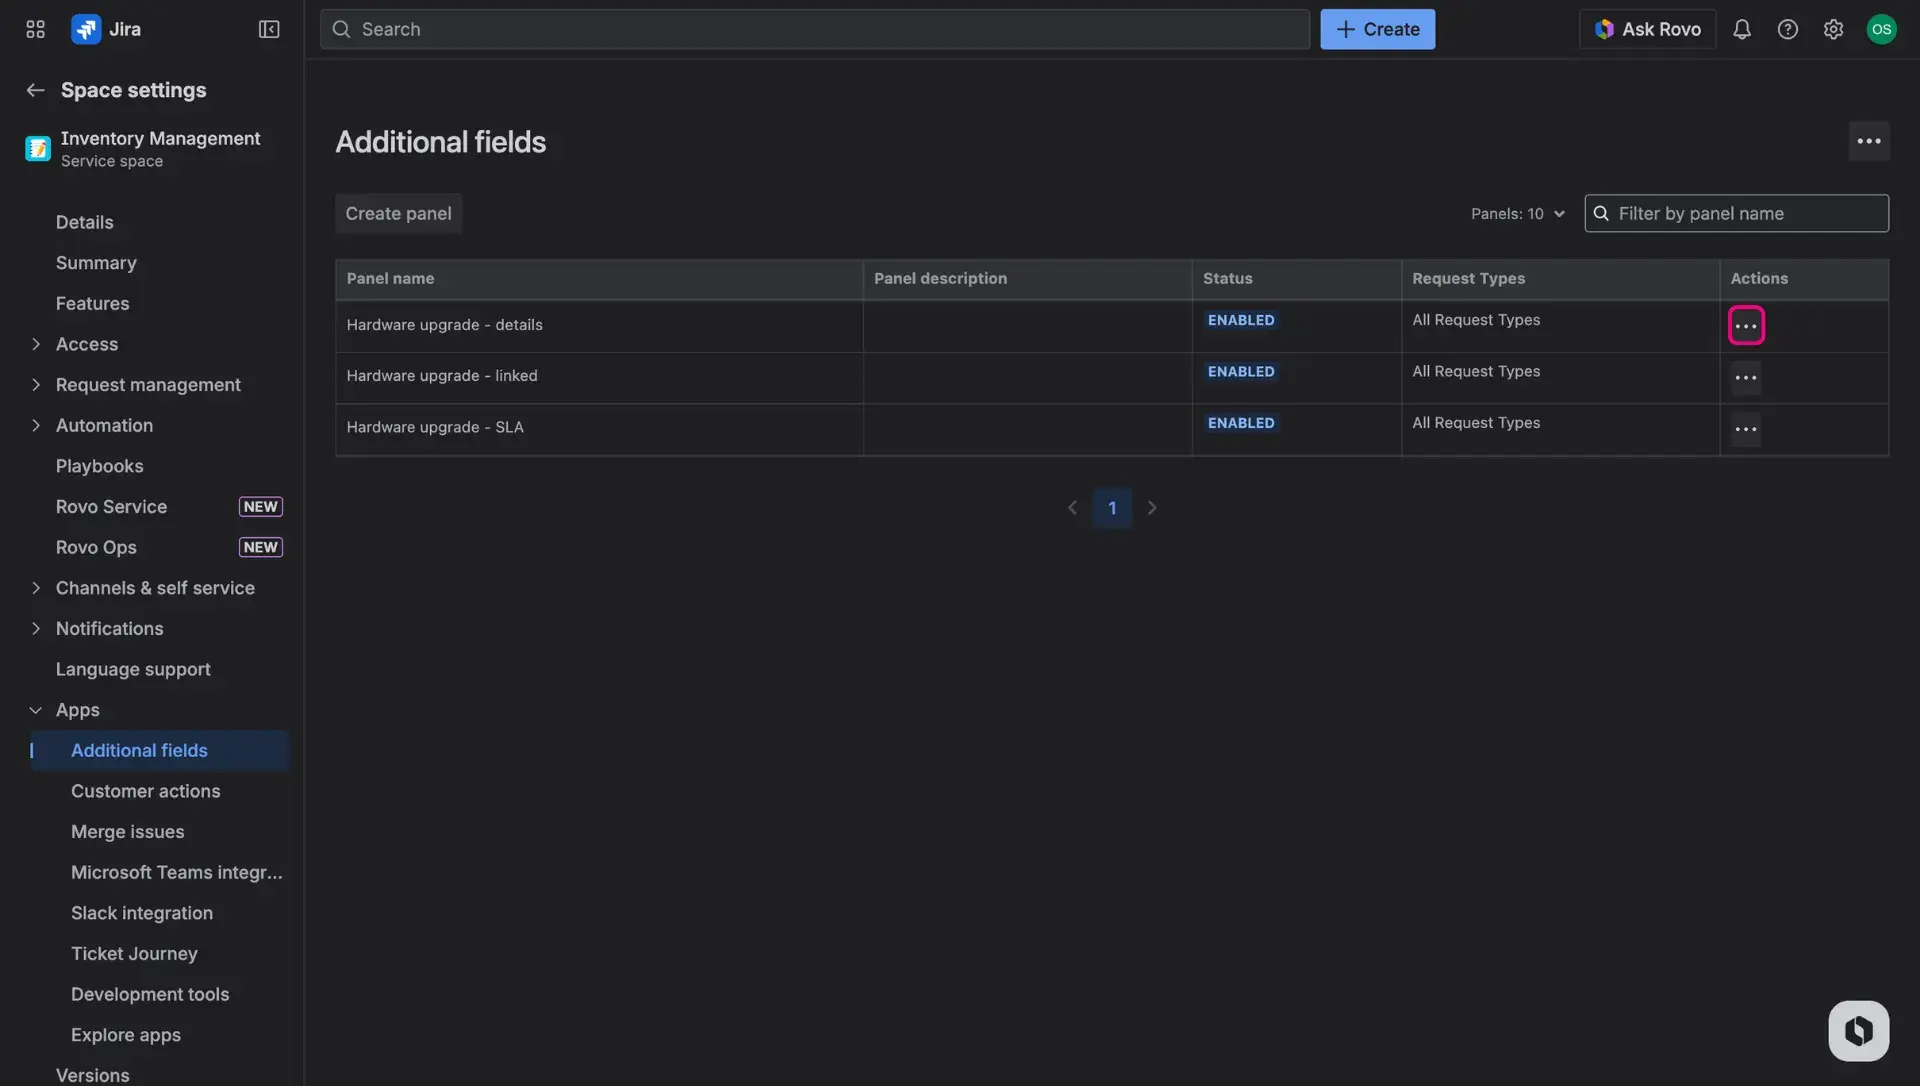
Manage panels
The main dashboard allows for easy organization of all panels. To prioritize information, Additional fields panels are ordered in a table, which contains following details:
- Panel name
- Panel description
- Status: informs whether the panel is active on the customer portal or not; can be enabled or disabled
- Request types: displays where the panel is enabled
- Actions: More actions menu which allows to manage the panel.
The More actions (three dots) menu allows users to edit, delete or enable/disable a selected panel. Disabling the panel doesnt’t delete the whole configuration - it only removes its visibility from the customer portal.