Create a banner
You create a banner in a wizard with five steps: Locate, Schedule, Restrict, Design, and Summary.
Before you start
- You are a Jira administrator.
- Feature Bundle is installed. See Install Feature Bundle.
Steps
Select Apps > Feature Bundle for JSM > Banners, and then select Add new announcement. The wizard opens. To change an existing banner, select Edit in its menu instead. You can’t edit an archived banner.
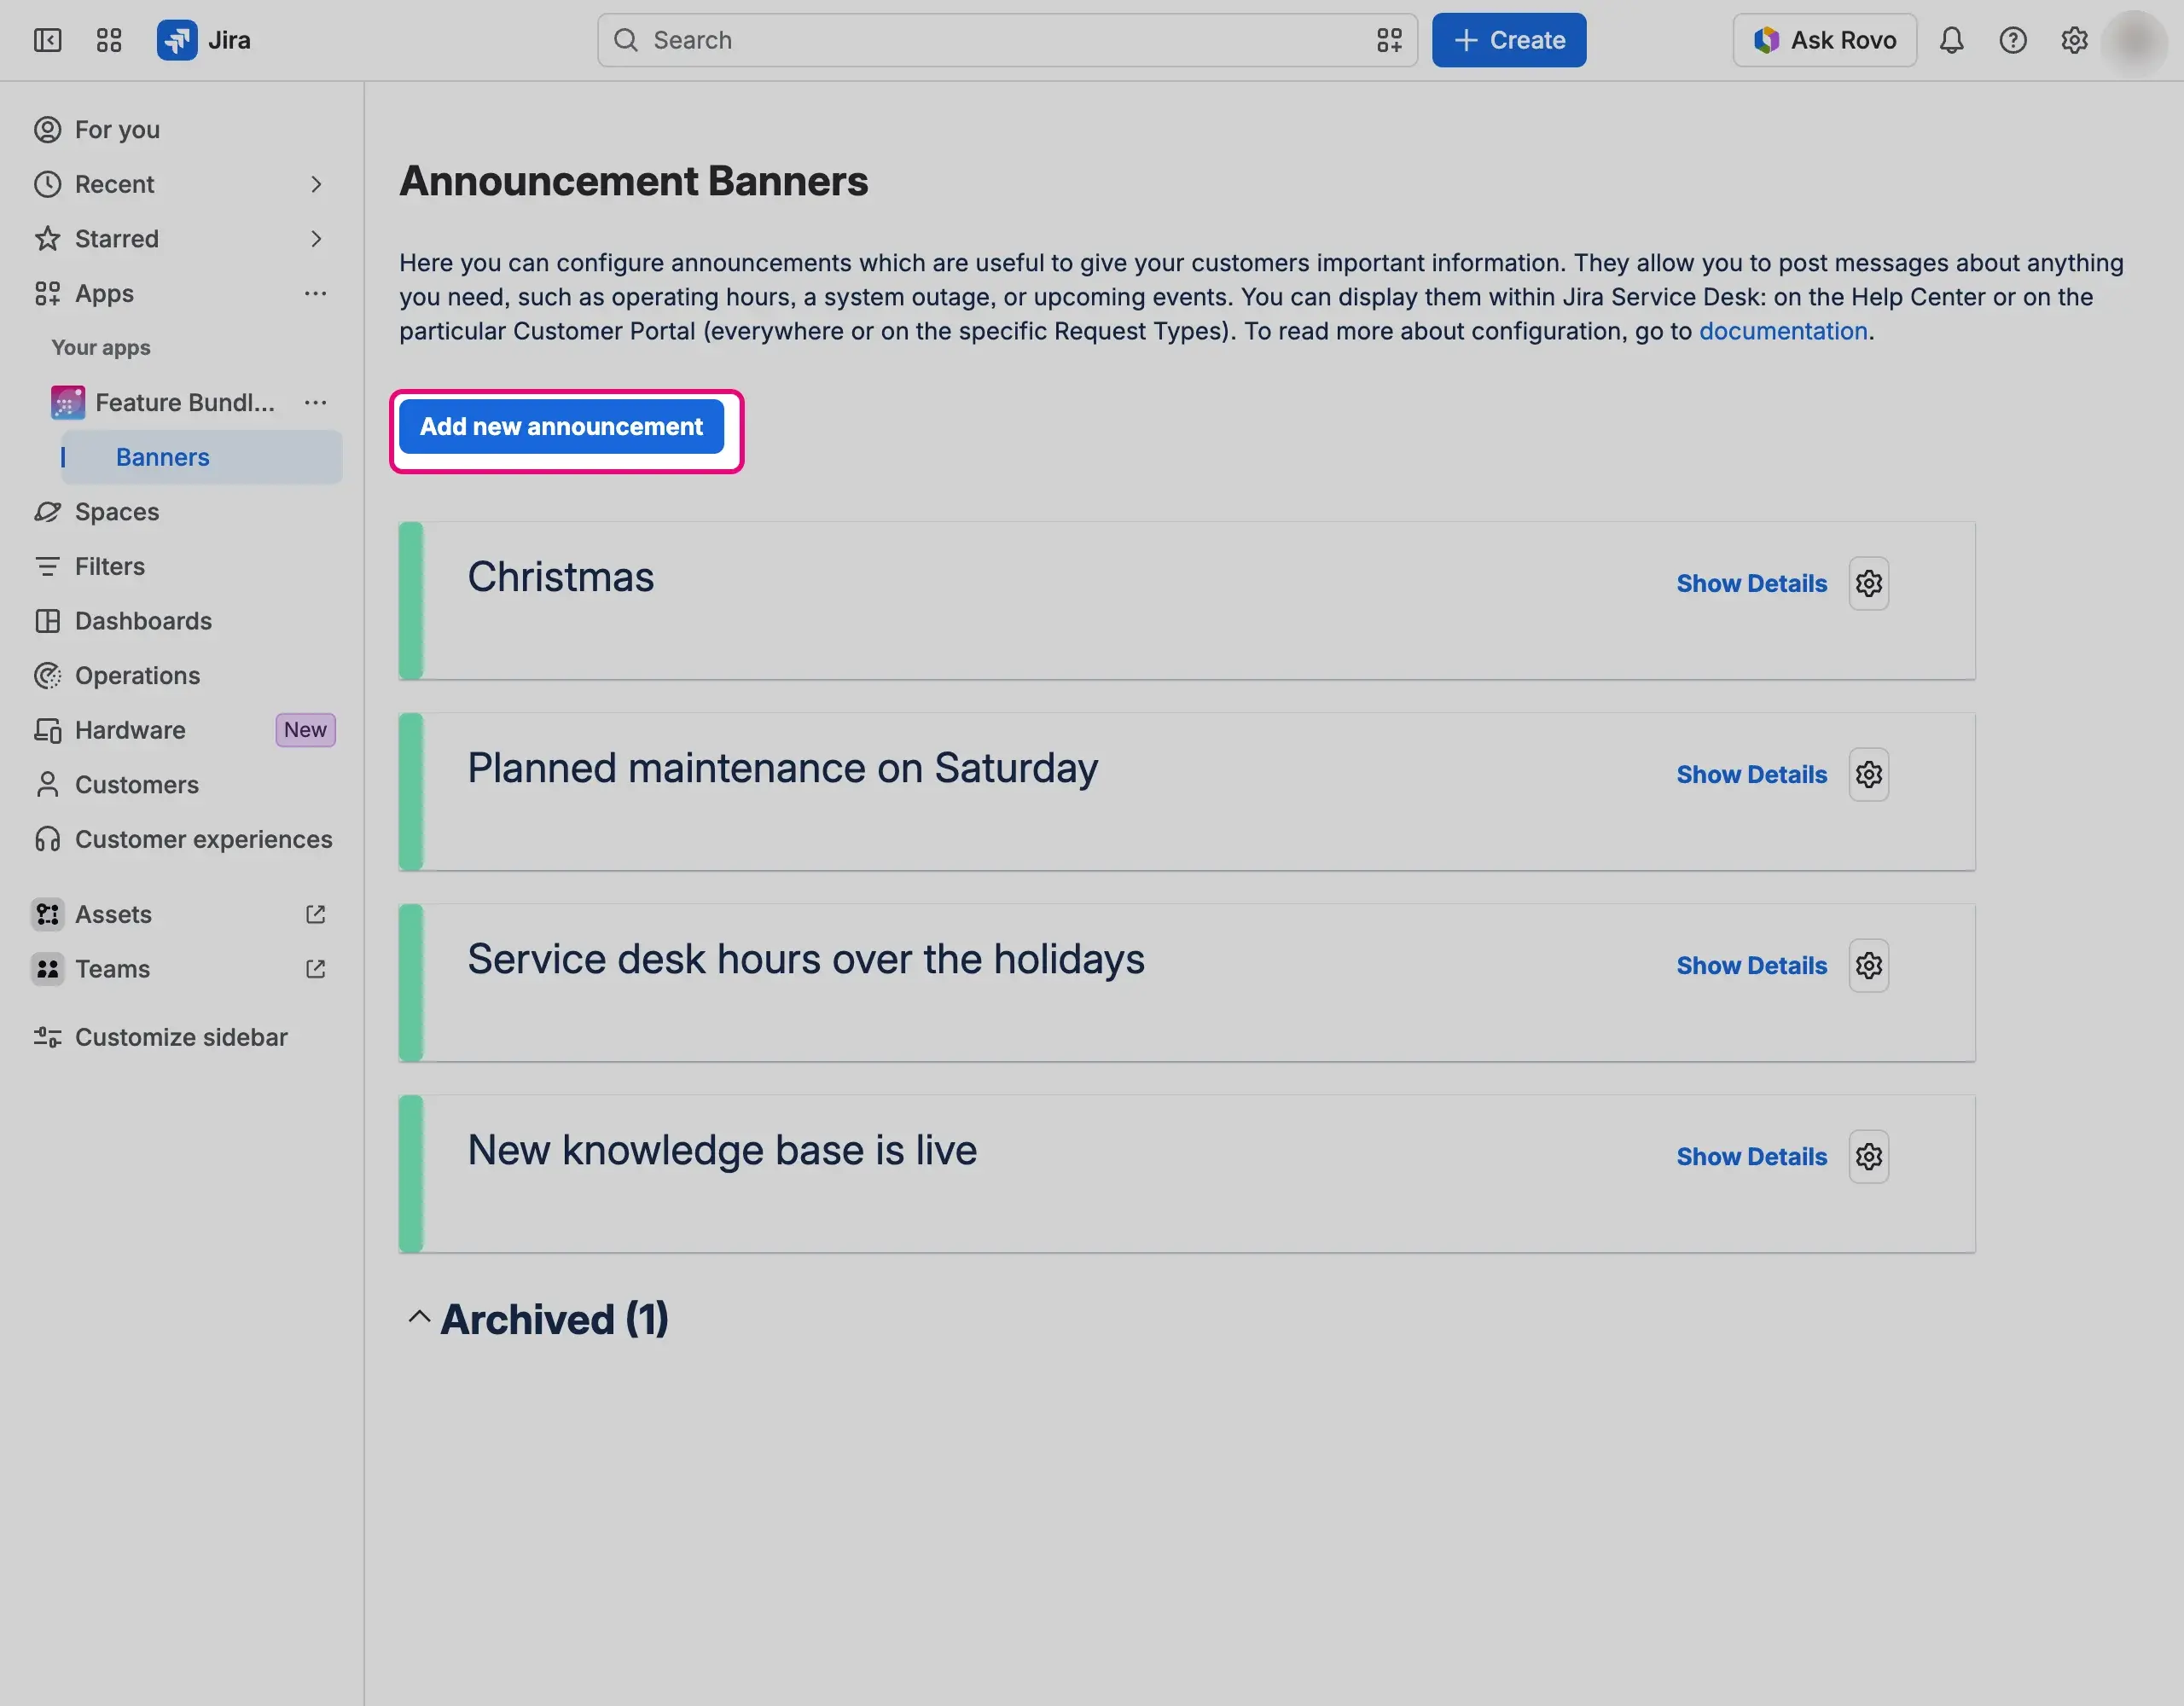
In Name, enter an internal name for the banner. It is required. Customers never see it.
On the Locate step, choose where the banner appears. You need at least one location:
- Help Center, User Profile, Requests page, and Approvals page.
- Requests Details View: the page of a request. Choose the request types.
- Customer Portal: the home page of a portal. Choose the portals, or leave the list empty for all portals.
- Request Form: the page for creating a request. Choose the request types.
The request type list is grouped by portal and you can search it. All request types replaces any specific choice. Select Next.
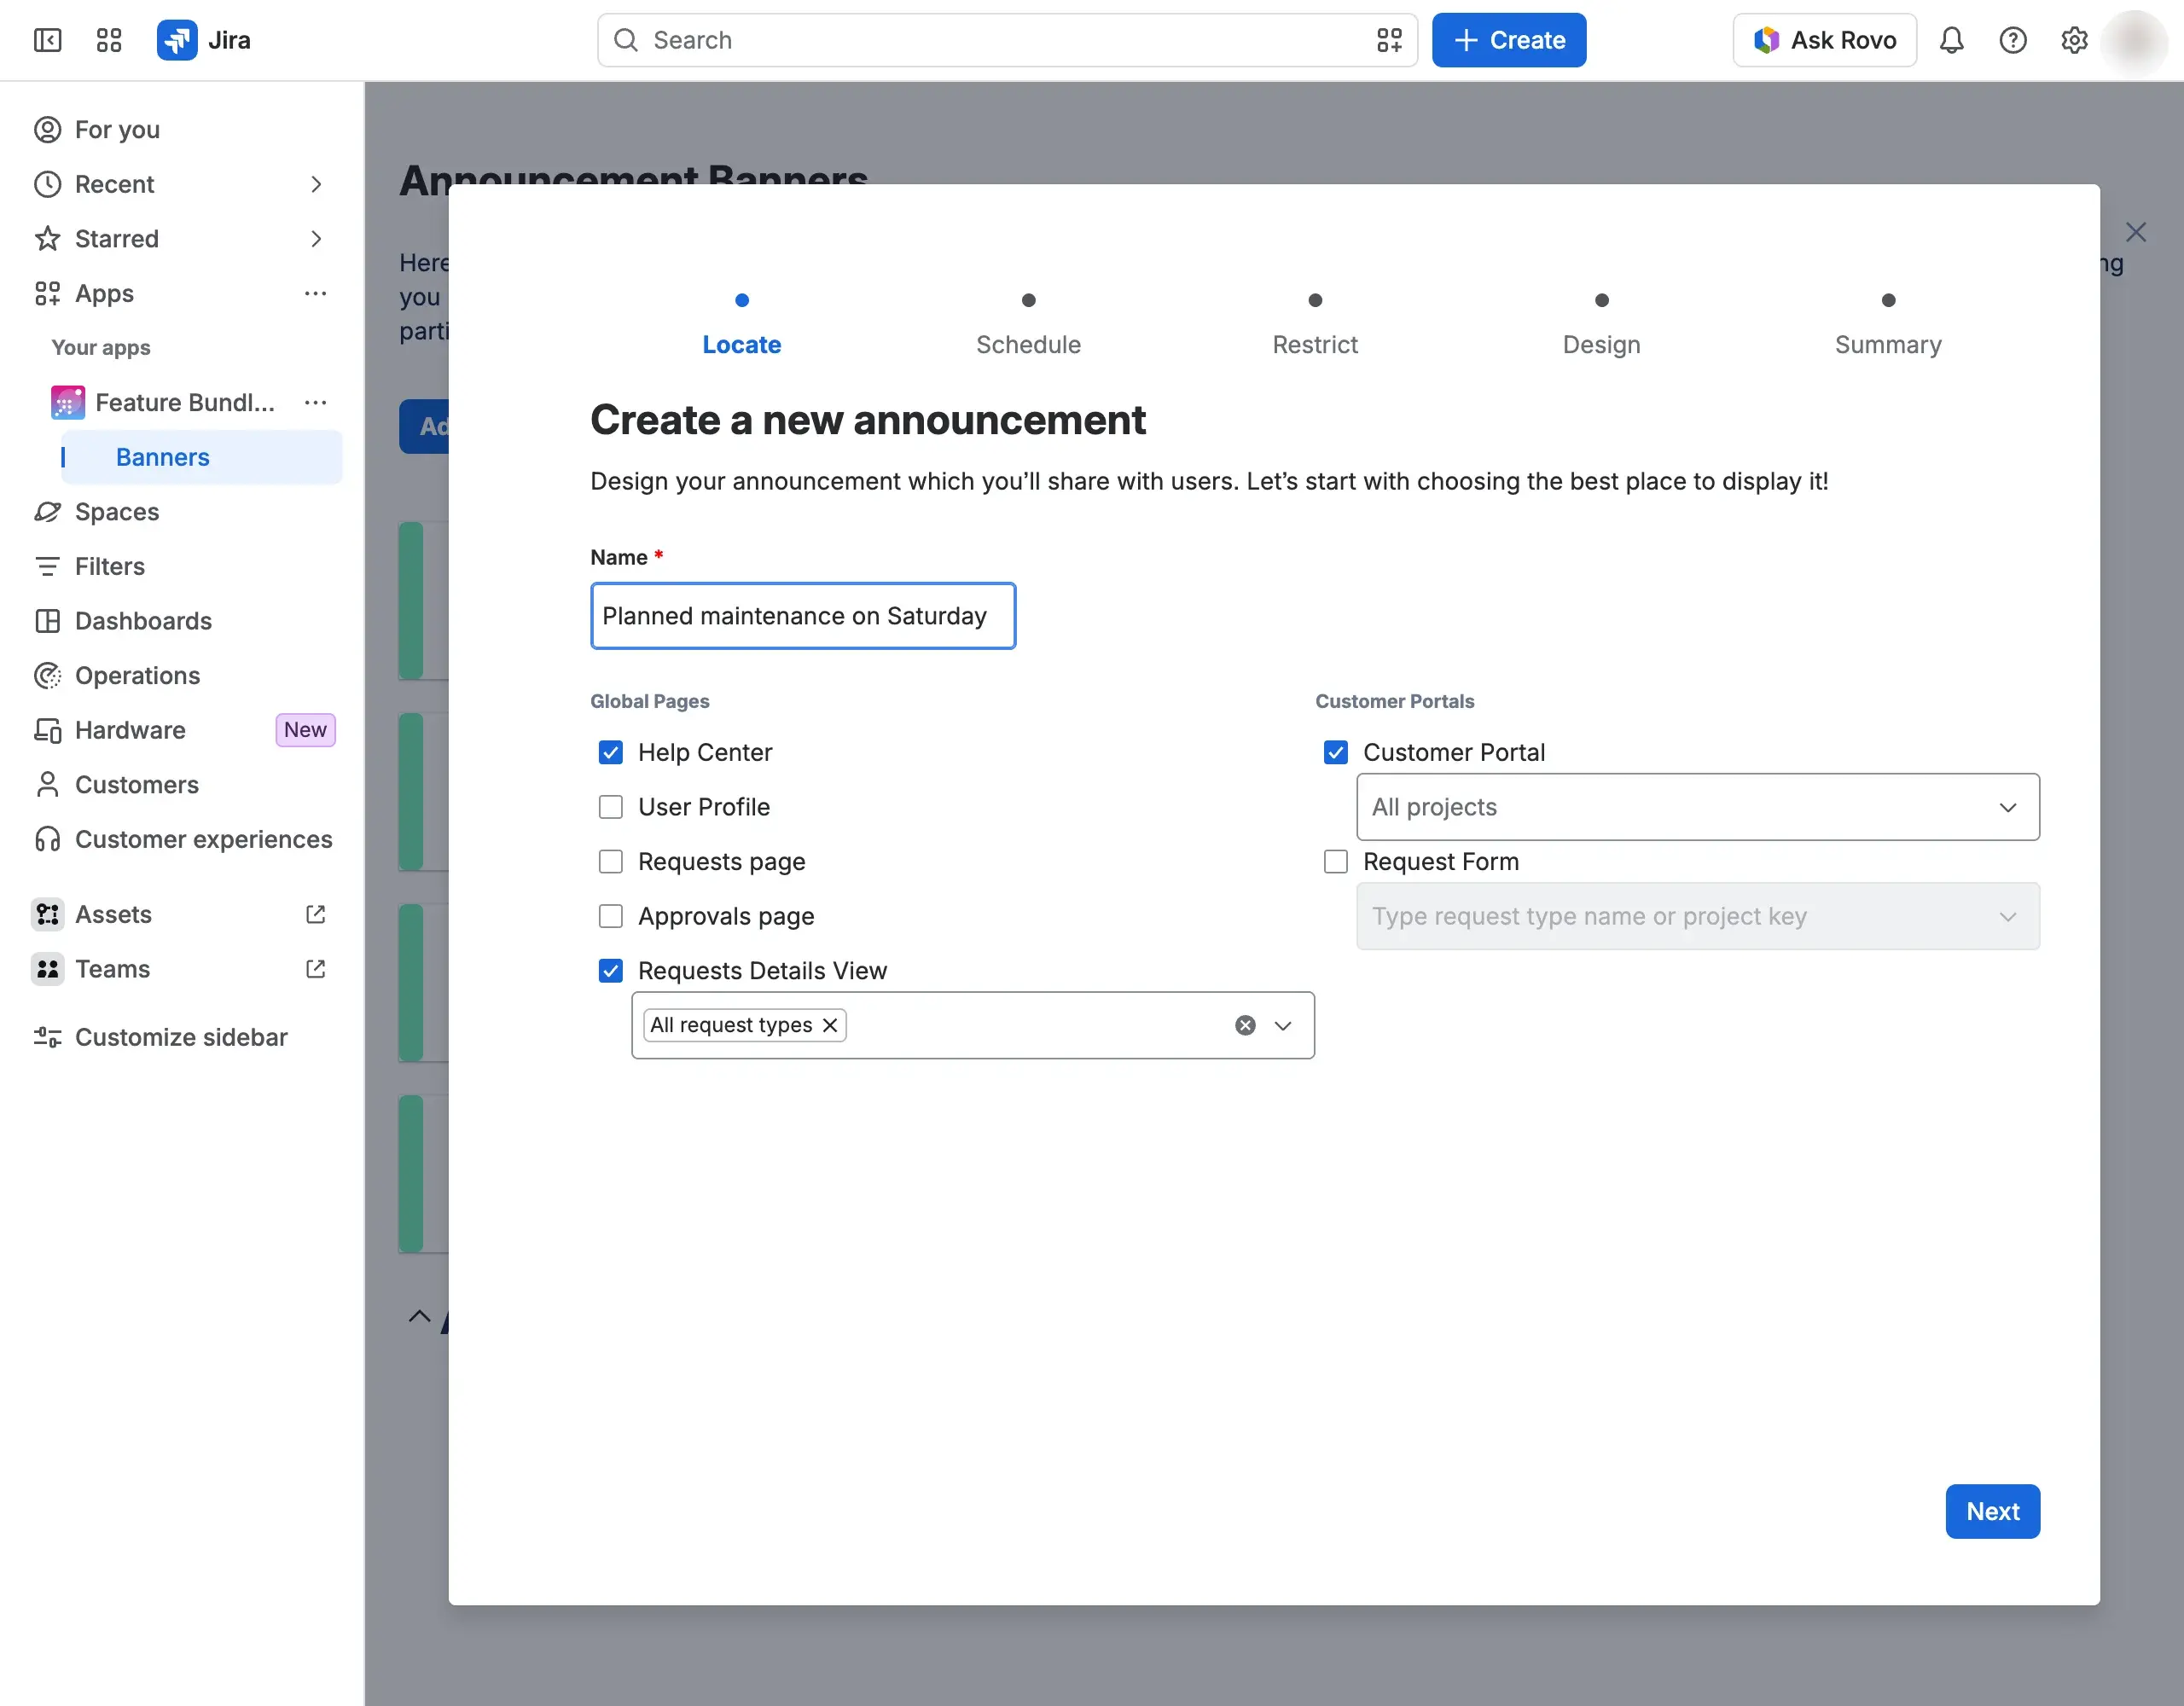
On the Schedule step, choose when the banner shows:
- All the time (when is published): the default.
- Individual dates: one or more rows with From and To. Times go in 30-minute steps.
- Scheduled: a time window Daily, on Days per week, or on Days per month.
- Conditions: from a date until a Jira work item you choose reaches a status you choose.
Select Next.
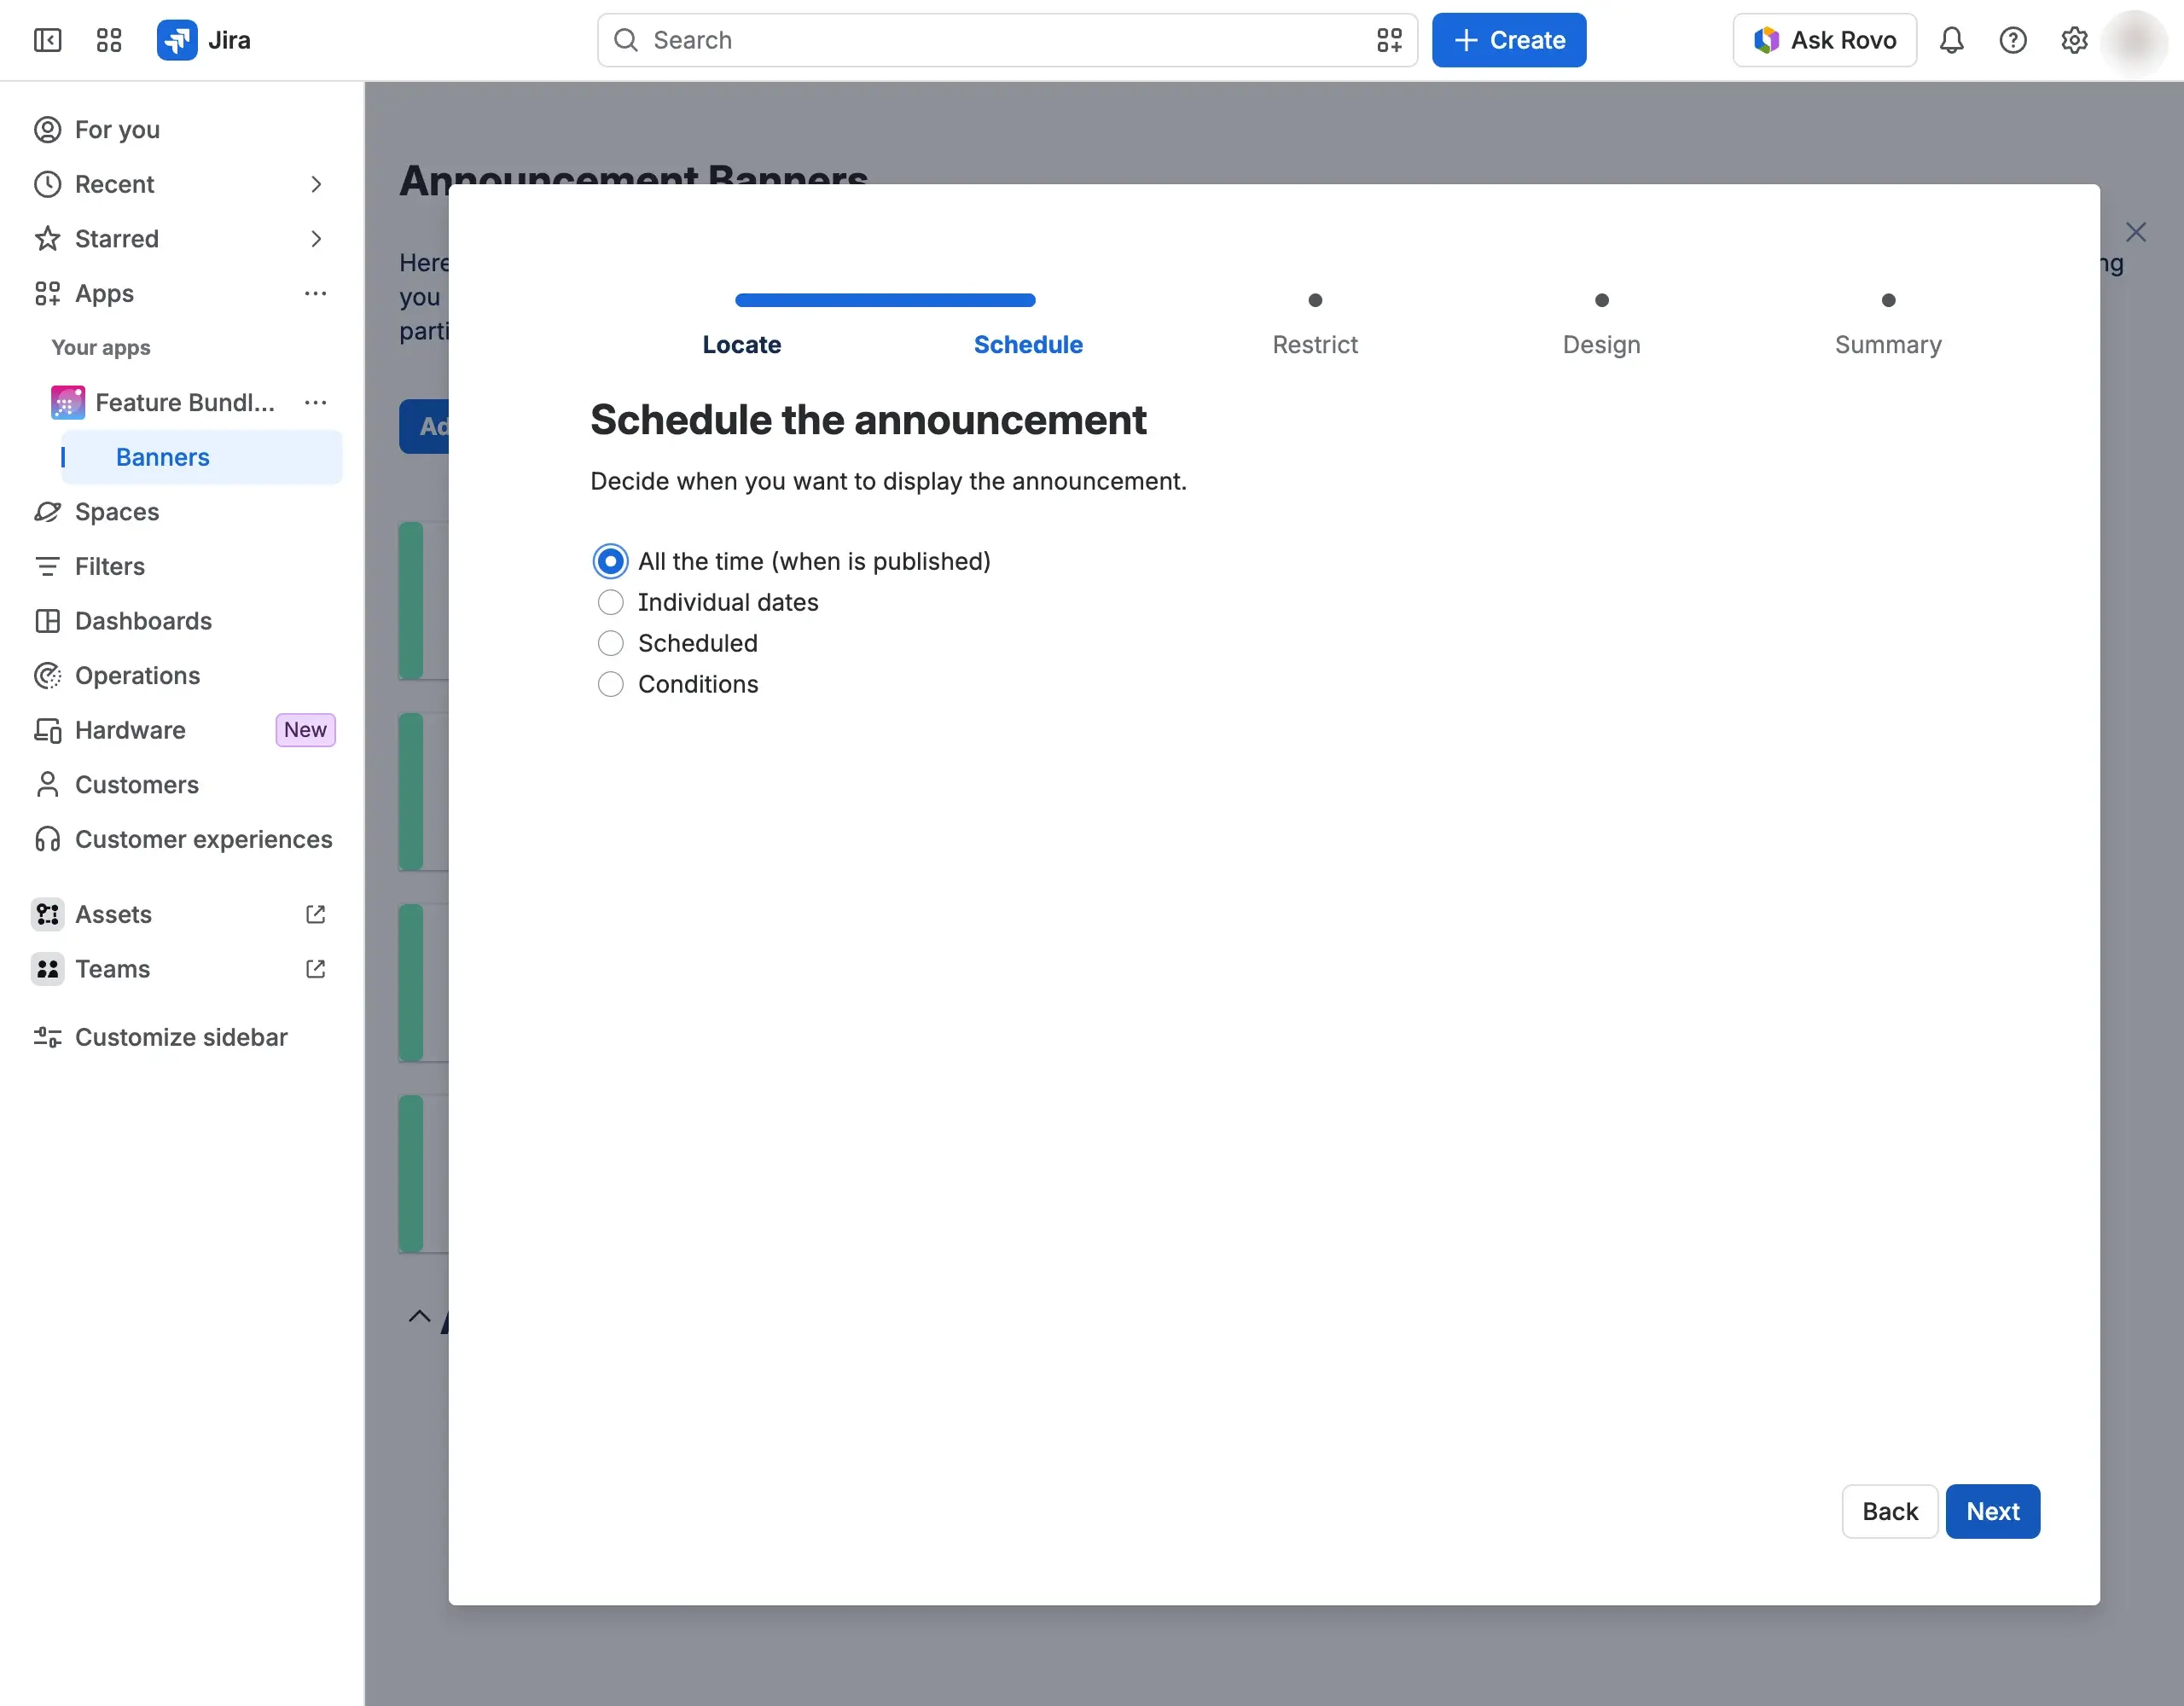
On the Restrict step, choose who sees the banner: Visible for all, the default, or Limited. For Limited, fill at least one of these conditions:
- User language
- Organization
- Project roles
- Jira groups
- Email domain: type the domains with the at sign, for example
@example.com, and separate several with;.
A viewer sees the banner only when they meet every condition you fill in. Within one condition, any of the values is enough. Select Next.
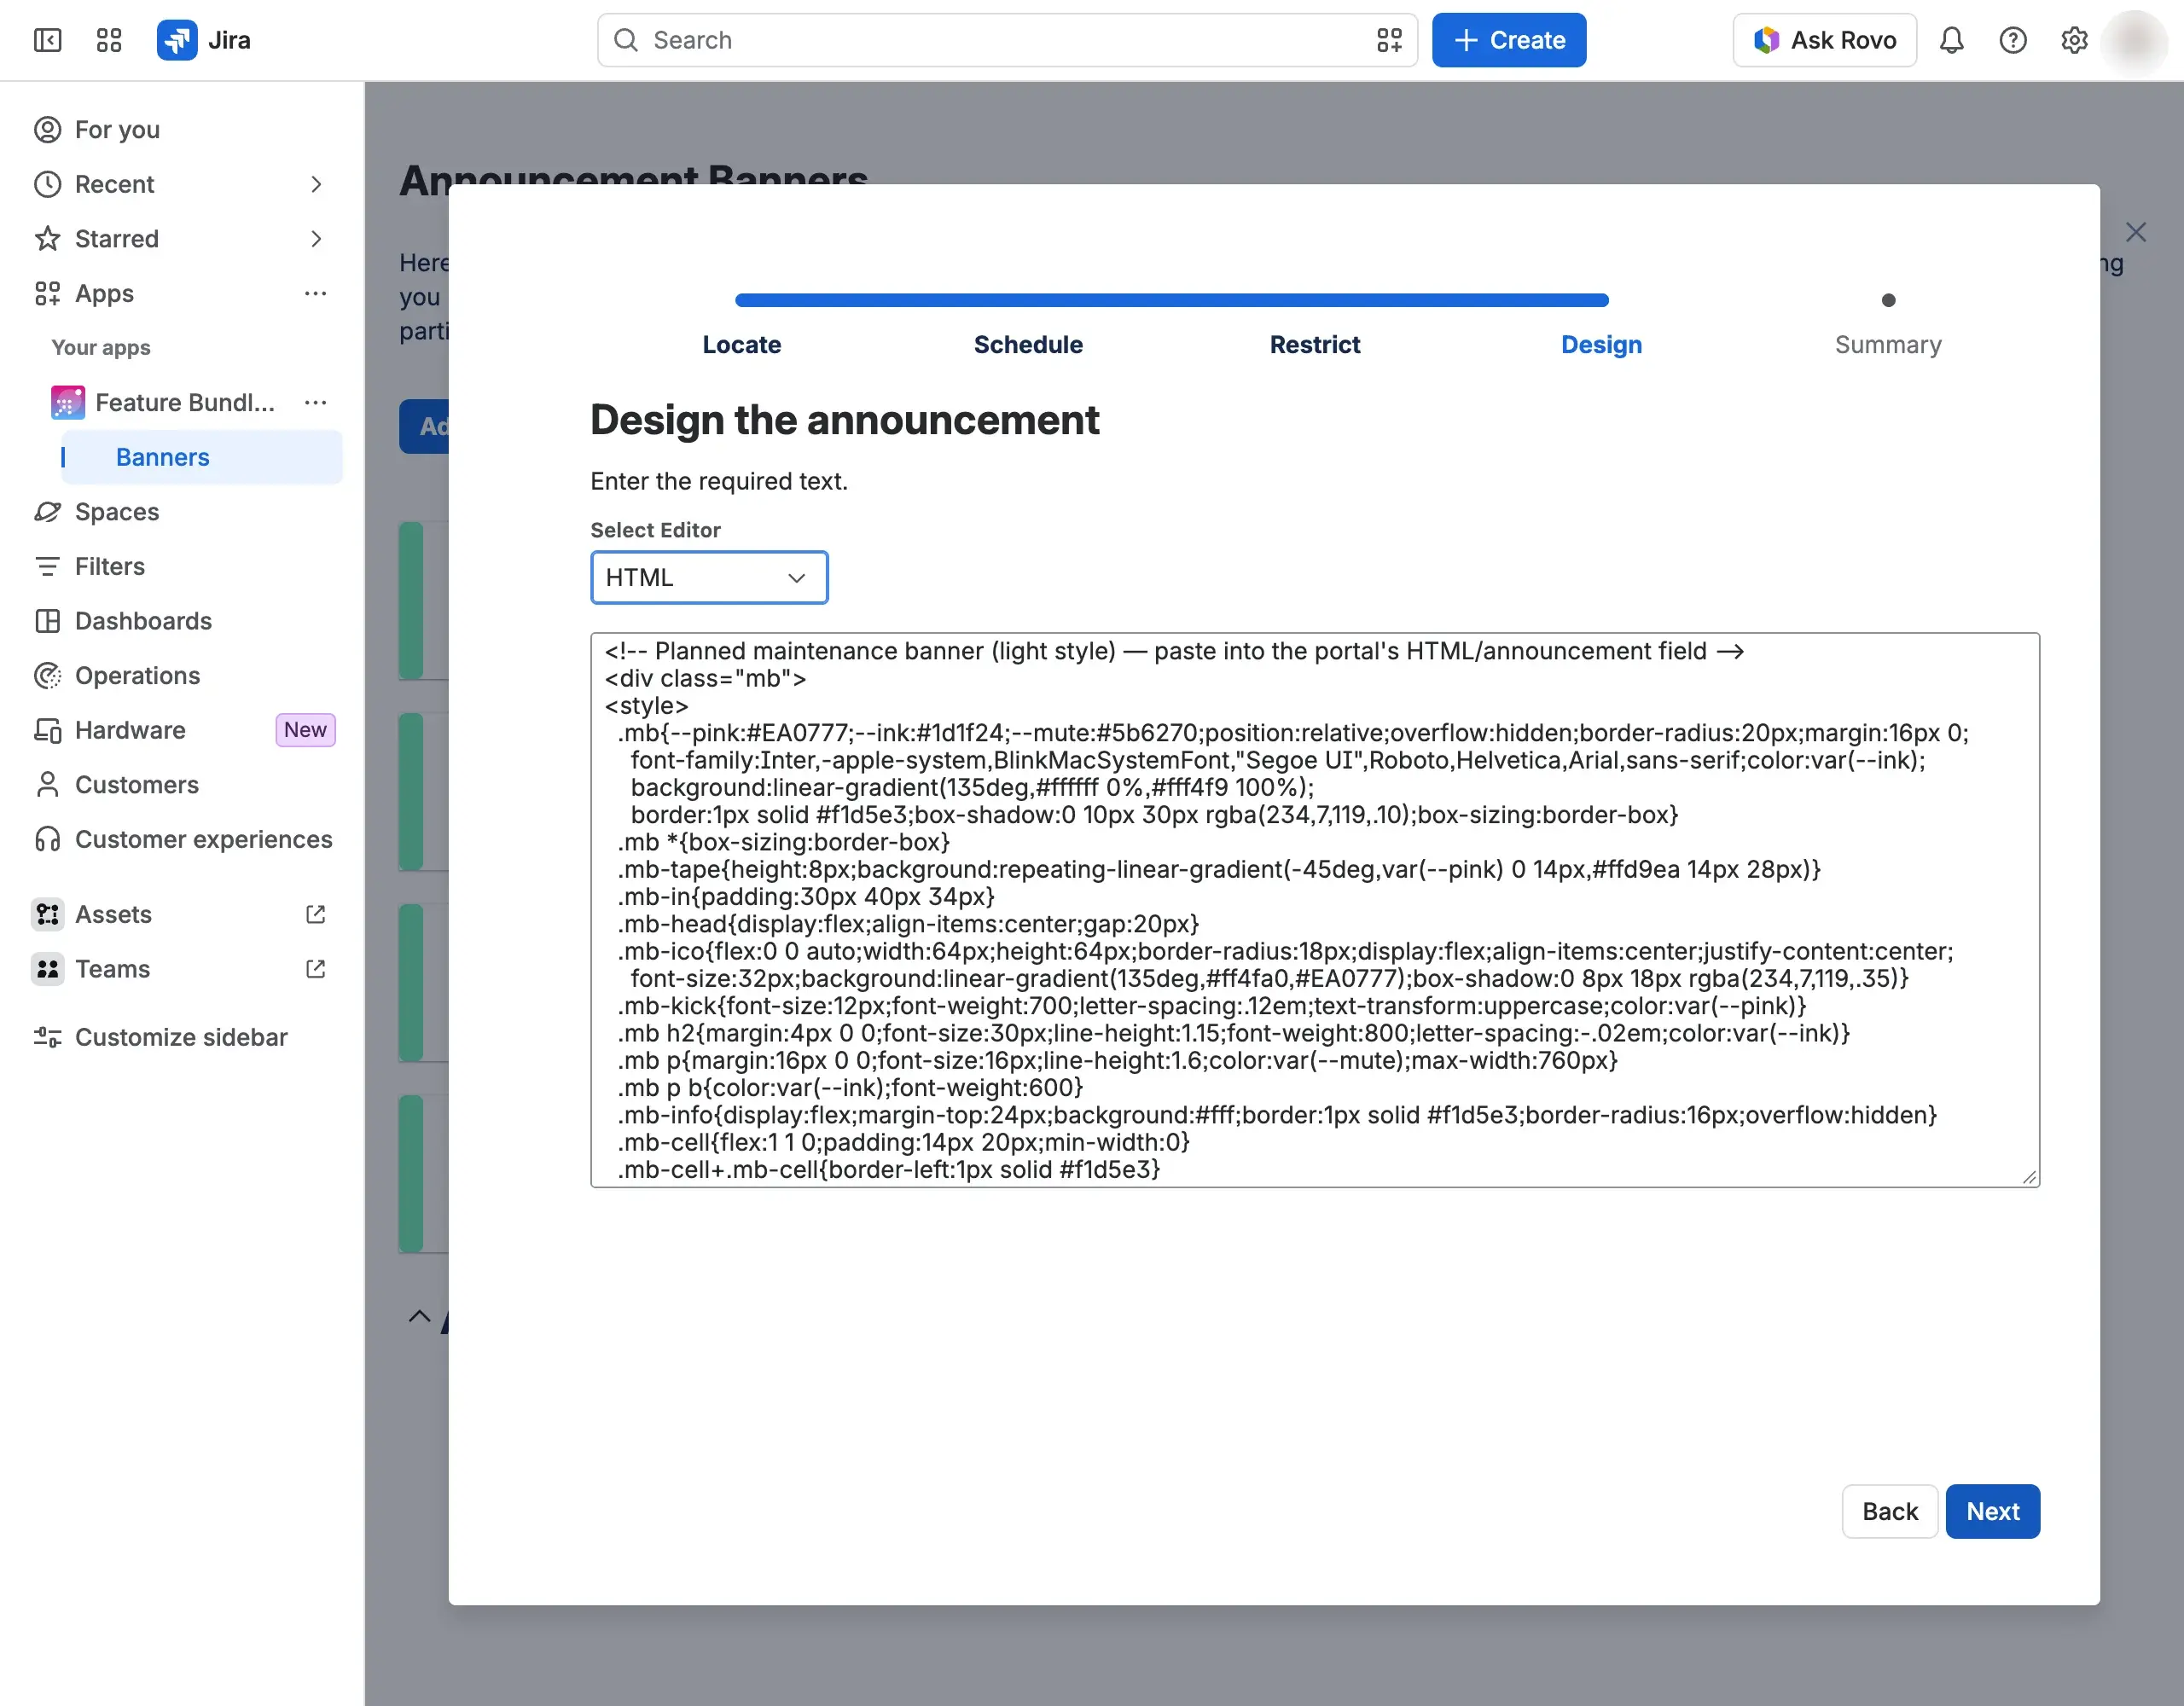
On the Design step, in Select Editor, choose the editor:
- Classic editor: the default. You can format the text, add colors, tables, work item links, panels, and dates. In Select background, choose one of ten background colors. The default is red.
- HTML: Feature Bundle shows the code exactly as you typed it.
If you leave the content empty, the banner shows its name. Select Next.
On the Summary step, check the settings and the preview. Select Publish.
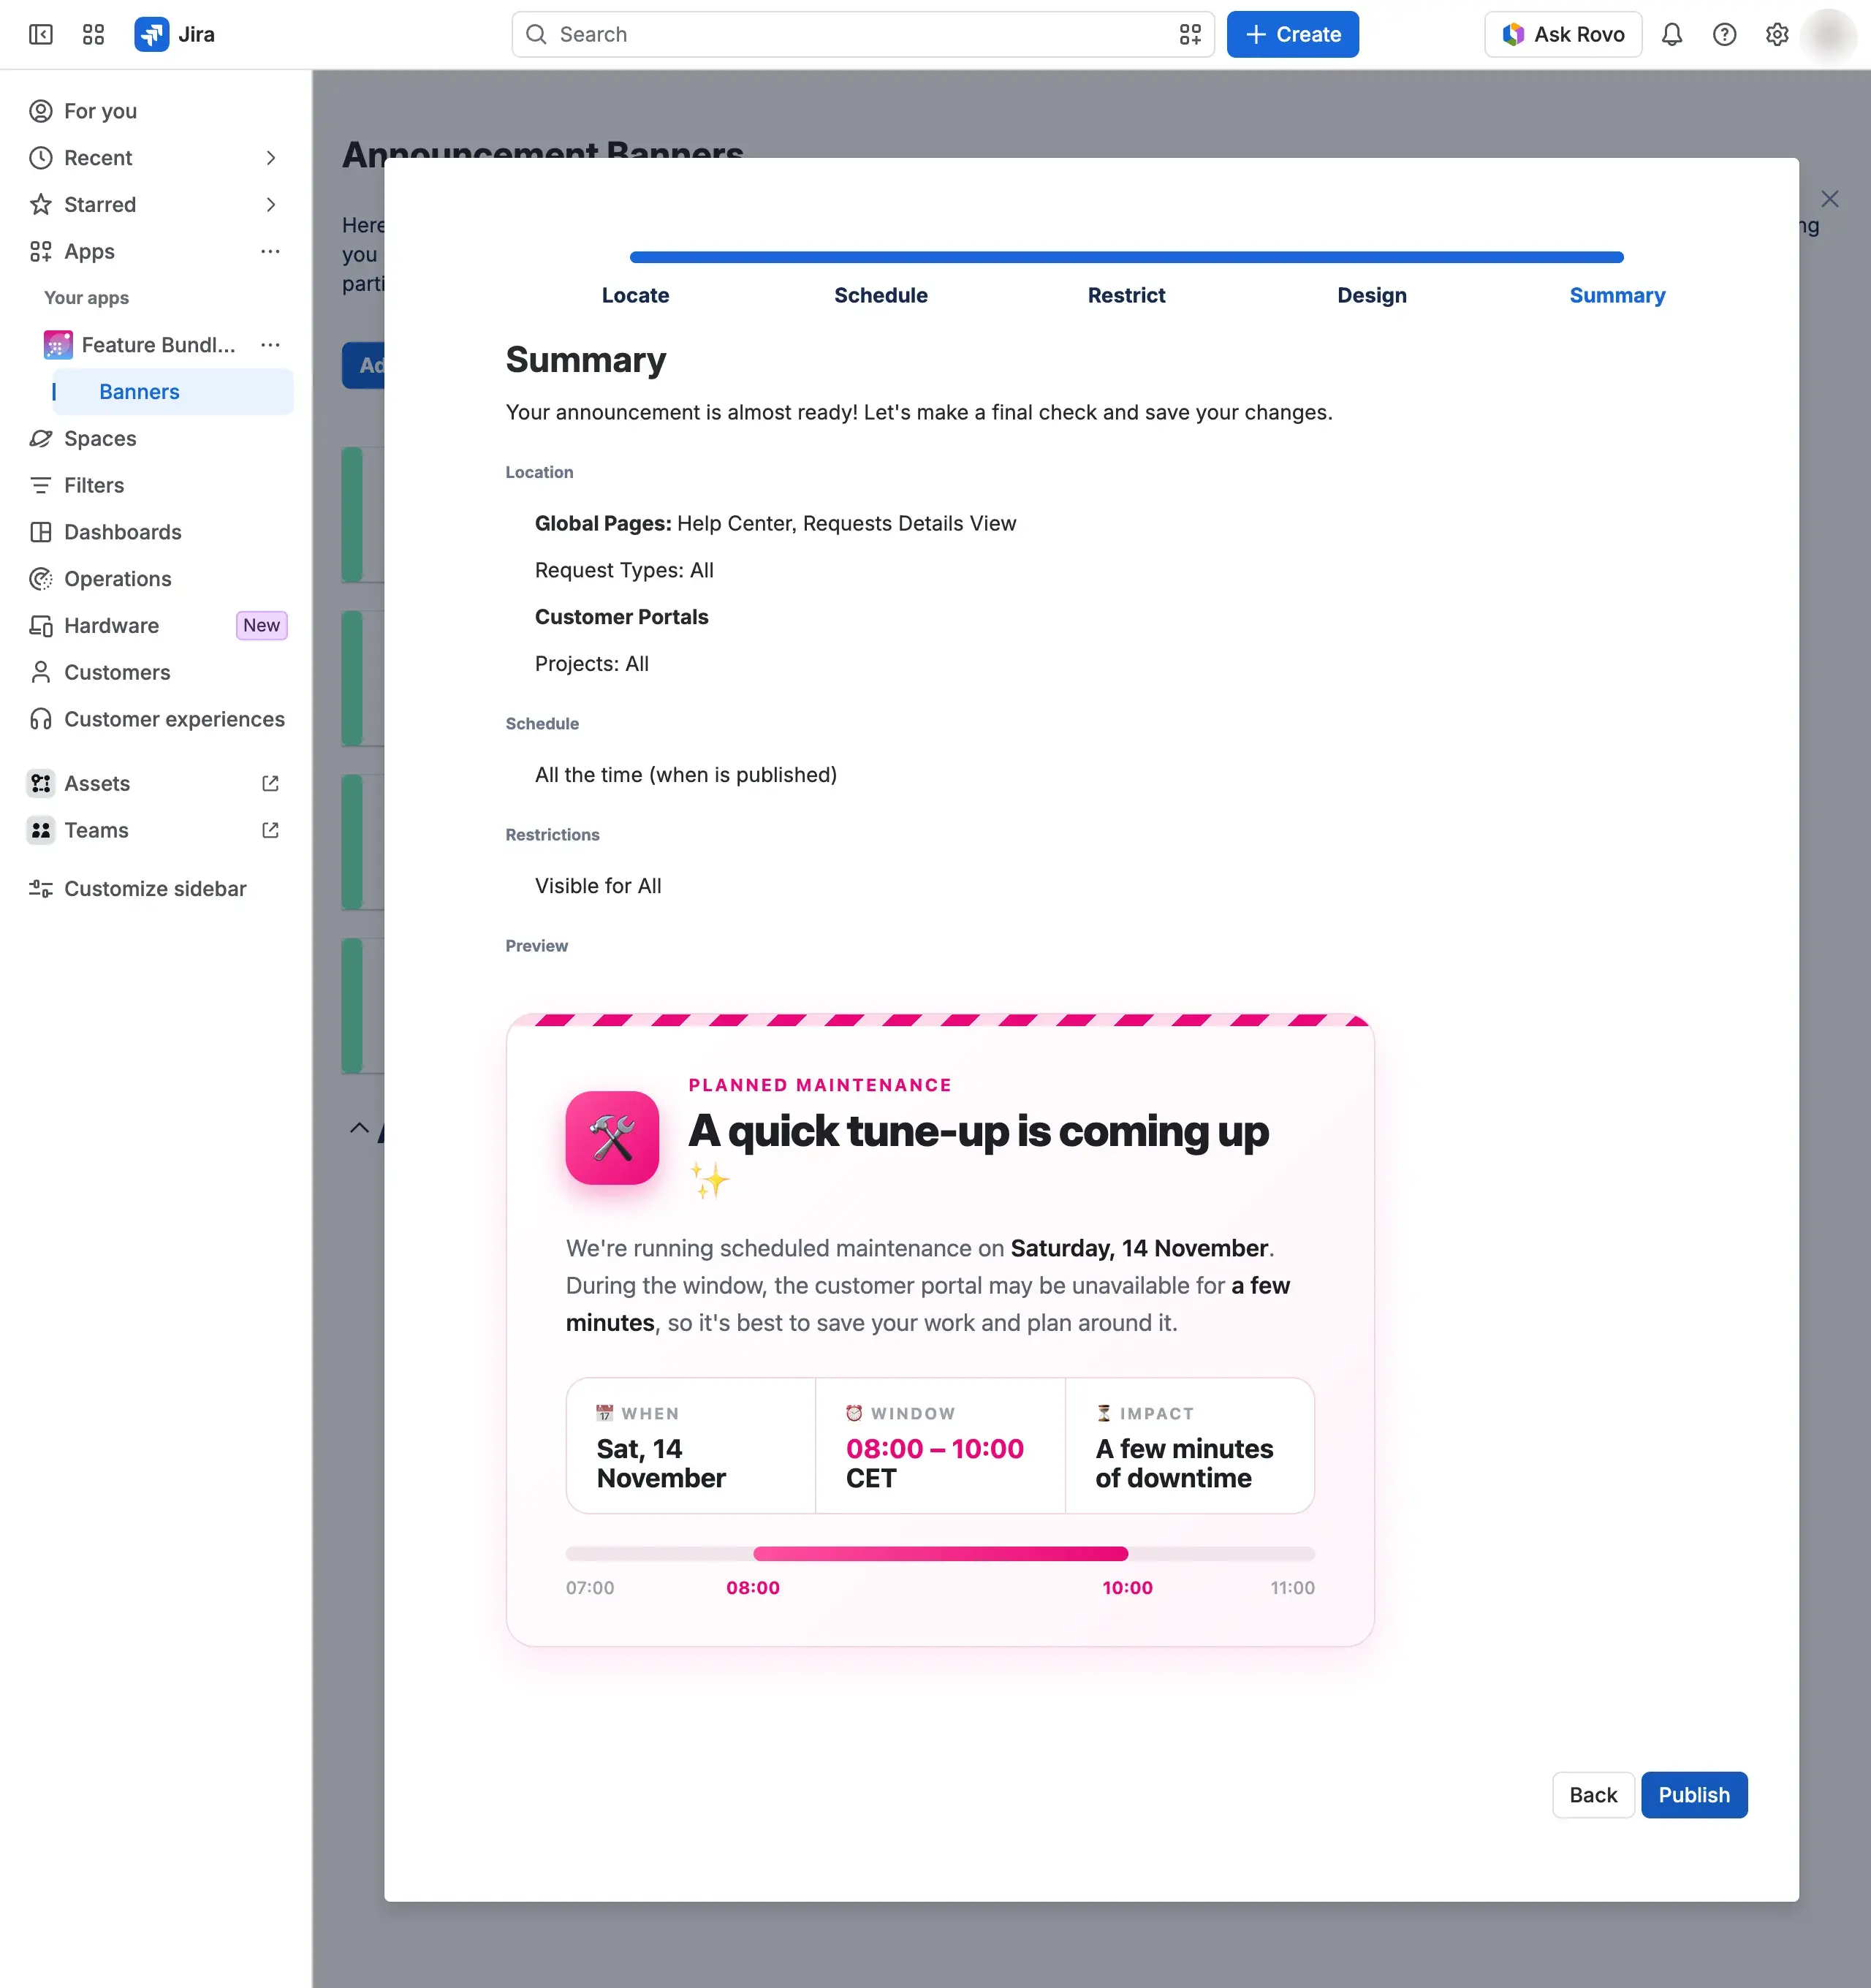


Result
The banner is published. A new banner goes to the top of the published list, and an edited banner keeps its place. Customers see it on the pages, at the times, and for the viewers you chose, from their next page load. See Banners on the portal.