Testing project
A Testing Project allows global administrators to configure multiple testing setups tailored to different teams. The configuration is highly flexible and does not impose a strict way of working. Whether you prefer a single-project approach, a cross-project method, or your own custom structure, the Testing Project adapts to your needs.
To learn more about mapping your Jira spaces to ATM, check out our guide on Organizing Projects in ATM.
Caution
After being installed, the app needs max. 5 min for it to be properly setup. After that time, users can refresh the page and ATM will be ready to use.
Testing Projects Overview
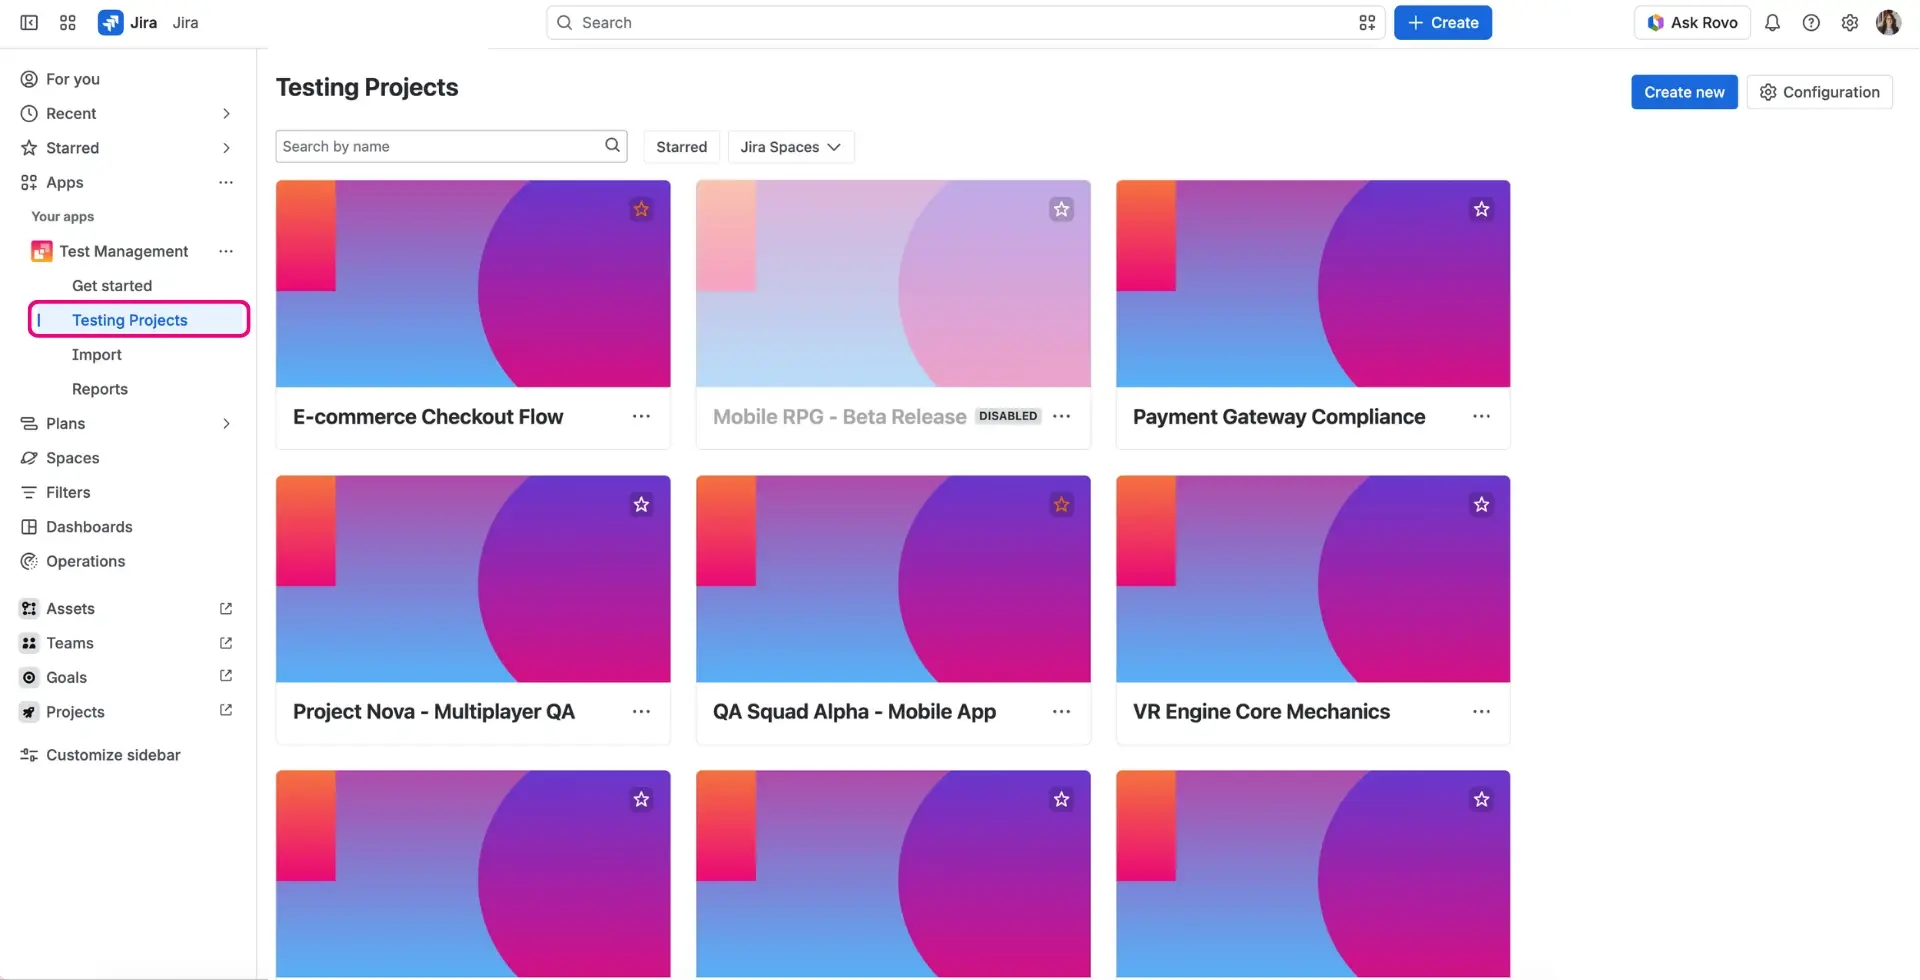
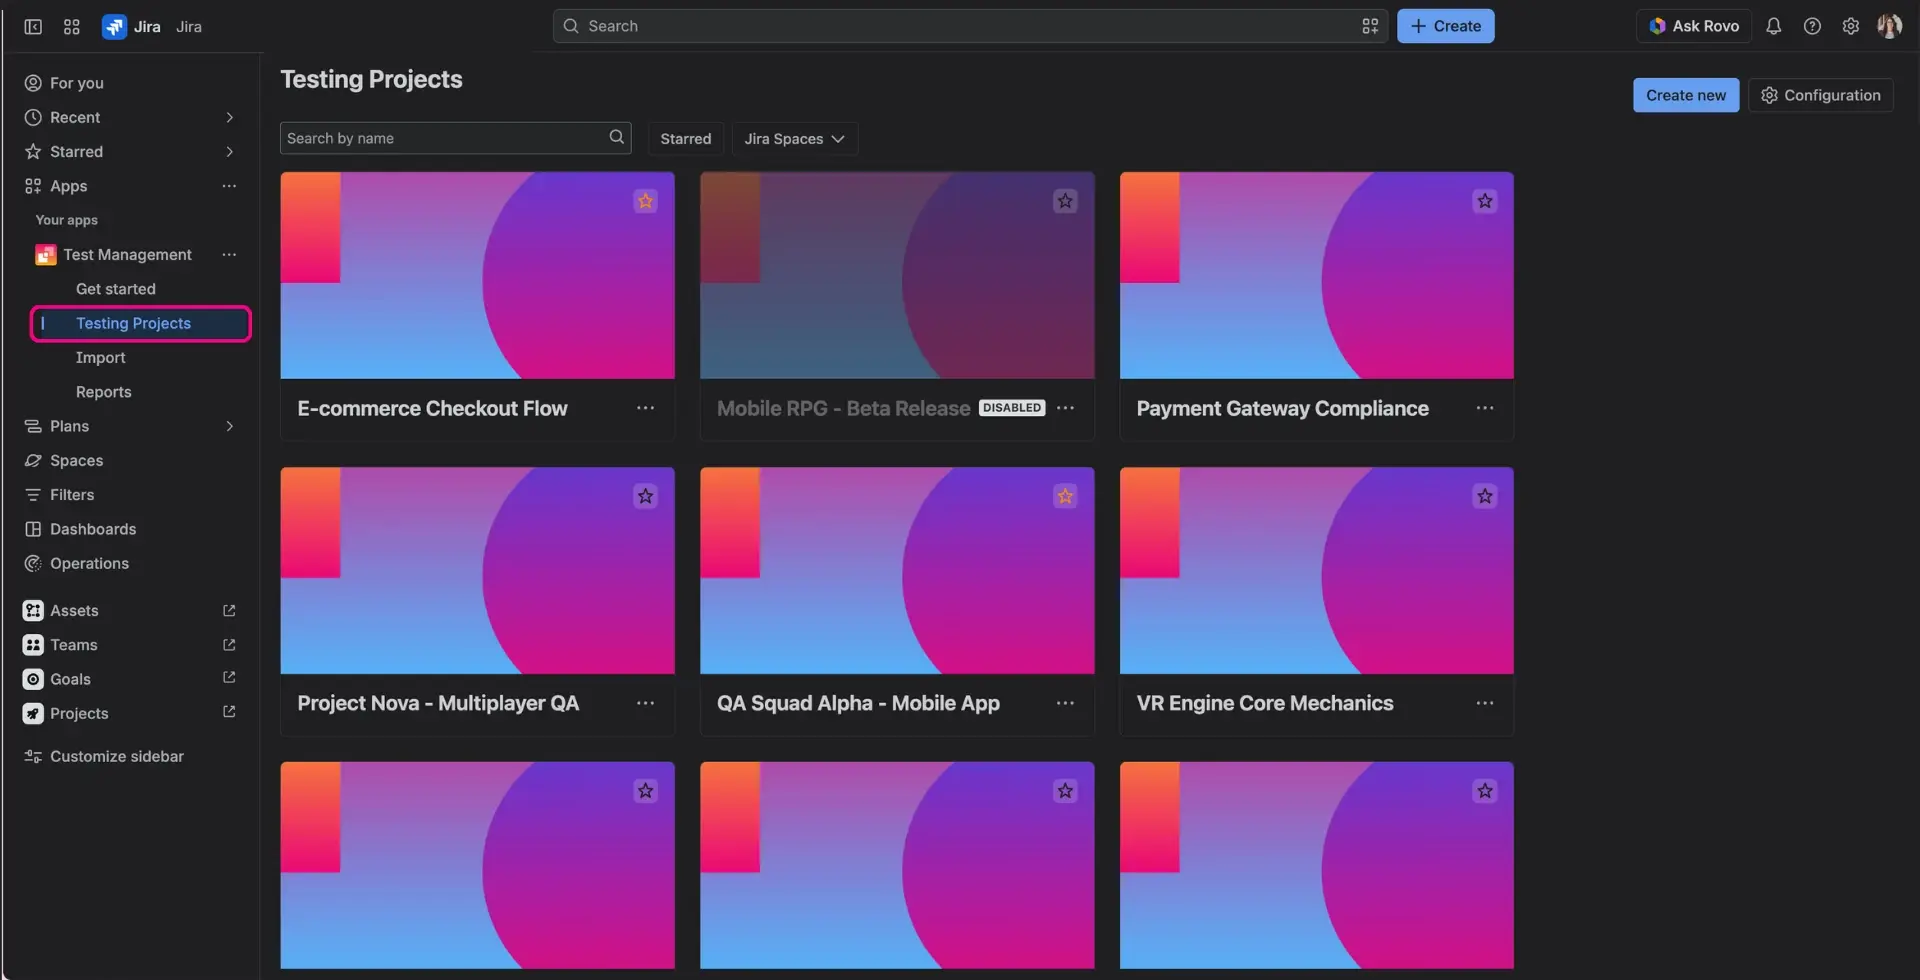
When you navigate to the Apps > Test Management > Testing Projects, the first thing you will see is the list of all available Testing Projects, automatically sorted alphabetically (A-Z). This centralized view allows you to easily organize, find, and manage your team’s testing setups.
Searching and Filtering
To help you quickly navigate through multiple configurations, use the search and filtering options located above the list:
- Search: Type the name of a specific Testing Project to find it instantly.
- Starred filter: You can mark any Testing Project as a favorite by clicking the star icon in top-right corner. Use this filter to display only your starred, most frequently used setups.
- Jira Spaces filter: Select specific Jira projects (spaces) from the dropdown. This will filter the list to show only the Testing Projects where the selected Jira space is utilized within its Testing Elements configuration.
Managing Existing Projects
Next to each Testing Project on the list, you will find a three-dots menu (…) providing access to quick actions:
- Configuration: Opens the detailed settings screen where you can view or edit the Testing Project’s setup.
- Disable / Enable: Temporarily deactivates the Testing Project without deleting its data. You can re-enable it at any time.
Creating a New Testing Project
To configure a completely new testing environment, click the Create new button. This will launch a setup wizard to guide you through defining your testing elements.
Caution
The Create new button is only visible and accessible to users with Jira Administrator global permissions.
Configuring a Testing Project
Caution
Adding a work type during Testing Project configuration, allows the app to identify where to add our Test Management panel within the work item view. When the configuration is disabled, the panel will not be visible anymore.
- Click Create New to get started.
Tip
Testing Project - quick access: The keyboard combination cmd+K, and later typing “T” can be used as a shortcut to access the Testing Project.
- The new window is a place where a whole set-up is configured, step by step.
- In the box above, users can add a name. By default, it will be ‘New Testing Project’.

- Users select projects and work types per a test element.
- Depending on the testing element, one or more projects and work types can be selected, e.g. both for Requirements and Defects the users can select more than one items.
- Assign a project and a work type to Requirements. Define a link that will be used for connecting Requirements to Test Cases. Click Next when done.
- This step is optional - if the users do not collect Requirements in Jira, they can omit it.
- The users can also set one project and work type as default. Later on, default settings will be automatically suggested in the Create work screen.

- Assign a project and a work type to Test Cases. When done, click Next.
- Here, the users will also be informed about the new custom fields introduction - ATM Test Plans and ATM Test Types.
- At this moment, the ATM Test Types field is set to Manual.
- Here, the users will also be informed about the new custom fields introduction - ATM Test Plans and ATM Test Types.

- Assign a project and a work type to Test Plans. When done, click Next.
- Here, a new custom field has been introduced - ATM Test Cases.

- Just like above, assign a project and work item type to Test Executions. When done, click Next.
- Here, multiple new custom fields have been introduced:
- ATM Test Plans
- ATM Test Cases
- ATM Environments
- ATM TE Status
- ATM TE Progress
- ATM Test Plans
- Here, multiple new custom fields have been introduced:

- Lastly, you can also assign a project and a work item type to Defects. Click Next when done.
- This step is optional and can be skipped if not necessary.
- The users can also set one project and work type as default. Later on, default settings will be automatically suggested in the Create work screen.

- If you want to complete setting up, click the Finish set up button on the last screen.
- As only admins can edit and access the Testing Project, the last screen shows a reminder to assign project permissions to the testing team.
- Admins can copy and share a message that will inform the rest of the team about details of the Setup.

Caution
If the selected projects are company-managed, then the add-on automatically adds the custom fields to necessary screens.
If team-managed projects are in use, the users have to remember that in order for the app to work, it is necessary to add app custom fields to screens associated with selected work types.
Caution
In order for the app to work properly, the users need to assign project permissions to the testing team.
Adding a work type
Work types can be introduced at any of configuration stages. Users can add existing work types or create new ones.
To add an existing work type:
- Select Add a work type, choose a project and stay on the option Add an existing work type.
- Add a name, optionally a description and choose the Jira work item level: either (0) which corresponds to the level of tasks, or (-1) - a level for subtasks.
- To complete, click Assign button.

To create a new work type:
- Select Add a work type, choose a project and switch to the option Create new work type.
- Choose the work type needed.
- To complete, click Create button.

Editing a Testing Project
You can revisit your Testing Project at any time to make changes, such as modifying the setup name or switching the Jira spaces and work item types mapped to your testing elements.
To edit an existing setup:
- Navigate to the Testing Hub and open the Testing Projects list.
- Click the three-dots menu (…) next to the project you want to modify.
- Select Configuration to access the settings window and make your changes.
Disabling and Enabling a Testing Project
If you want to temporarily pause a testing setup without deleting its configuration, you can disable it. To do this, click the three-dots menu (…) next to the project on the list and select Disable (or Enable to restore it later).
When a Testing Project is disabled, the following rules apply:
- The project appears grayed out on the Testing Projects list.
- It is clearly marked with a Disabled status lozenge.
- The ATM testing panels associated with this specific setup will no longer be visible inside your Jira projects.